


Documentation
Go here.
Installation
Using yarn
$ yarn add react-contexifyUsing npm
$ npm install --save react-contexifyThe gist
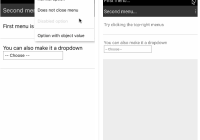
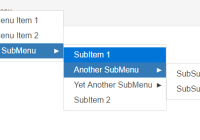
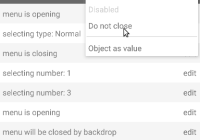
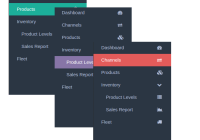
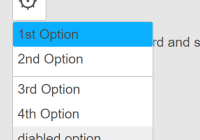
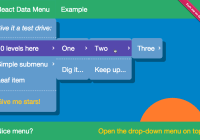
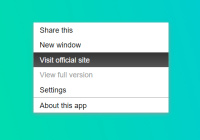
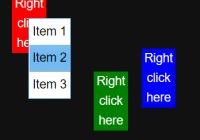
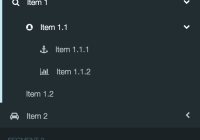
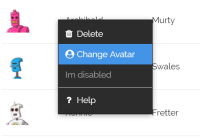
import React from 'react'; import { Menu, Item, Separator, Submenu, MenuProvider } from 'react-contexify'; import 'react-contexify/dist/ReactContexify.min.css'; const onClick = ({ event, props }) => console.log(event,props); // create your menu first const MyAwesomeMenu = () => ( <Menu id='menu_id'> <Item onClick={onClick}>Lorem</Item> <Item onClick={onClick}>Ipsum</Item> <Separator /> <Item disabled>Dolor</Item> <Separator /> <Submenu label="Foobar"> <Item onClick={onClick}>Foo</Item> <Item onClick={onClick}>Bar</Item> </Submenu> </Menu> ); const App = () => ( <div> <MenuProvider id="menu_id" style={{ border: '1px solid purple', display: 'inline-block' }}> Right click me... </MenuProvider> <MyAwesomeMenu /> </div> );To-Do
- Allow keyboard navigation
- Accessibility
- RTL support
- Add release notes
Browser Support
 |  |  |  |  |  |
|---|---|---|---|---|---|
| IE 11+ ✔ | Latest ✔ | Latest ✔ | Latest ✔ | Latest ✔ | Latest ✔ |
Contribute
Any idea and suggestions are welcome. There is a playground to help you start, just run yarn start.
License
React Contexify is licensed under MIT.