
Vue Tag Picker
A Tag Picker for Vue

Introduction
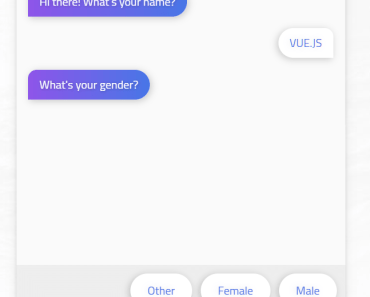
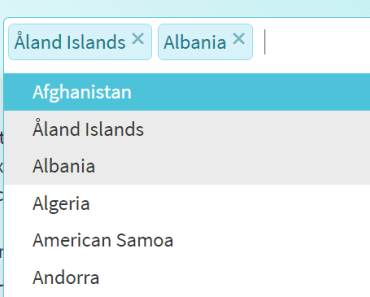
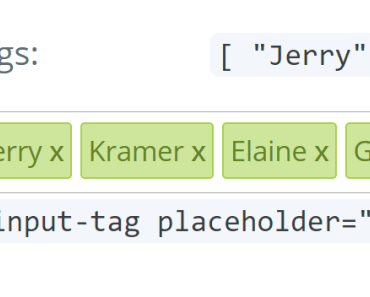
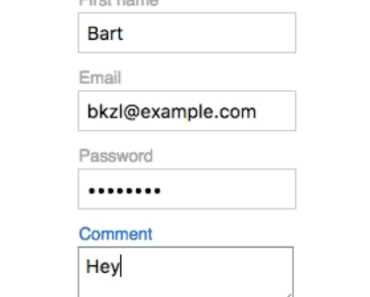
This is a Vue.js component for accepting many dynamic input items from the user. This could be used for filtering or adding tags/categories (as the name suggests). This was originally written as a Knockout component but I needed the same functionality in Vue.
Usage
Installation
NPM
npm install --save vuetagpicker //In App.js Vue.use(VueTagPicker) //...or in a component import { TagPicker } from 'vuetagpicker' export default { name: 'my-component', components: { TagPicker }, data() { return { tags: ["hello", "world"] } }, methods: { //event callback updatedTags(newTags) { this.tags = newTags; } } }Props
| Name | Type | Default | Comments |
|---|---|---|---|
| allowDuplicates | Boolean | false | |
| seperator | String | | (Pipe) | |
| addOnKeys | [Number] | [TagKey, EnterKey, CommaKey] | These are event keycodes. They trigger the adding of the tag. |
| removeOnKeys | [Number] | [BackspaceKey] | These are event keycodes, they trigger the removing of the tag. |
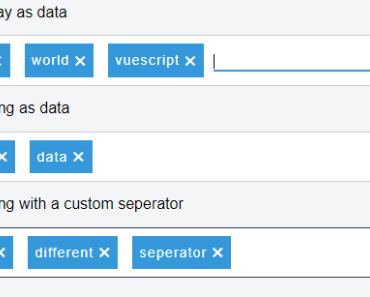
| tagsList | Array or String | [] | You can pass in a string or an array, the string will be seperated by the specified seperator (default "|"). |
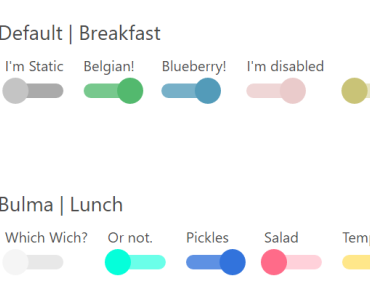
| tagColor | String | #3498db | CSS Colors, if it can be used in a style attribute and is a Color, you can use it. Sets the background Color of the tag, and the underline of the input. |
| fieldName | String | vue-tag-picker | The ID for the tag picker. Primarily added so you can create a <label for="vue-tag-picker">Some Label</label> and give the input focus on label click/ |
| borderColor | String | #cecece | Override the default border Color for the component. |
| editingClass | String | "editing" | Override the default editing class for the tags. |
| confirmDelete | Boolean | false | Prompts the user with a confirm dialog if true. |
| confirmDeleteMessage | String | "Are you sure you want to remove this tag?" | Message that is shown in the confirm dialog if confirmDelete is set to true |
| customConfirmDialog | Promise | null | This must be a promise. This is so that third-party dialog libraries can be used like SweetAlert2. Is shown if confirmDelete is true. If this isn't supplied it will show the default JavaScript confirm dialog. |
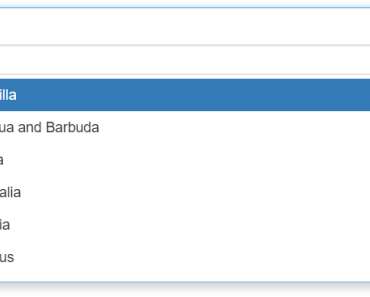
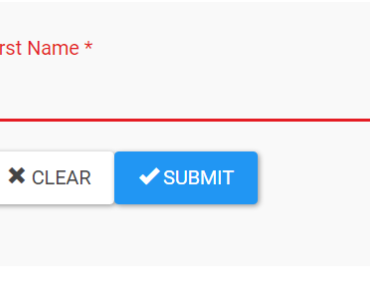
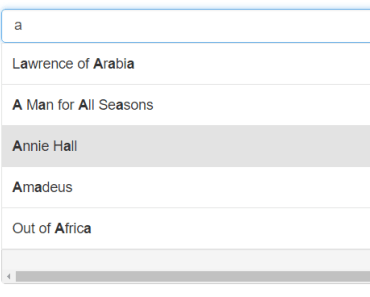
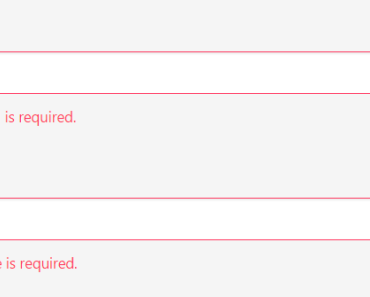
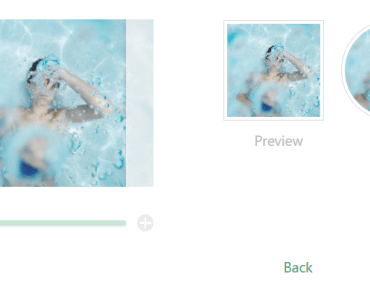
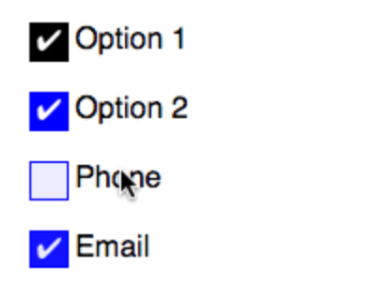
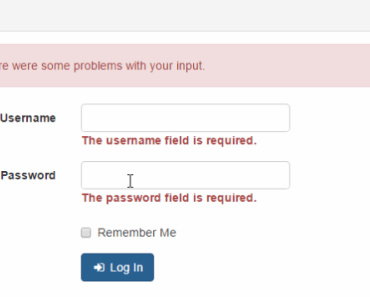
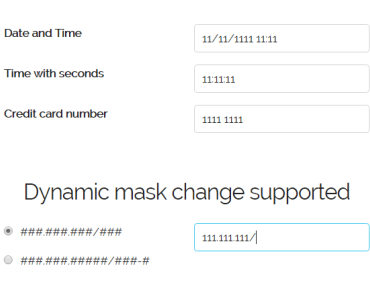
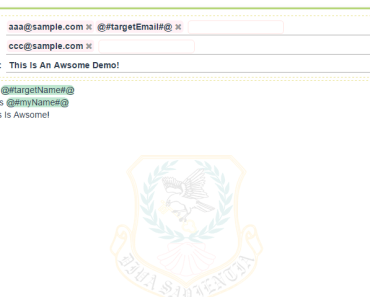
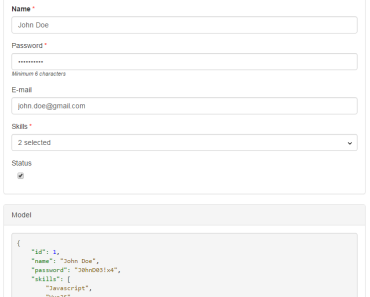
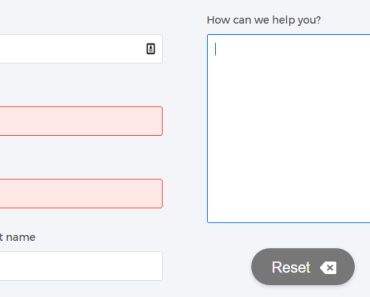
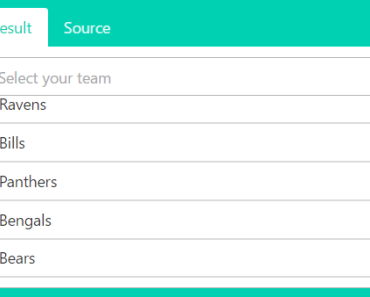
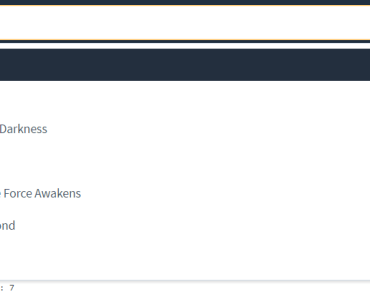
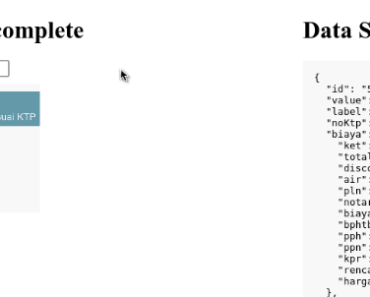
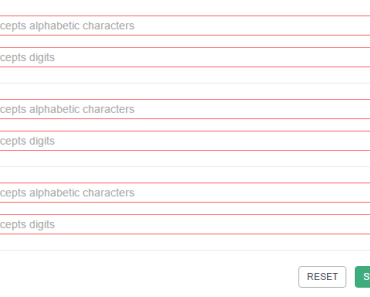
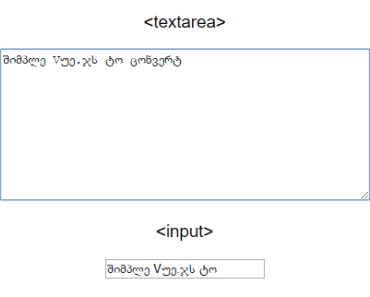
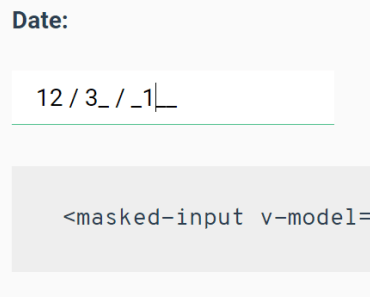
Demo
Custom Confirm Dialogs
- Create a method on the parent component that returns a promise.
- Resolve the promise with true or false
customConfirmDialog() { return swal({ title: 'Are you sure?', text: "You won't be able to revert this!", type: 'warning', showCancelButton: true, confirmButtonColor: '#3085d6', cancelButtonColor: '#d33', confirmButtonText: 'Yes, delete it!' }).then(function() { return true; //SweetAlert2 has a second function in the then for cancel operations }, function(){ return false; });Pass the newly created method into the component :custom-confirm-dialog="customConfirmDialog" :confirm-delete="true"
How to contribute
Vue Tag Picker was created for the public. It was made open source to give developers something to learn from and so I can learn from you. If you have found a bug that you would like to fix, or a feature that you think other users would like, then fork the repo and create a pull request. PRs are very welcome.
Getting started
- Make sure you have a GitHub account
- Submit a ticket for your issue, assuming one does not already exist.
- Clearly describe the issue including steps to reproduce when it is a bug.
- Make sure you fill in the earliest version that you know has the issue.
- Fork the repository on GitHub.
Making Changes
- Clone your forked repository
- Create a branch from master i.e
features/improve-mobile-touch-supportorbugs/some-bug - Write your tests (where applicable). I'm aiming for 90% coverage at all times.
- Make your changes / fixes in your branch.
- If you are adding new functionality, checkout the docs branch and submit information about your shiny new feature. Or if you've fixed a bug and the documentation needs to be updated, you can crack on with that, too.
😃 - Commit your changes with a meaningful commit message.
- Create a pull request
- If the Travis-CI build fails on your PR there will be small red cross. Take a look to see if you can fix it.
- If the build is failing, then go back to your branch and commit the fix.
- If the Travis-CI build fails on your PR there will be small red cross. Take a look to see if you can fix it.
- Sit back and wait for it to be accepted and give yourself a pat on the back for being part of the Open-Source community
❤️
Running the Tests
There are 2 scripts you can run.
npm run unitoryarn run unit- This will run all the tests once.npm run unit:watchoryarn run unit:watch- This will continuously run tests, best for a TDD approach (preferred).
Notes
- Don't be shy to criticise the code, too. I'll take all the advice I can get.
- Don't be afraid of asking questions, I'll answer them as fully as I know how.
- There is no judgement here
💞