react-categorized-tag-input 
React.js component for making tag autocompletion inputs with categorized results with no dependencies and 10KB minified.
Note: v1.x versions only work with react 0.14.0 or higher. For compatibility with previous versions use the v0.x versions.
Install
npm install react-categorized-tag-input Include
With webpack, browserify, etc (recommended way):
import TagInput from 'react-categorized-tag-input';or (if you are not yet using ES2015, which you should)
var TagInput = require('react-categorized-tag-input');With other tools: Just include the categorized-tag-input.js file in your HTML and your good to go. It is already minified.
If you want to use the default style you have to include the categorized-tag-input.css file. It is plain CSS, no LESS, no SASS, no dependencies.
As a personal suggestion, I recommend webpack. You would just need to require('node_modules/react-categorized-tag-input/categorized-tag-input.css');.
Usage
To use this component we will assume the imported variable name is TagInput. The props are very straightforward.
| Name | Type | Description | default |
|---|---|---|---|
| addNew | boolean | If true, allows the user to create new tags that are not set in the dataset | true |
| categories | Array of objects | Dataset with categories and items | Required |
| transformTag | function | A function that will receive the tag object (which has at least keys title and category) and must return a string. This string will be displayed to the user. Useful if you need to apply a transformation to the tags. | (tag) => tag.title |
| value | Array of tags. Tags are objects with (at least) keys title and category, where category is the id of a category in the array passed in for the categories prop | Array with the initial tags | [] |
| onBlur | function | Callback for when the input loses focus | noop |
| onChange | function | Callback for when the input changes. It does not get an event as parameter, it gets the array of tags after the change. | noop |
| placeholder | string | A placeholder will be given in the input box. | Add a tag |
| getTagStyle | function | A function from the tag text (string) to an object with any or all of the following keys: base, content and delete. The values are React style objects. This example renders 1-letter long tags in red: text => text.length === 1 ? {base: {color: "red"}} : {} | () => ({}) |
| getCreateNewText | function | A function that returns the text to display when the user types an unrecognized tag, given a title and text. | (title, text) => Create new ${title} "${text}" |
| getTagStyle | function | A function from the tag (object with at least the keys title and category) to an object with any or all of the following keys: base, content and delete. The values are React style objects. This example renders 1-letter long tags in red: text => text.length === 1 ? {base: {color: "red"}} : {} | () => ({}) |
The tag object
Tag objects look like this:
{ title: 'String to used to identify the tag', category: 'id of the category for the tag' } The category object
The category object for the dataset looks like this:
{ id: 'string or number identifying the category', type: 'word to describe the category. Will be used on the create new tag button. E.g: "Create new animal foo"', title: 'Title displayed on the category row', items: ['Array', 'With', 'Tags'], single: optional boolean. If is true the row will be treated as one-valued row. It does not have the option of adding new items to the category } Create the object
<TagInput categories={myCategories} addNew={true} transformTag={tagTransformer} onBlur={onBlur} onChange={onChange} />Get the value
You can either use the onChange callback or use the value() method of the component. It will return the existing tags as an array of strings.
How to use the rendered component
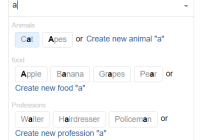
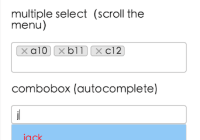
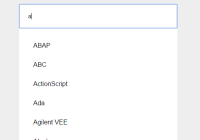
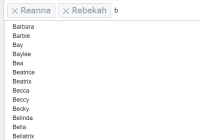
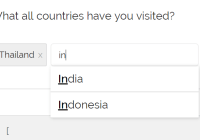
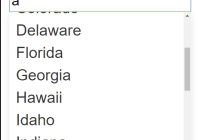
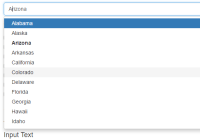
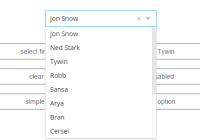
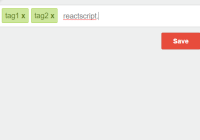
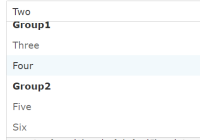
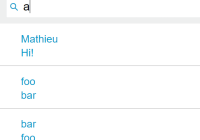
When you click on the input you will be able to write on it. Right away, a panel with the categories with matches will be shown. You can navigate through categories and options using the arrow keys to change the selected tag. Backspace when there is nothing written erases the last tag. Enter and , add the currently selected tag to the input.
