Snapkit Validation
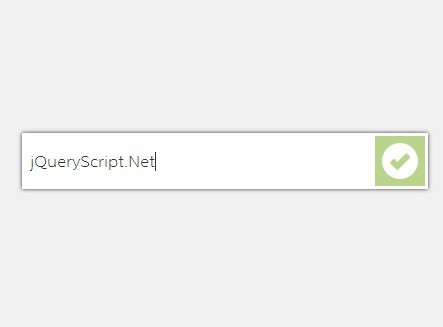
Snapkit Validation is a simple jQuery plugin for form validation. You can learn how to setup and use it in less than 5 minutes, just by reading this documentation.
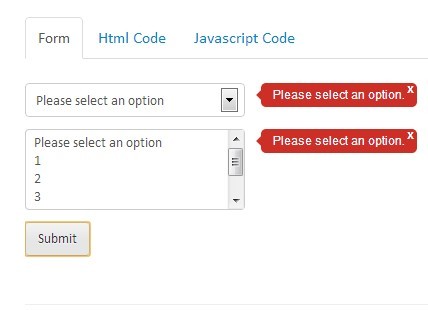
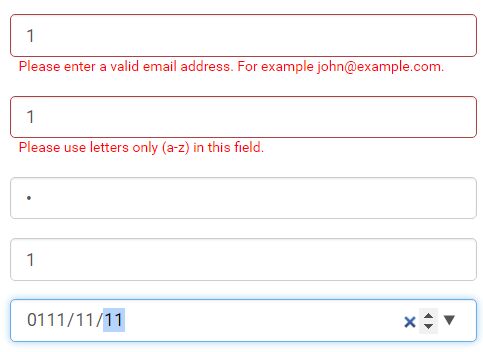
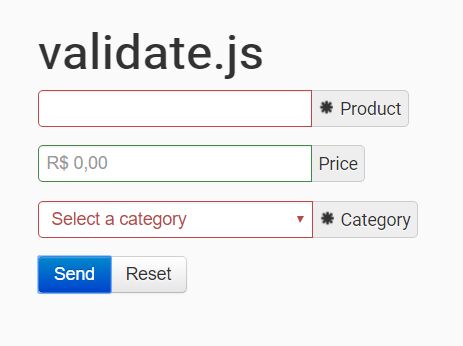
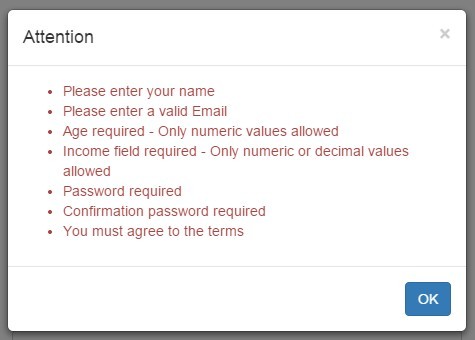
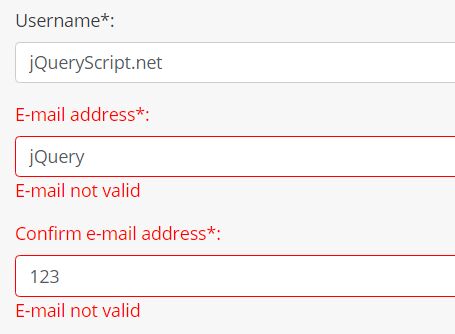
##Example You can see a live example at http://snapgle.com/examples/SnapkitValidation/.
##Installation The only thing you have to do to setup the Snapkit Validation Plugin inside your page is to include the css file inside the <header></header> element, and the js file before closing the <body> element. Then, you can start creating your form, following the structure below.
##Structure The form should follow this flexible structure, based on css BEM syntax. In the end, it should result something similiar:
form.form (The form) |_.form__group (A group, relative to a input/select/textarea and their possible errors) |_.form__group__label (The label, i.e. Username/Password/E-mail/Message etc...) |_input/select/textarea (The field itself) |_.form__group__info (The control) |_.form__group__info Each field of the form should be contained inside a .form__group element. Inside every .form__group there should be a label, descibing the field (i.e. Username/Password/E-mail etc...), a input/select/textarea which will be filled by the user, and one or more controls (you will find more information about the control types below). The final structure should look something similiar to:
<form class="form"> <div class="form__group"> <label>Username</label> <input type="text"> <span class="form__group__info" data-validate="required">This field is required</span> </div> <div class="form__group"> <label>Password</label> <input type="text"> <span class="form__group__info" data-validate="required">This field is required</span> <span class="form__group__info" data-validate="minLenght | 4">The password should be at least 4 characters long</span> ... </div> ... </form> ##Controls There are several controls that Snapkit Validation plugin does. To add a new control, you should put a <span class="form__group__info" data-validate="required">This field is required</span> inside the .form__group element, after the input/select/textarea. The data-validate attribute tells the plugin what kind of check should be applied to the relative input/select/textarea. The text inside the .form__group__info, is the error message that will be displayed in case the control has not been satisfied. There are several different kind of controls:
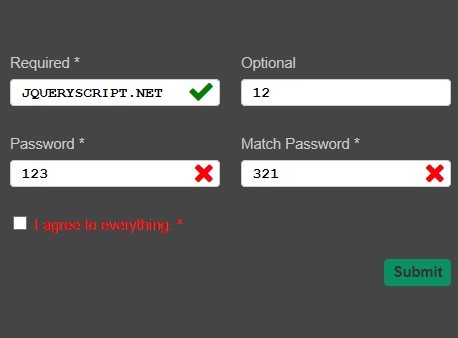
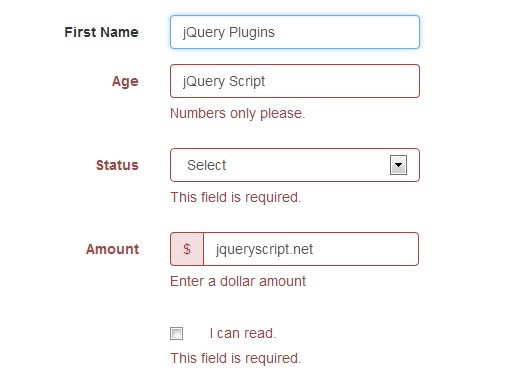
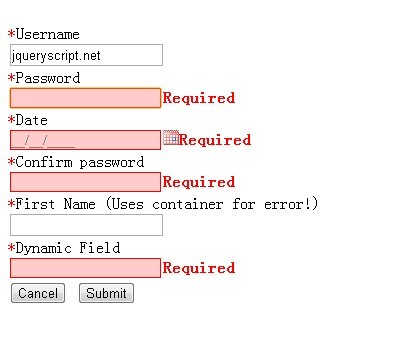
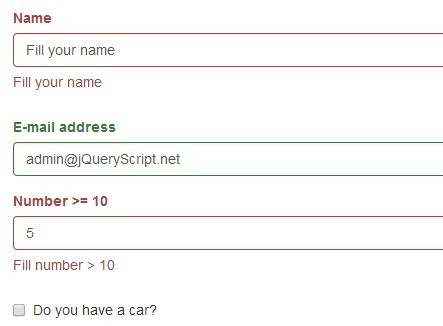
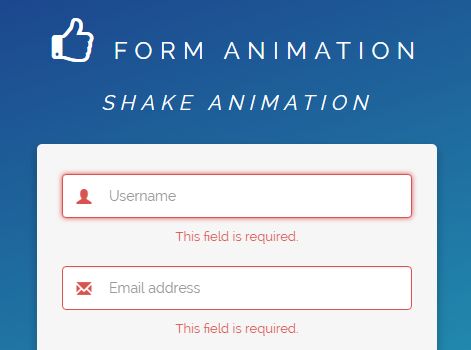
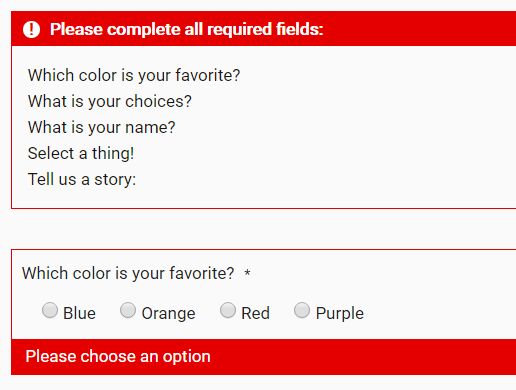
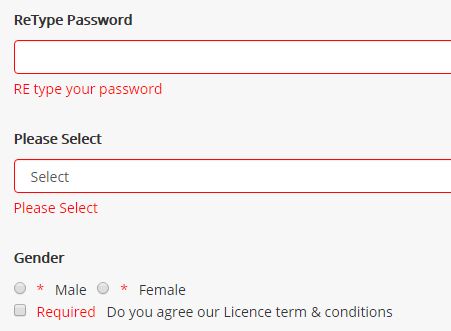
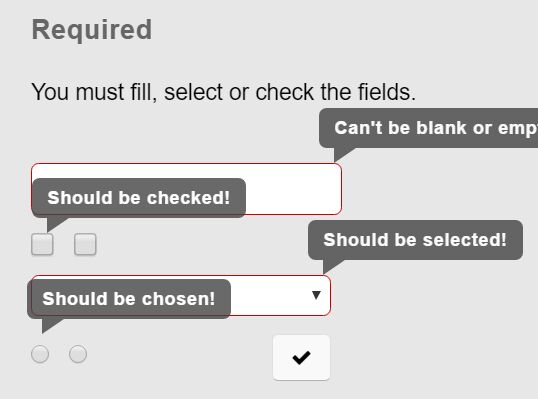
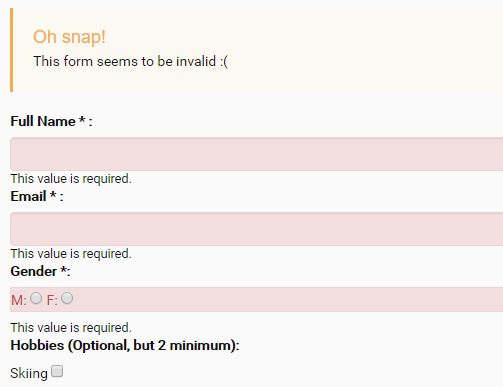
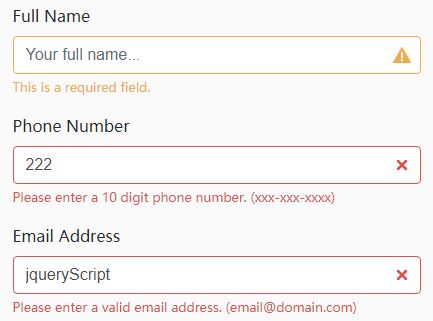
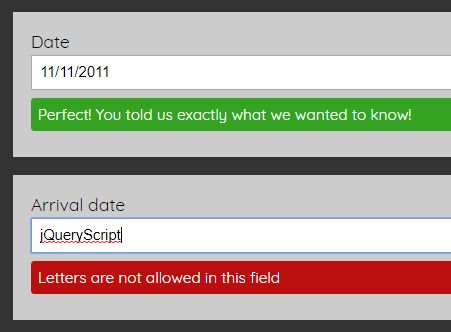
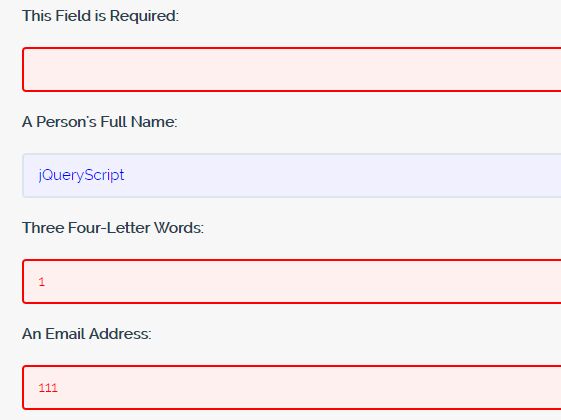
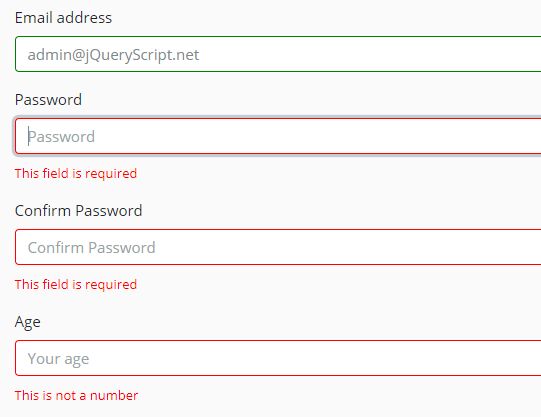
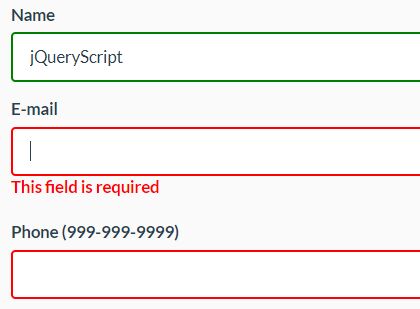
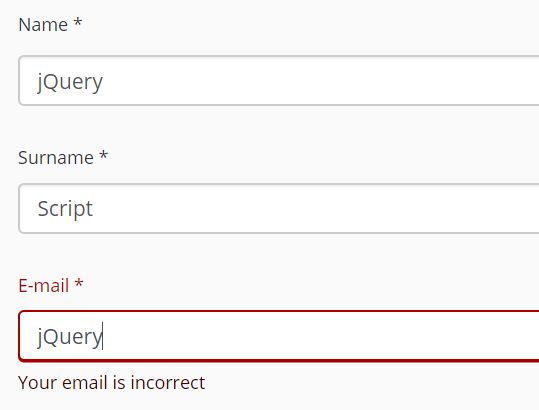
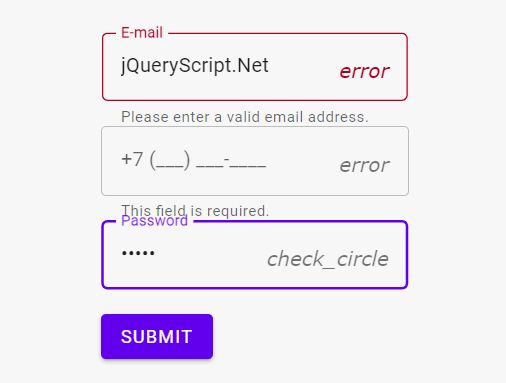
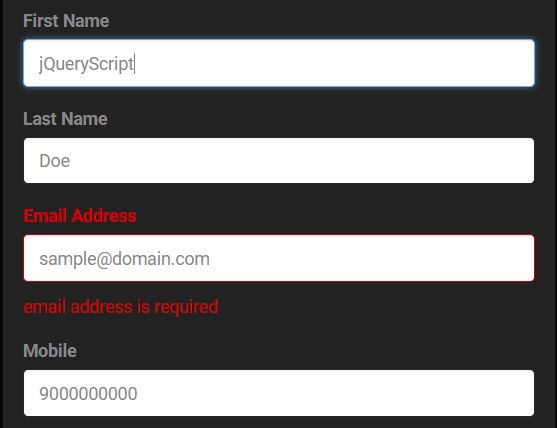
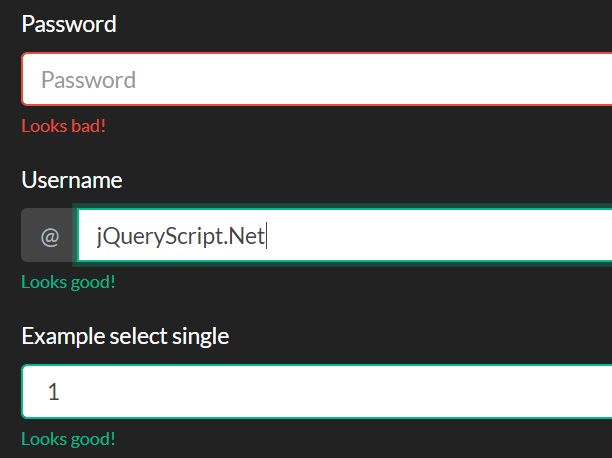
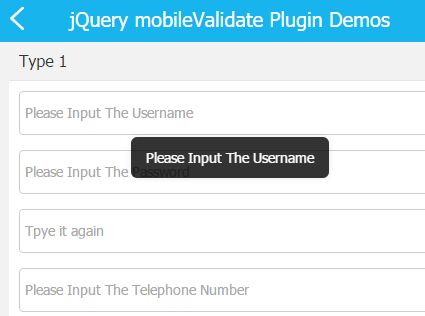
###required This is one of the most common control. It basically requires the user to fill the field. To add this control, you need to insert <span class="form__group__info" data-validate="required">This field is required</span> after your input/select/textarea element.
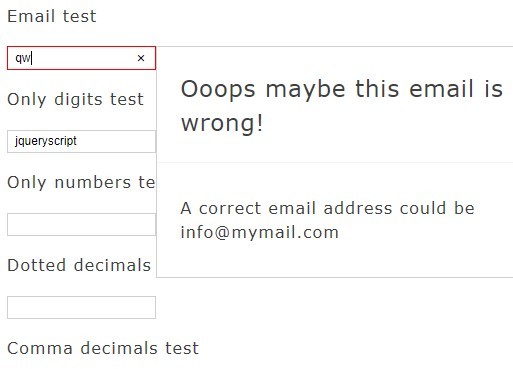
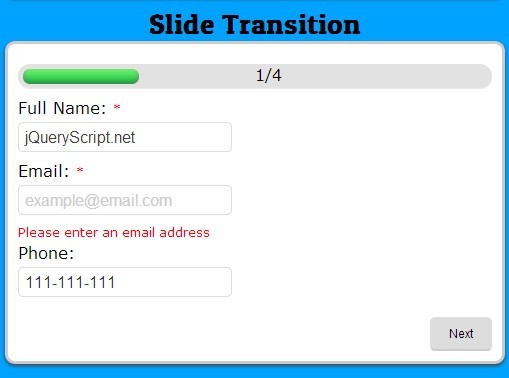
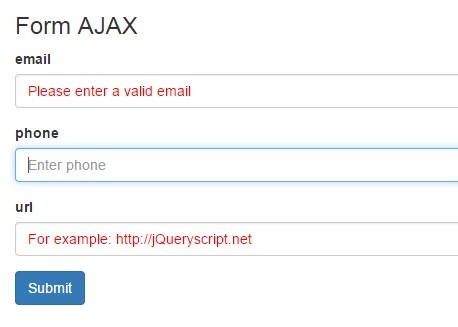
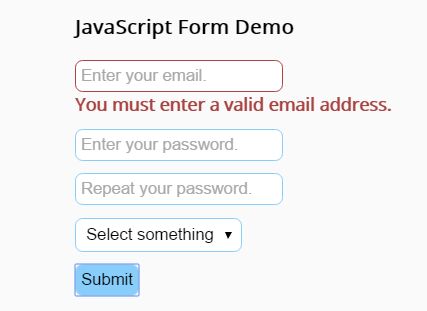
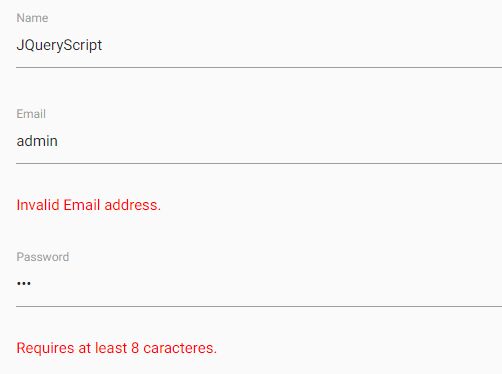
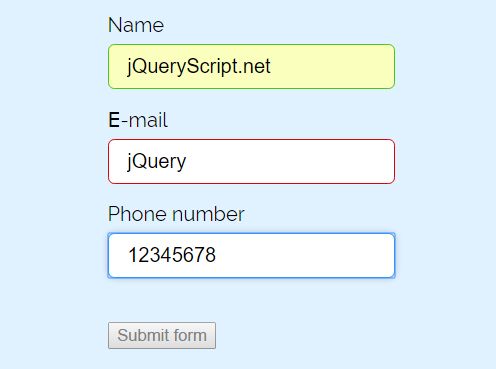
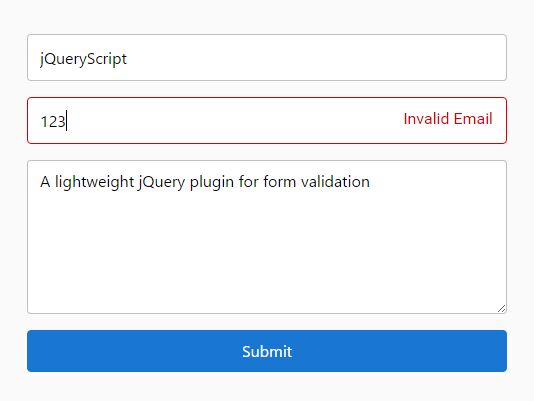
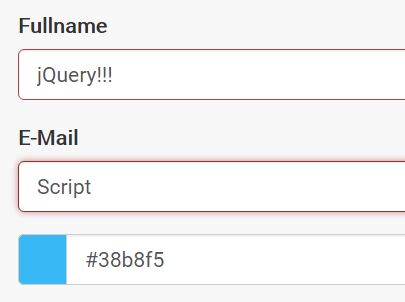
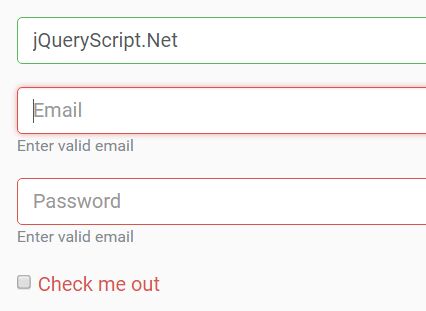
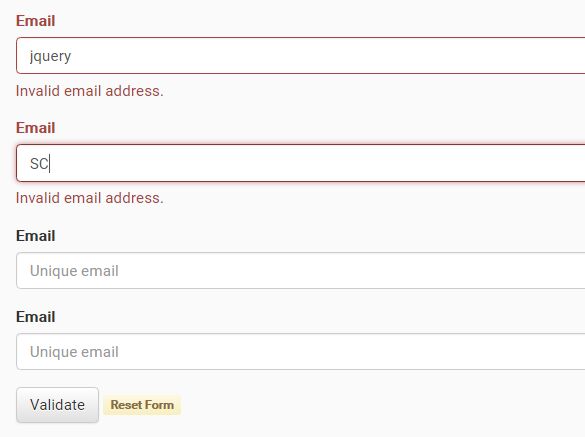
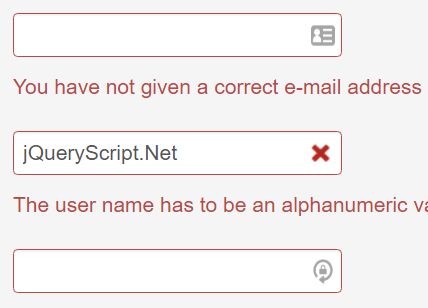
###email It requires the user to fill the field with a valid e-mail address. To add this control, you need to insert <span class="form__group__info" data-validate="email">E-mail not valid</span> after your input/select/textarea element.
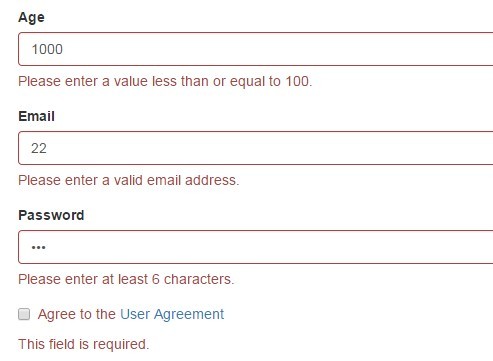
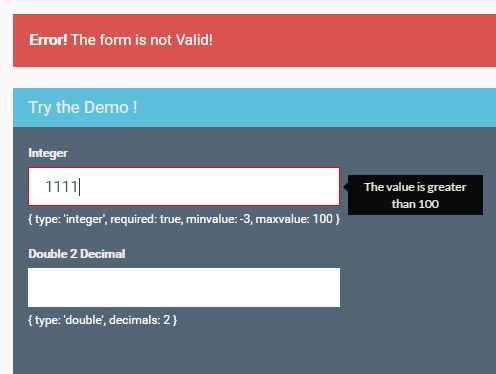
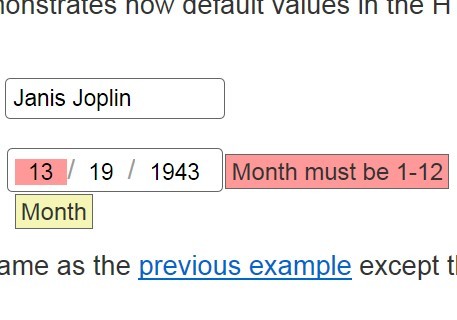
###number It requires the user to fill the field with a number (0-9). To add this control, you need to insert <span class="form__group__info" data-validate="number">This field must be a number</span> after your input/select/textarea element.
###website It requires the user to fill the field with a valid url. To add this control, you need to insert <span class="form__group__info" data-validate="website">This field must be a valid website</span> after your input/select/textarea element.
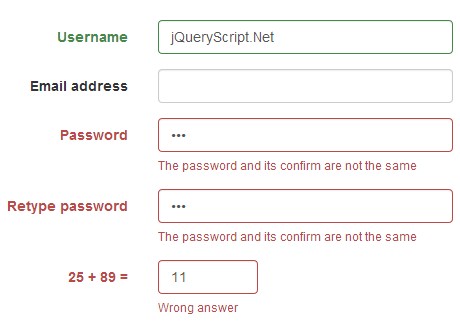
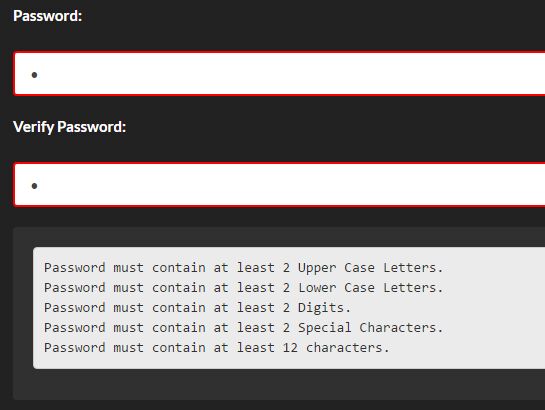
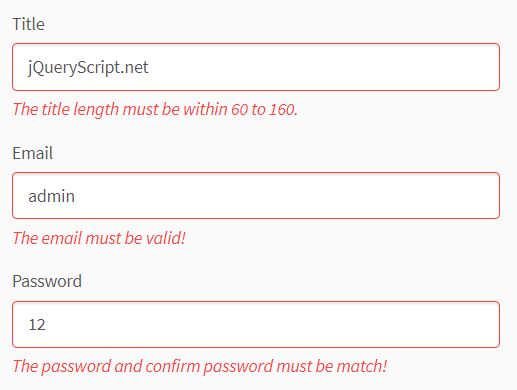
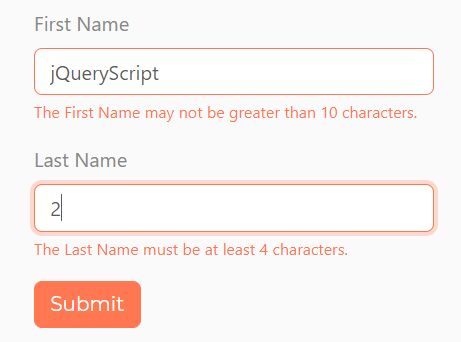
###minLenght It requires the user to fill the field with nmora than 'x' characters, where 'x' is equal to the paramether you pass inside the data-validate attribute. As you can see in the following example, we added a data-validate="minLenght | 4" attribute, meaning that the field must contain at least 4 chars. To add this control, you need to insert <span class="form__group__info" data-validate="minLenght | 4">This field must be at least 4 chars</span> after your input/select/textarea element.
###maxLenght It requires the user to fill the field with no more than 'x' characters, where 'x' is equal to the paramether you pass inside the data-validate attribute. As you can see in the following example, we added a data-validate="maxLenght | 20" attribute, meaning that the field can contain no more than 20 chars. To call it, add <span class="form__group__info" data-validate="maxLenght | 20">This field must be no more than 20 chars</span> after your input/select/textarea element.
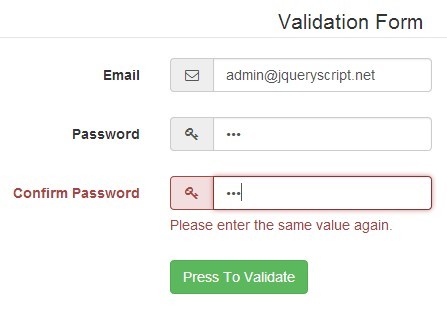
###match It requires the relative field (A) to match with another field (B). You can set the target field by sending via paramether the id/class of the target element (B). As you can see in the following example, we added a data-validate="match | #email" attribute, meaning that the field must match with the #email field (B). To add this control, you need to insert <span class="form__group__info" data-validate="match | #email">The emails doesn't match</span> after your input/select/textarea element.
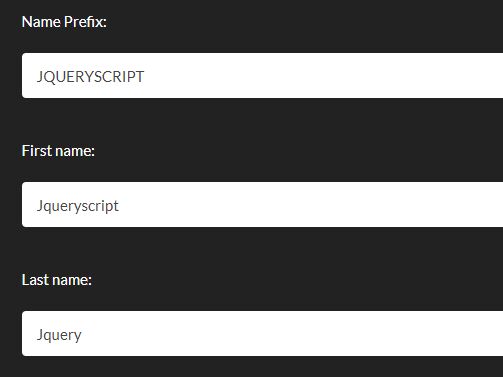
###pattern It requires the relative field to satisfy the specified regexp. For example, to require the field to be alphanumeric, we could add something like this: data-validate="pattern | ^([a-zA-Z0-9+])$" and it will work just great. To add this control, you need to insert <span class="form__group__info" data-validate="pattern | YourRegularExpression">The regular expression has not been satisfied</span> after your input/select/textarea element.
###ajax Still work in progress
##How to pass a paramether Some kind of controls (minLenght, maxLenght, match) require a paramether. Passing a param is incredibly easy. The only thing you have to do is to add a separator (|) followed bt the paramether inside your data-validate attribute, in order to have something like this:
- For minLenght:
data-validate="minLenght | 4"-> since we are passing the number 4 as a paramether, it means the relative field must be at least 4 characters long - For maxLenght:
data-validate="maxLenght | 20"-> since we are passing the number 20 as a paramether, it means the relative field must be no more than 20 characters long - For match:
data-validate="maxLenght | #email"-> since we are passing #email as a paramether, the Snapkit Validation plugin will check if the relative field (A) matches with the target field (with ID=email). We can use any kind of css selector to pass the target field. - For pattern:
data-validate="pattern | ^([a-z]+)$"-> this will require the relative input to be alphabetic only, and lowercase. We can change the regexp the way we prefer.
##Reporting issues and contributing code
We hope this documentation clarifies most of your doubts. Don't hesitate to add new issues if you need support or if you have any suggestions to improve the script or this documentation itself.
####TO-DO LIST
- Finish the implementation of ajax controls
- Write down a better documentation
- Realize a youtube video to better explain how to implement Snapkit Validation Plugin.
- Make the script customizable and usable without css dependencies, just by configuring the style as well via js
##License Copyright © Snapgle (https://snapgle.com/)
Licensed under the MIT license.