vue-page-transition

A lean Vue.js plugin for page / route transitions.
Table of contents
Installation
yarn add vue-page-transitionor with npm
npm install vue-page-transition Default import
Install the component:
import Vue from 'vue' import VuePageTransition from 'vue-page-transition' Vue.use(VuePageTransition)Browser import
<script src="vue.js"></script> <script src="vue-typed-js/dist/vue-page-transition.browser.js"></script>The plugin should be auto-installed. If not, you can install it manually with the instructions below.
Install all the components:
Vue.use(VuePageTransition)Usage
To get started simply wrap your router-view with the vue-page-transition component.
Minimal setup:
<vue-page-transition> <router-view/> </vue-page-transition>As a default the fade animation will be applied. If you want to use another animation you can do so by passing it via the name attribute:
<vue-page-transition name="fade-in-right"> <router-view/> </vue-page-transition>You can find a list of all available transitions in the following section.
Notice: You can use the
vue-page-transitioncomponent to wrap any element you would like to. Therouter-viewis just the most commone use case.
Properties / Attributes
You can make use of the following properties in order to customize your typing expirience:
| Property | Type | Description | Example |
|---|---|---|---|
| name | String | The name of the desired transition. | name="'fade-in-right'" |
Overwrite transiton for single route
We've now covered how to set up a global transition by using the name attribute. But what if I want to use multiple transitions depending on the route? In this case you can simple add a transition property to the meta fields of your specific route.
Here's an example on how your router could look like:
export default new Router({ routes: [ { path: '/', name: 'HelloWorld', component: HelloWorld, // overwrite default transition meta: { transition: 'zoom' }, }, ] })Transitions
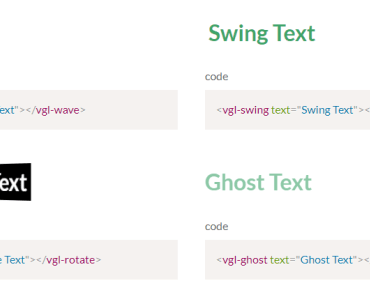
Here you can find a list of all the available transitions so far.
Fade
The default fade transtion smoothly changes the opacity between two elements / pages with the additional ability to add some direction.
Default Fade
The default fade transtion smoothly changes the visibility of the pages without any directional change.
Usage:
<vue-page-transition name="fade">...</vue-page-transition>Up
The old page smoothly disappears, while the new page fades in from the bottom.
Usage:
<vue-page-transition name="fade-in-up">...</vue-page-transition>Right
The old page smoothly disappears, while the new page fades in from right.
Usage:
<vue-page-transition name="fade-in-right">...</vue-page-transition>Down
The old page smoothly disappears, while the new page fades in from top.
Usage:
<vue-page-transition name="fade-in-down">...</vue-page-transition>Left
The old page smoothly disappears, while the new page fades in from left.
Usage:
<vue-page-transition name="fade-in-left">...</vue-page-transition>Overlay
Overlay Up
The overlay grows from the bottom to the top and back.
Usage:
<vue-page-transition name="overlay-up">...</vue-page-transition>Overlay Right
The overlay grows from the left to the right and back.
Usage:
<vue-page-transition name="overlay-right">...</vue-page-transition>Overlay Down
The overlay grows from the top to the bottom and back.
Usage:
<vue-page-transition name="overlay-down">...</vue-page-transition>Overlay Left
The overlay grows from the right to the left and back.
Usage:
<vue-page-transition name="overlay-left">...</vue-page-transition>Overlay Down Full
The overlay grows from the top to the bottom and then shrinks from top to the bottom.
Usage:
<vue-page-transition name="overlay-down-full">...</vue-page-transition>Overlay Right Full
The overlay grows from the left to the right and then shrinks from left to the right.
Usage:
<vue-page-transition name="overlay-right-full">...</vue-page-transition>Overlay Up Full
The overlay grows from the bottom to the top and then shrinks from bottom to the top.
Usage:
<vue-page-transition name="overlay-up-full">...</vue-page-transition>Overlay Left Full
The overlay grows from the left to the right and then shrinks from left to the right.
Usage:
<vue-page-transition name="overlay-left-full">...</vue-page-transition>Overlay Up Down
The overlay grows from the bottom and top at the same time and back.
Usage:
<vue-page-transition name="overlay-up-down">...</vue-page-transition>Overlay Left Right
The overlay grows from the left and right at the same time and back.
Usage:
<vue-page-transition name="overlay-left-right">...</vue-page-transition>Flip
Flip X
The old page flips horizontally into the new page.
Usage:
<vue-page-transition name="flip-x">...</vue-page-transition>Flip Y
The old page flips vertically into the new page.
Usage:
<vue-page-transition name="flip-y">...</vue-page-transition>Zoom
Default Zoom
The old page smoothly zooms out and then new page zooms in.
Usage:
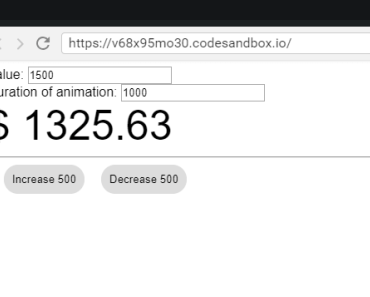
<vue-page-transition name="zoom">...</vue-page-transition>Demo
Checkout the demo here.