jquery-pushy
jQuery Navigation Menu plugin using Responsive CSS transforms & transitions with multiple instances and differents positions (left / right / top)
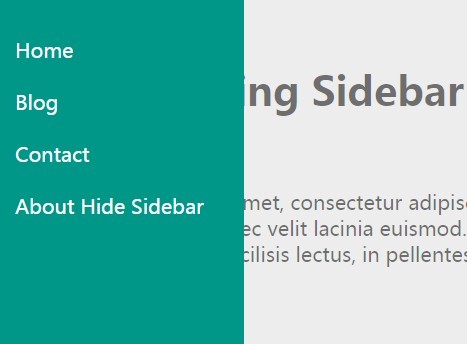
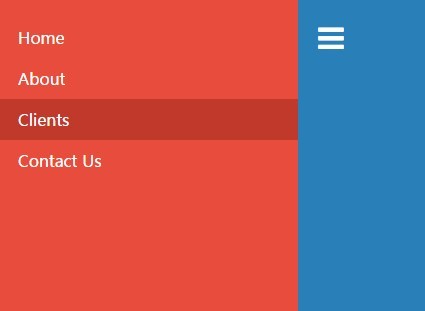
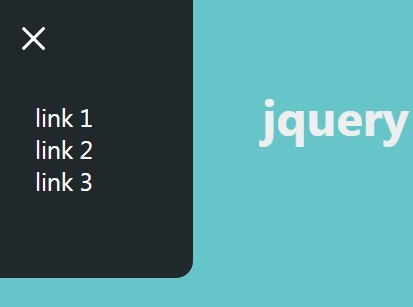
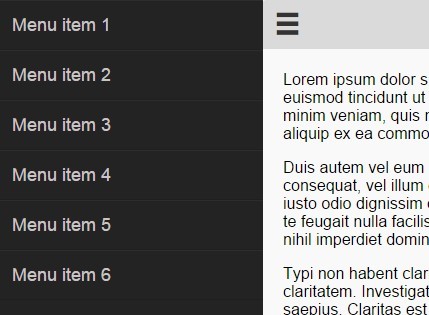
Features
- Multiple instances in the same page
- Menu positions Left, Right and Top
- Optinal use of overlay
- Define default status (open / close)
- Uses CSS transforms & transitions.
- Smooth performance on mobile devices.
- jQuery animation fallback for IE 7 - 9.
- Menu closes when a link is selected.
- Menu closes when the site overlay is selected.
- It's responsive!
Requierments
Install
- Add the stylesheet (pushy.css) in your head and the JS (pushy.min.js) file in your footer.
How to use - Simple mode
If you only want use a single navigation menu, follow the next steps.
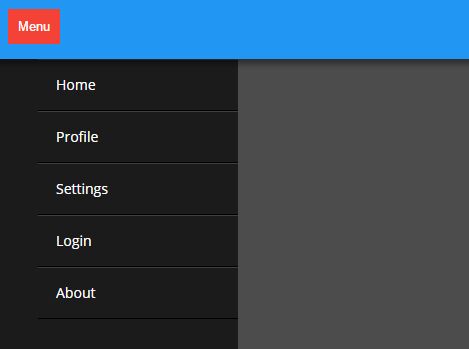
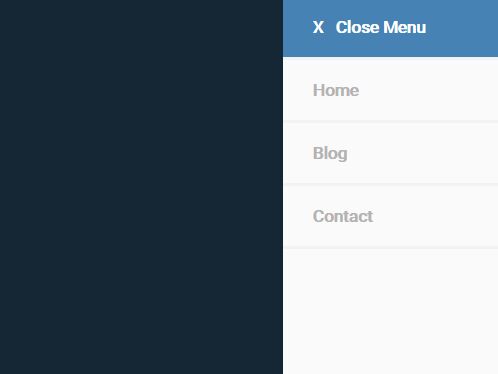
Create the navigation menu with any id attribute value:
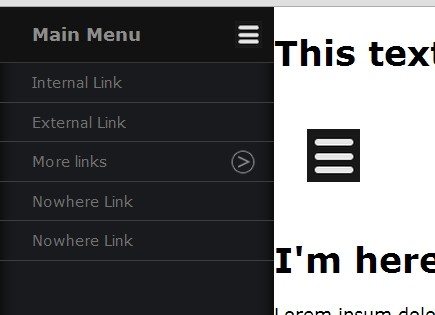
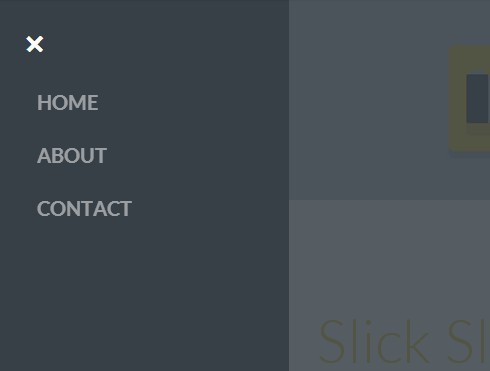
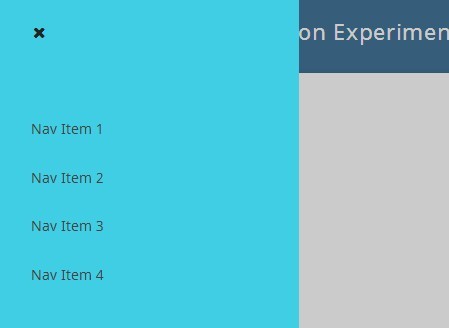
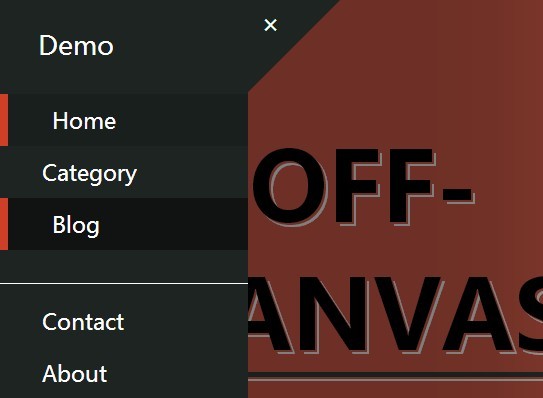
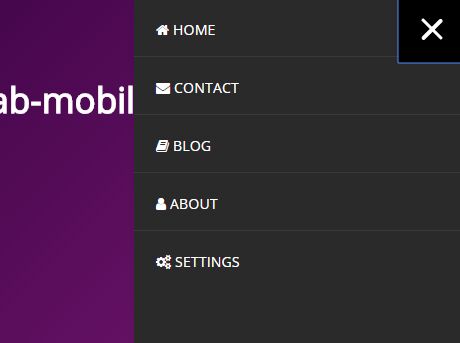
<!-- Pushy Menu --> <nav id="menuSample"> <ul> <li><a href="#">Item 1</a></li> <li><a href="#">Item 2</a></li> <li><a href="#">Item 3</a></li> <li><a href="#">Item 4</a></li> <li><a href="#">Item 5</a></li> <li><a href="#">Item 6</a></li> </ul> </nav>Create the menu button with the "menuPushyButton" id attribute value:
<!-- Menu Button --> <div class="menu-pushy-button">menu</div>Instance jquery-pushy plugin over HTML elements that we create in the step 1
<script> $("#menuSample").Pushy(); </script>How to use - Advance mode
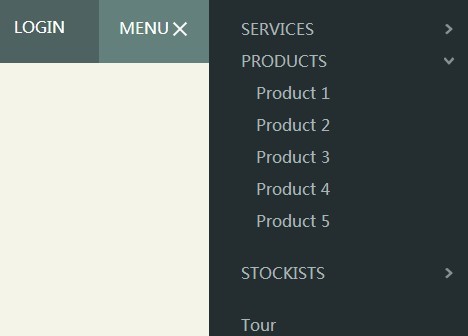
You can use multiple navigations and define their individual options like button element, container element, position menu, open menu status and overlay status.
Create Multiple navigation Menu
Create the navigations menu with differents ids attributes value
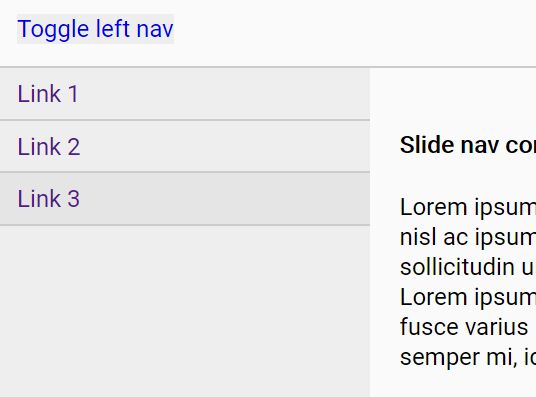
<!-- Pushy LEFT --> <nav id="menuLeftSample"> <ul> <li><a href="#">Item 1</a></li> <li><a href="#">Item 2</a></li> <li><a href="#">Item 3</a></li> <li><a href="#">Item 4</a></li> <li><a href="#">Item 5</a></li> <li><a href="#">Item 6</a></li> </ul> </nav> <!-- Pushy RIGHT --> <nav id="menuRightSample"> <ul> <li><a href="#">Item 1</a></li> <li><a href="#">Item 2</a></li> <li><a href="#">Item 3</a></li> <li><a href="#">Item 4</a></li> <li><a href="#">Item 5</a></li> <li><a href="#">Item 6</a></li> </ul> </nav>Create the menu buttons with differents ids attributes value:
<!-- Menu Left Button --> <div class="side-left-pushy-button">menu Left</div> <!-- Menu Right Button --> <div class="side-right-pushy-button">menu Right</div>Instance both navigations menu over the HTML elements
<script> $("#menuLeftSample").Pushy({ button: "side-left-pushy-button", menuPosition: "left" }); $("#menuRightSample").Pushy({ button: "side-right-pushy-button", menuPosition: "right" }); </script>Pushy full Options
You can customize some actions, here it is
button : "menuPushyButton"(String) CSS Class that bind with toggle open|close menu action.container : "container"(String) ID Element that is pushed when the menu is showing.containerPush : true(Boolean) Push the container when the menu is showing.containerClass : "menu"(String) Add a container's CSS Class when menu is pushmenuPosition : "left"(String) Position where the menu will appear (left|right|top).menuOpen : false(Boolean) Open|close the menu when pushy is loadoverlayShow : true(Boolean) Show|hide the overlay alpha div when the menu is showing.
Default option values.
var options = { button: "menuPushyButton", container: "container", containerPush: true, containerClass: "my-menu", menuPosition: "left", menuOpen: false, overlayShow: true }Tips
- Use the CSS class
pushyandpushy-leftorpushy-rightorpushy-topto hide navigation menu in the first load.
<!-- Menu Button --> <div id="menuPushyButton" class="pushy pushy-left">menu</div>- Use the
.pushCSS class on HTML elements outside of the#container.
<header class="push"> <h1>This is a Heading</h1> <h2>This is a subheading</h2> </header> <!-- Your Content --> <div id="container"></div>-
If you change the width of the
.pushymenu, be sure to update the values CSS classes. -
If you want to prevent scrolling of your site when Pushy is open just add overflow-x: hidden and height: 100% to both the html & body tags.
html, body{ overflow-x: hidden; height: 100%; }Browser Compatibility
| Desktop | Mobile |
|---|---|
| IE 9-11 | Chrome (Android 4.x+) |
| Chrome | Android Browser (Android 4.x+) |
| Firefox | Safari (iOS 7) |
| Safari (Mac) | Internet Explorer Mobile (Windows Phone 8) |
Version History
0.2
- Menu Top position dynamic calculate Fixed
- Add boolean option containerPush
- Use CSS class on menu button
- Add dynamic overlay after pushy menu
- Update Readme file
- Update demo simple file
- Update demo advance file
Developed By
- Eduardo Estrella Rosario - [email protected]

License
Thanks
The jQuery Plugin is based on pushy v0.9.2 proyect of Christopher Yee. Visit him!