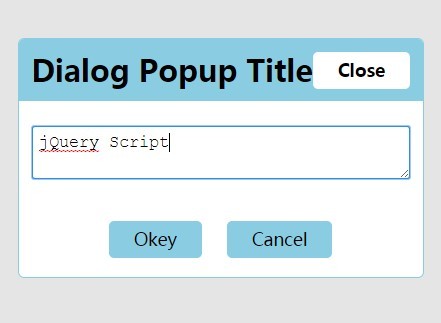
proto-dialog-js
Table of Contents
Usage
<link rel="stylesheet" type="text/css" href="proto-dialog.css"/> <!-- ... --> <script type="text/javascript" src="jquery.proto-dialog.js"></script> <!-- ... --> <div id="proto-dialog"> <div id="proto-dialog-header"></div> <div id="proto-dialog-content"></div> <div id="proto-dialog-footer"></div> <!-- ... --> </div>Add the UI.Layout module as a dependency to your application module:
$('#proto-dialog').protoDialog({ ... });Options
var protoDialogOptions = { actions: { }, animation: { 'open': false, 'close': false }, onInit: function($dialog) { }, onOpen: function($dialog) { }, onOpened: function($dialog) { }, onClose: function($dialog) { }, onClosed: function($dialog) { }, onResize: function($dialog) { }, onAction: function(_action, $dialog) { } };actions
Type: Object Default: {}
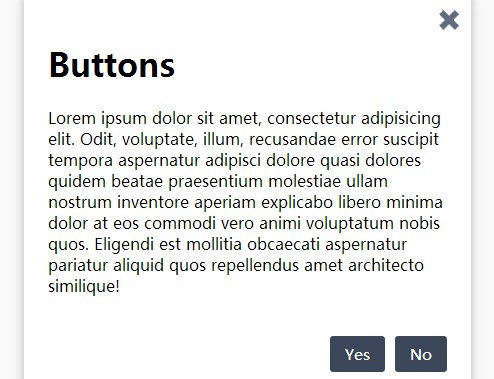
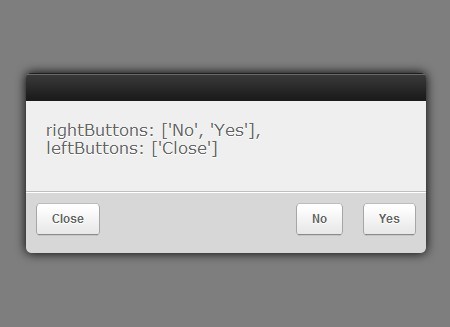
Define buttons that you want on action bar
var actions = { 'actionOne': { 'label': 'button label', 'class': 'html classes', 'on': { 'click': function(event, $dialog) { $(this).html('custom - custom on click event'); }, 'mouseover': function(event, $dialog) { $(this).html('custom - custom on mouse over event'); } } }, 'actionTwo': { 'label': 'button label', 'class': 'html classes' }, 'actionTree': { 'label': 'button label', 'class': 'html classes' } };onAction
Type: Function Default: function ($_action, _event, $dialog) {}
This method is called each time when an action button is clicked. If you want to have full control on action button events use the on key in actions.
var onAction = function (action, _event, $dialog) { switch(_action) { case 'actionTwo': /* Some specific action for button actionTwo */ break; default: $(this).html(_action + ' - auto click event'); break; } };onInit
Type: Function Default: function ($dialog) {}
This method is called when the dialog is initialized for the first time, and it is called one time only from the widget.
var onInit: function ($dialog) { var protoDialogContent = $dialog.find('.proto-dialog-content'); var dialogFooter = $dialog.find('#proto-dialog-footer'); var dialogHeader = $(this).find('#proto-dialog-header'); };onOpen
Type: Function Default: function ($dialog) {}
This method is called each time before the dialog is to be opened.
onOpened
Type: Function Default: function ($dialog) {}
This method is called each time after the dialog has been opened.
onClose
Type: Function Default: function ($dialog) {}
This method is called each time before the dialog is to be closed.
onClosed
Type: Function Default: function ($dialog) {}
This method is called each time after the dialog has been closed.
onResize
Type: Function Default: function ($dialog) {}
This method is called each time when the screen size changes.
Methods
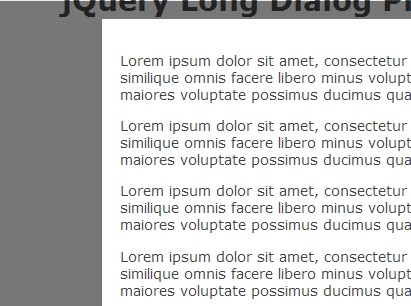
Take a look at the list of methods to control the dialog.
open
This method is called to open a dialog manually.
$('#proto-dialog').protoDialog('open', { ['title': ... ] [, 'content': ... ] });close
This method is called to close a dialog manually.
$('#proto-dialog').protoDialog('close');settings
This method is called when you want to override settings.
$('#proto-dialog').protoDialog('settings', { ... });Advanced usage
The advanced usage is about taking full control of the dialog.
Dialog
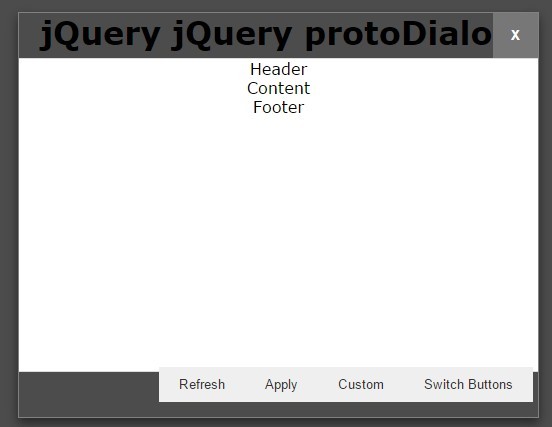
Take a look at the dialog HTML structure in order to have a better view, and push your ideas further. When ever you have a $dialog variable in a on*** function, this will be your $('.proto-dialog-overlay') object. The <!-- Dialog content --> is replaced by your target object that the widget is applied to.
<div class="proto-dialog-overlay"> <div class="proto-dialog-window"> <div class="proto-dialog-inner"> <button type="button" class="proto-dialog-close proto-dialog-button"></button> <div class="proto-dialog-title"> <h3><!-- Title --></h3> </div> <div class="proto-dialog-content"> <!-- Dialog content --> </div> <div class="proto-dialog-actions"> <!-- Action buttons --> </div> </div> </div> </div>Controller
var controllerInterface = { /** * Closes the dialog */ 'close': function () {}, /** * Openes the dialog */ 'open': function () {}, /** * Is dialog opened */ 'isOpened': function () {}, /** * Sets the title */ 'setTitle': function () {}, /** * Sets the content */ 'setContent': function () {}, /** * Defines new settings */ 'setSettings': function () {}, /** * Get current settings */ 'getSettings': function () {}, }; /* Get dialog controller instance */ var _data = $('#proto-dialog').data('protoDialog'); // If the widget is initialized if (_data) { var _controller = _data['controller']; var _settings = _data['settings']; var $target = _data['target']; // === $('#proto-dialog') }