Choreographer-js

A simple library to take care of complex CSS animations.
(You can also add custom functions that do non-CSS animations!)
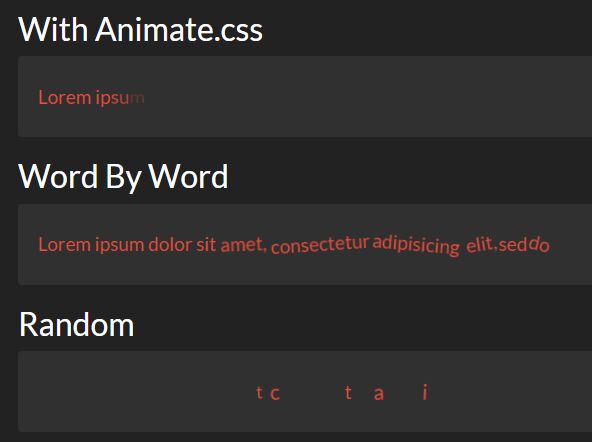
Other examples:
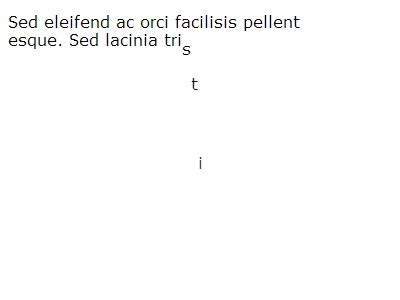
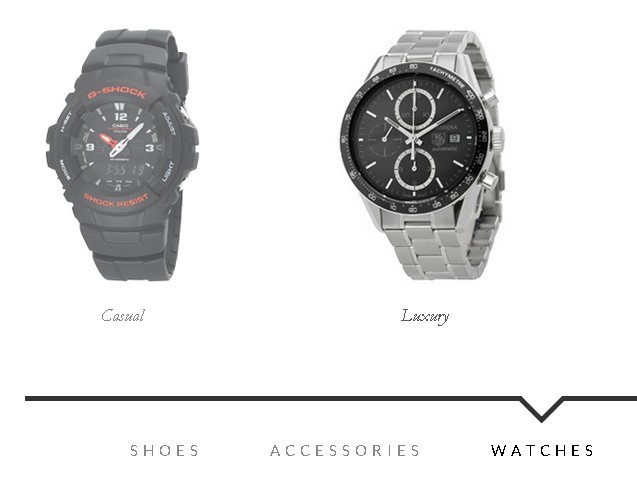
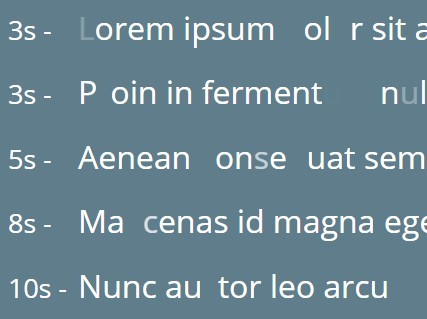
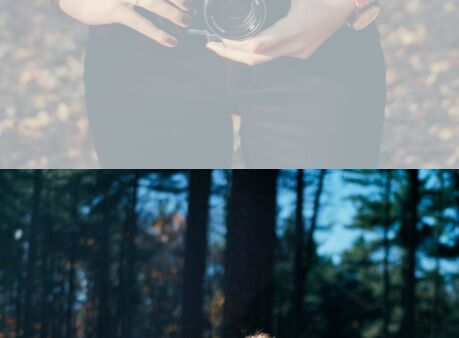
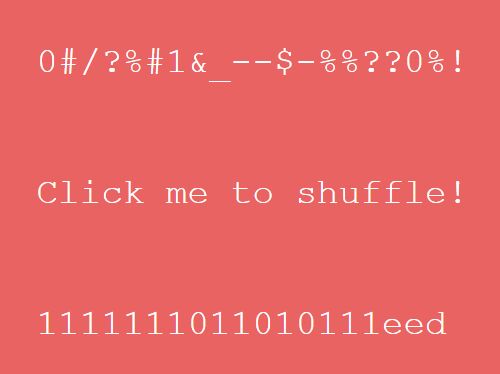
Basic Example (animating based on scroll location)
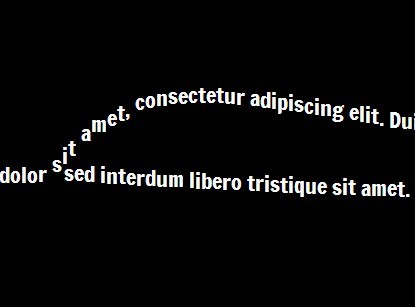
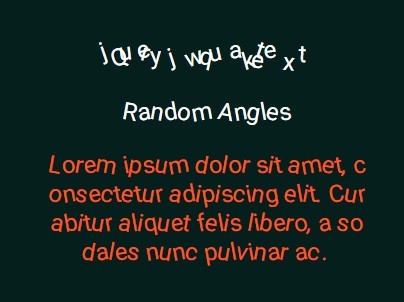
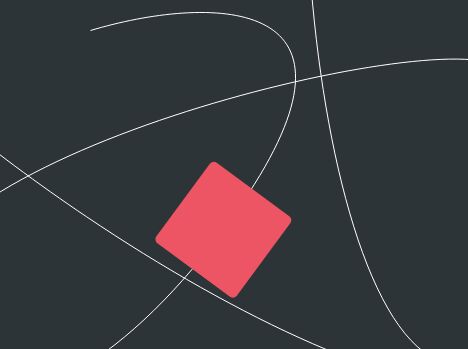
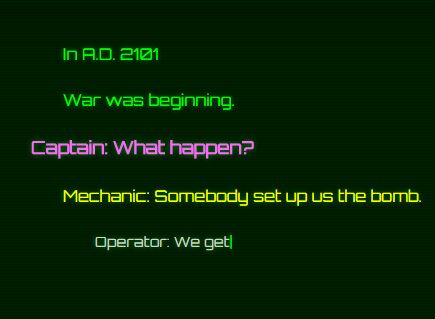
Basic Example (animating based on mouse X location)
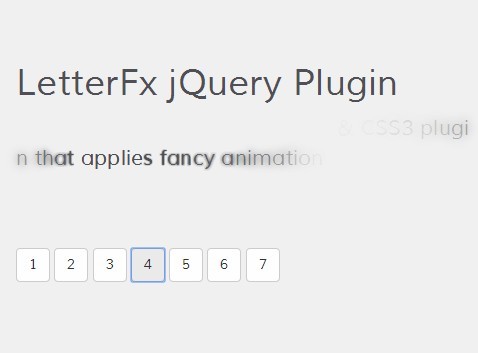
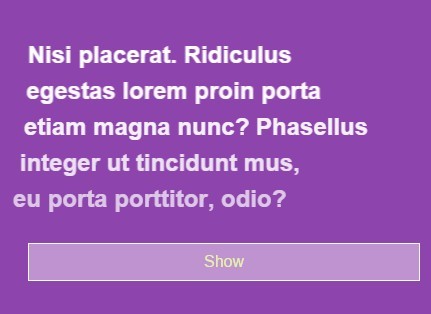
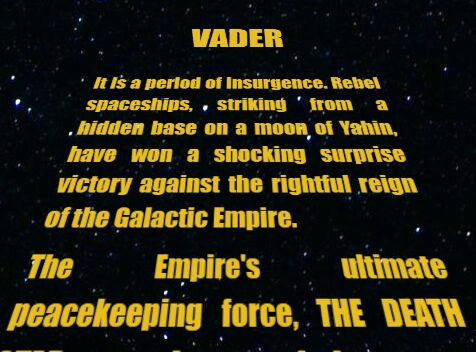
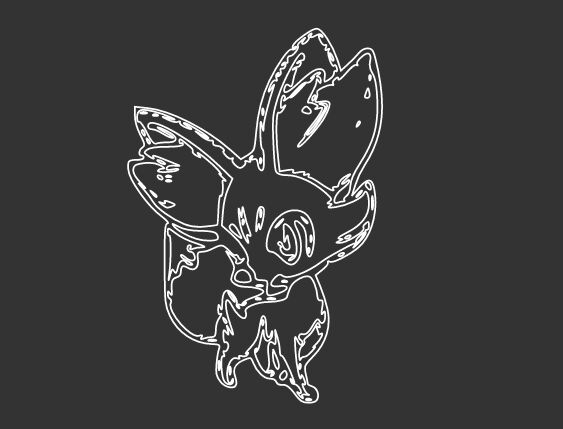
Basic Example (multiple animations based on mouse X location)
Table of Contents + Useful Links
Quickstart
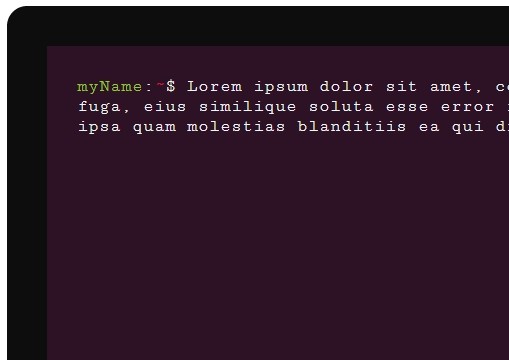
Install and save to your package.json:
$ npm install --save choreographer-js Include it in your Javascript:
const Choreographer = require('choreographer-js')Use Cases + Snippets
Brew up some instant scroll animations. This one would scale a box's opacity from 0 to 1 mirroring your scroll location from the top to 1000. Full Example >>
let choreographer = new Choreographer({ animations: [ { range: [-1, 1000], selector: '#box', type: 'scale', style: 'opacity', from: 0, to: 1 } ] }) window.addEventListener('scroll', () => { choreographer.runAnimationsAt(window.pageYOffset) })What about animations based on mouse movement? This would make #box move 300px down if your mouse was in the left-half of the browser window.
let choreographer = new Choreographer({ animations: [ { range: [-1, window.innerWidth / 2], selector: '#box', type: 'change', style: 'transform:translateY', to: 300, unit: 'px' } ] }) document.body.addEventListener('mousemove', (e) => { choreographer.runAnimationsAt(e.clientX) })Get Started
You can simply install the package via npm:
$ npm install --save choreographer-js Or if you're keeping things super simple, just include this file as a script like so:
<script src="your_path/choreographer.min.js"></script>Cool! Now you can create an instance of Choreographer like this, and run the animations based on whatever measurement floats your boat (ex. scroll position, mouse position, timestamp, whatever).
let choreographer = new Choreographer(config) choreographer.runAnimationsAt(position)More often than not, you'll probably want to wrap that runAnimationsAt function in another, like an event handler, for instance:
window.addEventListener('scroll', () => { // then, use the scroll position (pageYOffset) to base the animations off of choreographer.runAnimationsAt(window.pageYOffset) })The easiest way to understand how this all works is to check out the examples. More detailed documentation below!
Full API Reference
Choreographer
[Class] | The home base for everything.
construction:
new Choreographer( choreographerConfig )
public methods:
choreographerConfig
[Object] | The object used to configure an instance of Choreographer.
example structure:
{ customFunctions: { [animation type]: [animationFunction] }, animations: [ animationConfig, animationConfig, ... ] } related references: animationFunction, animationConfig
Choreographer.updateAnimations([ Array of animationConfig ])
[Function] | Replace this.animations with a new Array of Animations.
Choreographer.runAnimationsAt([ Number ])
[Function] | Run the animations at a given location marker.
Animation
[Class] | The class that manages each animation's data.
construction:
new Animation( animationConfig )
animationConfig
[Object] | The object used to configure an instance of Animation.
example structure:
{ range: [0, 100], selector: '.box', type: 'scale', fn: [animationFunction], style: 'width', from: 0, to: 100, unit: '%' } range | [Array of Number] or [Array of Array of Number]
Either a one- or two-dimensional array of ranges, i.e. [0,5] or [[0,3], [4,5]]
NOTE: Bugs will occur if you overlap animation ranges that affect the same style properties!
type | [String]
The name of the animation function
fn | [animationFunction] see animationFunction](#animationfunction)
selector | [String] or [NodeList] or [DOM Element]
A valid DOM Element, list of elements, or selector string, ex. '.classname' or '#box .thing[data-attr=true]'
selectors | [Array] An array of selector strings (as described above).
NOTE: Only one of the below (selector or selectors) is necessary. If they both exist, 'selectors' will be used.
style | [String] A valid CSS style property OR the string "class" to toggle a classname instead. NOTE: If you are using 'transform', follow it with a colon and the property name, ex. 'transform:scaleX'
from | [Number]
The minimum value to set to the style property. Useful when progressively calculating a value.
to | [Number or String] If you want progressively calculated (scaled) values, this has to be a number. Otherwise, if for something a 'change' animation, this can be a string - whatever the valid type for the relevant style property is.
related references: animationFunction
animationFunction
[Function] | A function that takes animationData and does something with it.
There are two built-in animation functions available, called 'scale' and 'change'.
- 'scale' maps a progressively calculated value to the node's style property based on location
- 'change' adds or takes away a style property value if you're in or out of range
Example animationFunction (this is a simplified version of how 'change' works):
(data) => { // where data is an 'animationData' object (see below) const newValueString = data.to + data.unit if (data.progress > 0 && data.progress < 1) { data.node.style[data.style] = newValueString } }arguments: animationData
animationData
[Object] | This is the data passed into an animationFunction. A lot of it is taken directly from animationConfig.
Structure:
{ node: [DOM Element] | the element this animation will affect, progress: [Number] | a number representing the relative location of a node within a range, // these are all taken directly from the animationConfig style: (see above), from: (see above), to: (see above), unit: (see above), } Progress is what allows for progressive scaling of values (ex. smooth fading of opacity, 2d translation, etc.) If the value is between 0 and 1, that means you are within a range (given in animationConfig).
Contributing
- Fork it!
- Create your feature branch:
git checkout -b my-new-feature - Commit your changes:
git commit -am 'Add some feature' - Push to the branch:
git push origin my-new-feature - Submit a pull request :D
Found an issue but don't know how to fix it? Submit an issue or email me.
License
The MIT License (MIT) Copyright (c) 2016 Christine Cha
Permission is hereby granted, free of charge, to any person obtaining a copy of this software and associated documentation files (the "Software"), to deal in the Software without restriction, including without limitation the rights to use, copy, modify, merge, publish, distribute, sublicense, and/or sell copies of the Software, and to permit persons to whom the Software is furnished to do so, subject to the following conditions:
The above copyright notice and this permission notice shall be included in all copies or substantial portions of the Software.
THE SOFTWARE IS PROVIDED "AS IS", WITHOUT WARRANTY OF ANY KIND, EXPRESS OR IMPLIED, INCLUDING BUT NOT LIMITED TO THE WARRANTIES OF MERCHANTABILITY, FITNESS FOR A PARTICULAR PURPOSE AND NONINFRINGEMENT. IN NO EVENT SHALL THE AUTHORS OR COPYRIGHT HOLDERS BE LIABLE FOR ANY CLAIM, DAMAGES OR OTHER LIABILITY, WHETHER IN AN ACTION OF CONTRACT, TORT OR OTHERWISE, ARISING FROM, OUT OF OR IN CONNECTION WITH THE SOFTWARE OR THE USE OR OTHER DEALINGS IN THE SOFTWARE.