{:navgoco} 
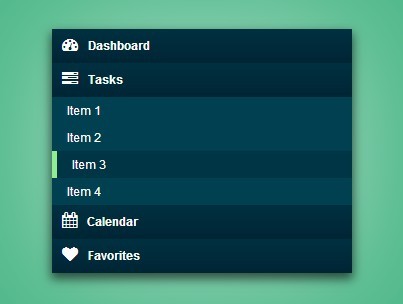
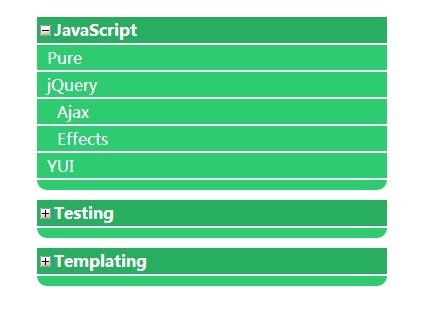
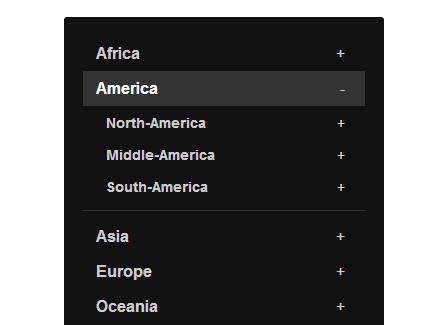
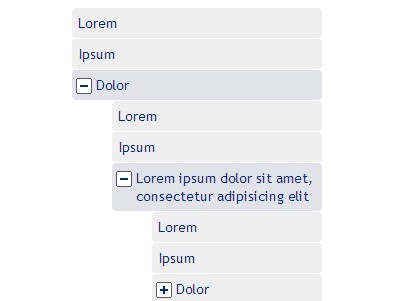
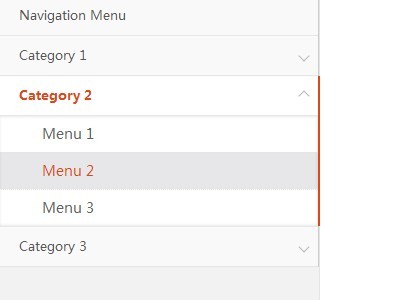
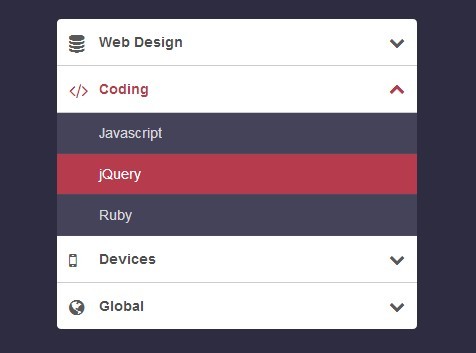
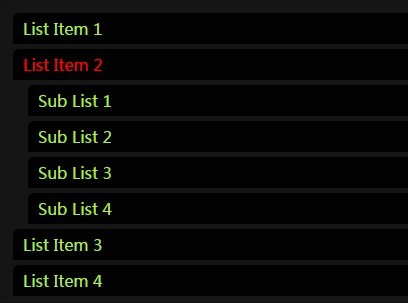
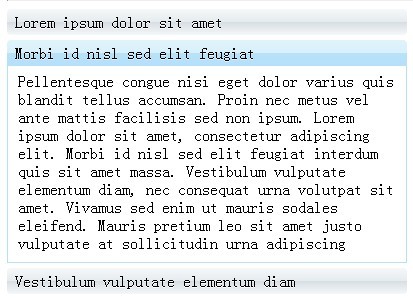
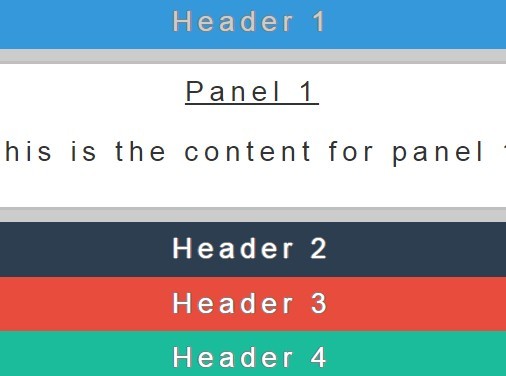
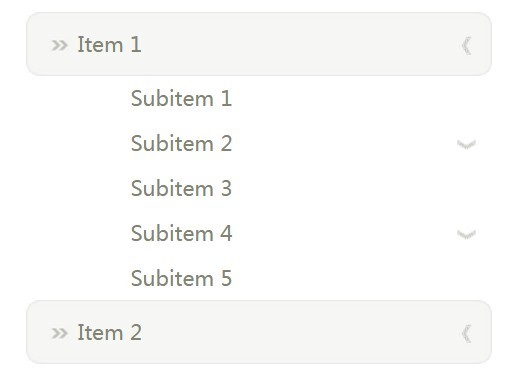
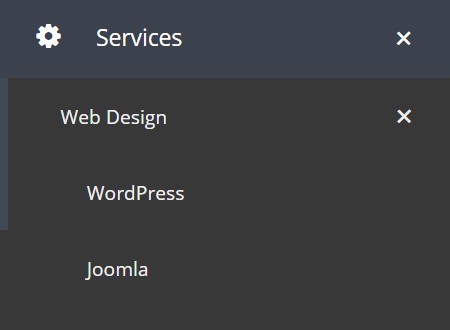
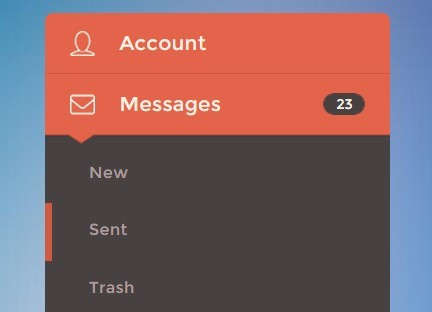
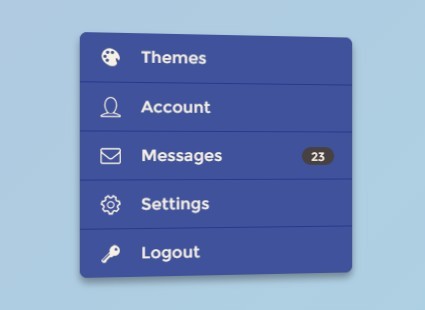
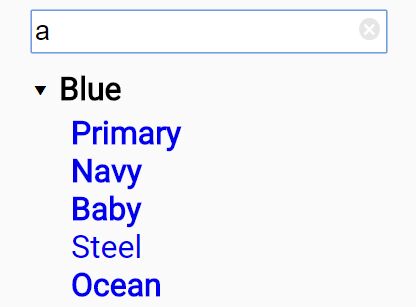
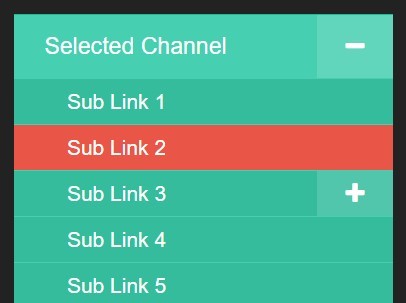
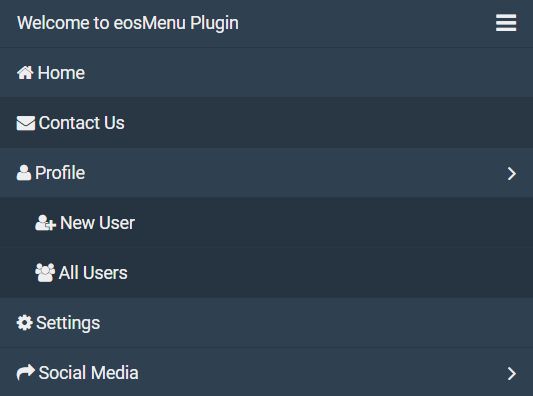
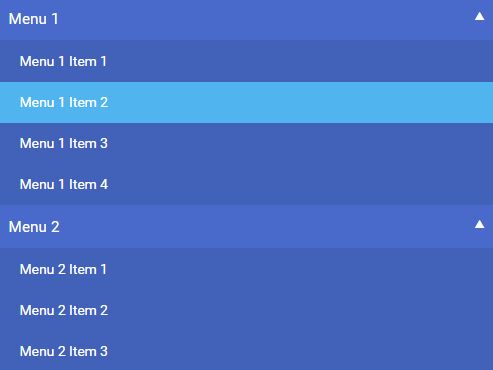
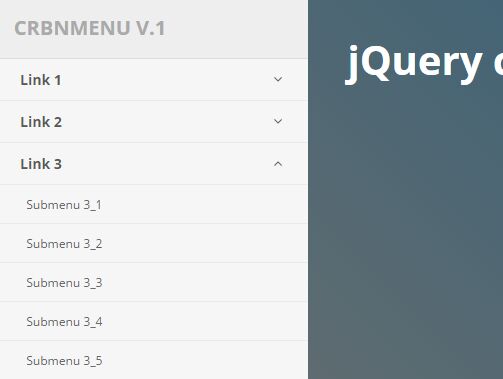
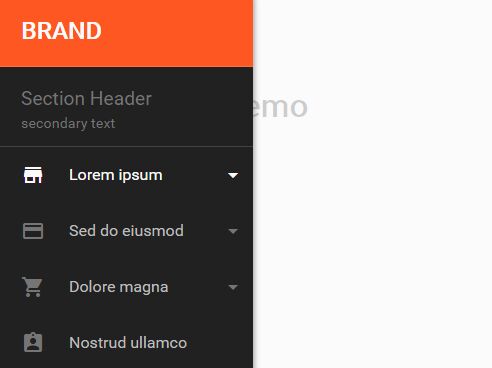
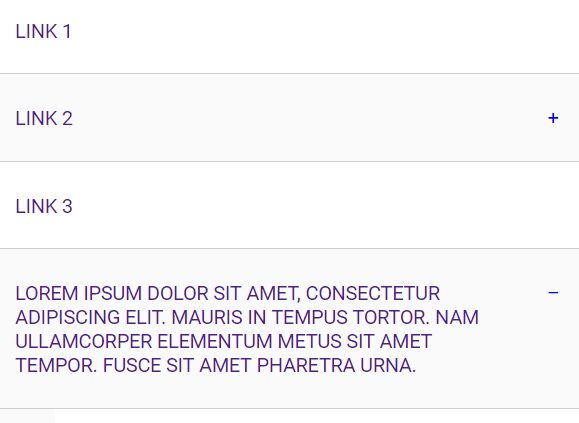
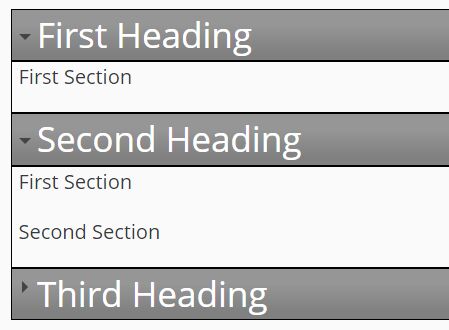
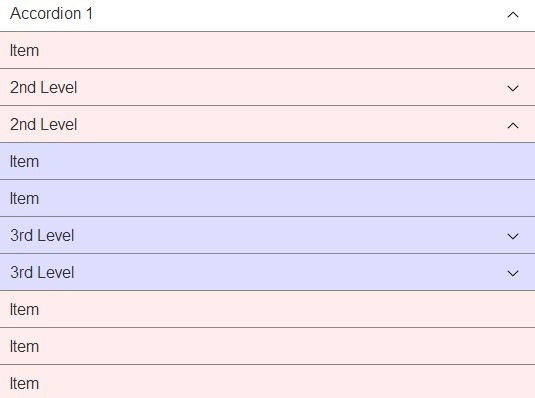
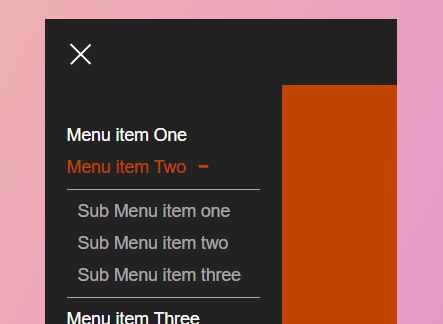
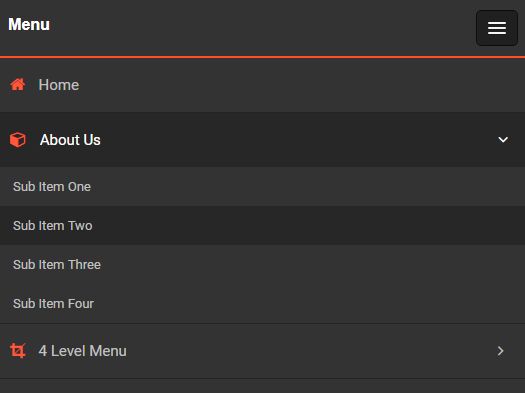
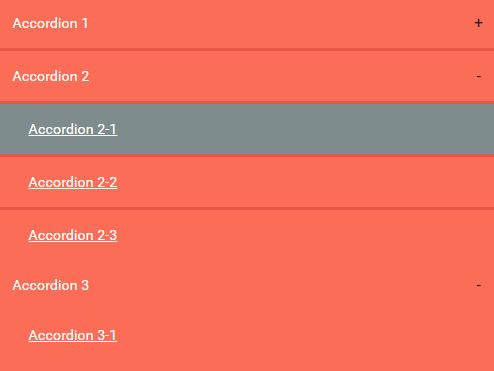
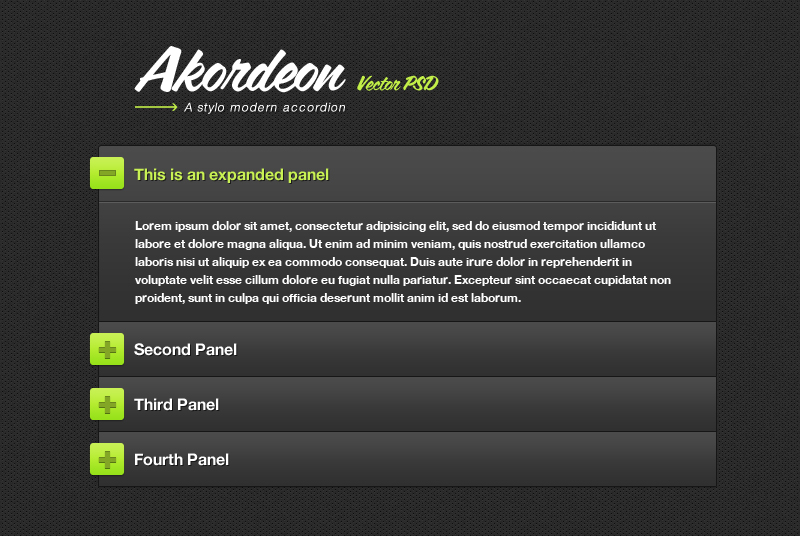
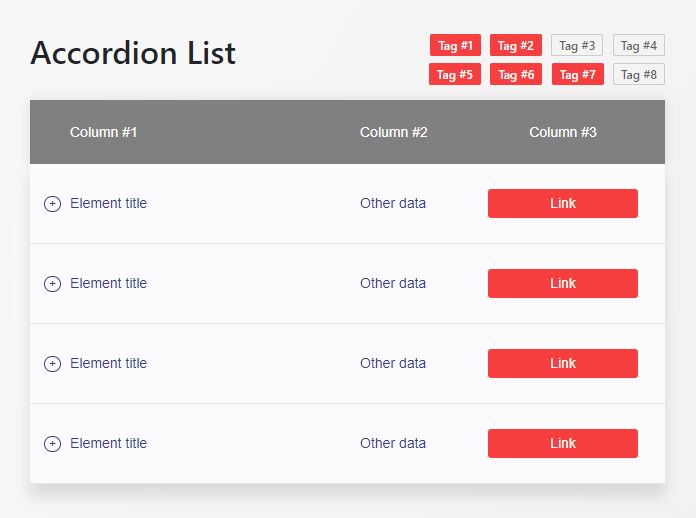
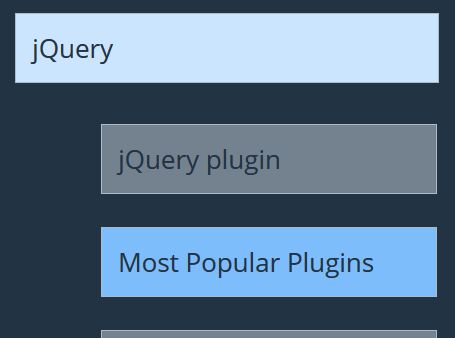
Navgoco is a simple JQuery plugin which turns a nested unordered list of links into a beautiful vertical multi-level slide navigation, with ability to preserve expanded sub-menus between sessions by using cookies and optionally act as an accordion menu.
Getting Started
Download the plugin, unzip it and copy the files to your application directory and load them inside your HTML.
<head> <!-- Load JQuery --> <script type="text/javascript" src="http://code.jquery.com/jquery-latest.min.js"></script> <!-- Load jquery.cookie plugin (optional) --> <script type="text/javascript" src="/navgoco/src/jquery.cookie.js"></script> <!-- Load jquery.navgoco plugin js and css files --> <script type="text/javascript" src="/navgoco/src/jquery.navgoco.js"></script> <link rel="stylesheet" href="/navgoco/src/jquery.navgoco.css" type="text/css" media="screen" /> </head>Sample menu html and activation code:
<script type="text/javascript"> $(document).ready(function() { $('.nav').navgoco(); }); </script> <ul class="nav"> <li><a href="#">1. Menu</a> <ul> <li><a href="#">1.1 Submenu</a></li> <li><a href="#">1.2 Submenu</a></li> <li><a href="#">1.3 Submenu</a></li> </ul> </li> <!-- etc... --> </ul>You can also extend the default options:
<script type="text/javascript"> $(document).ready(function() { $('.nav').navgoco({ caretHtml: '<i class="some-random-icon-class"></i>', accordion: false, openClass: 'open', save: true, cookie: { name: 'navgoco', expires: false, path: '/' }, slide: { duration: 400, easing: 'swing' } }); }); </script>Options
You can pass these options as key/value object during activation to alter the default behaviour.
caretHtml
- Type:
string - Default: ``
Raw html to inserted in the caret markup of the parent links: <a href="#link">Item<span>{:caretHtml}</span></a>
accordion
- Type:
boolean - Default:
false
Enable accordion mode.
openClass:
- Type:
string - Default:
open
CSS class to be added in open parent li.
save:
- Type:
boolean - Default:
true
Preserve expanded sub-menus between session. If jquery.cookie is not included it will be automatically turned off.
cookie:
- Type:
objectname: Cookie name- Type:
string - Default:
navgoco
- Type:
expires: Lifespan in days,falsemakes it a session cookie- Type:
integer|false - Default:
false
- Type:
path: Path where cookie is valid- Type:
string - Default:
/
- Type:
slide:
- Type:
objectduration: Slide duration in milliseconds- Type:
integer - Default:
400
- Type:
easing: Slide easing function (linear|swing) for the transition- Type:
string - Default:
swing
- Type:
Callbacks
With the options you can also pass callback functions to extend the plugin's functionality.
onClickBefore:
This callback is executed before the plugin's main procedure when clicking links.
- Parameters
Event:Event ObjectSubmenu: False if the clicked link is a leaf or the nextsub-menuif link is a branch.
onClickAfter:
This callback is executed after the plugin's main procedure when clicking links.
- Parameters
Event:Event ObjectSubmenu:Falseif the clicked link is a leaf or the nextsub-menuif link is a branch.
onToggleBefore:
This callback is executed before the plugin's main procedure when toggling sub-menus.
- Parameters
Submenu:JQuery ObjectOpening:True|Falsethe submenu is opening or closing
onToggleAfter:
This callback is executed after the plugin's main procedure when toggling sub-menus.
- Parameters
- Submenu:
JQuery Object - Opened:
True|Falsethe submenu opened or closed
- Submenu:
Public Methods
toggle
Manually open or close sub-menus.
- Parameters:
boolean: Show or hideVariable list of indexes: If omitted toggles all sub-menusinteger...integer
// Show|Hide all sub-menus $(selector).navgoco('toggle', true|false);// Show|Hide sub-menus with specific indexes // It will also open parent sub-menus since v0.1.2 $(selector).navgoco('toggle', true|false, 1, 2, ...);destroy
Destroy instances and unbind events.
// I can't think of any other use except for testing... $(selector).navgoco('destroy');Contributing
Code style
Regarding code style like indentation and whitespace, follow the conventions you see used in the source already.
Modifying the code
First, ensure that you have the latest Node.js and npm installed.
Test that Grunt's CLI is installed by running grunt --version. If the command isn't found, run npm install -g grunt-cli. For more information about installing Grunt, see the getting started guide.
- Fork and clone the repo.
- Run
npm installto install all dependencies (including Grunt). - Run
gruntto grunt this project.
Assuming that you don't see any red, you're ready to go. Just be sure to run grunt after making any changes, to ensure that nothing is broken.
Submitting pull requests
- Create a new branch, please don't work in your
masterbranch directly. - Add failing tests for the change you want to make. Run
gruntto see the tests fail. - Fix stuff.
- Run
gruntto see if the tests pass. Repeat steps 2-4 until done. - Open
test/*.htmlunit test file(s) in actual browser to ensure tests pass everywhere. - Update the documentation to reflect any changes.
- Push to your fork and submit a pull request.


