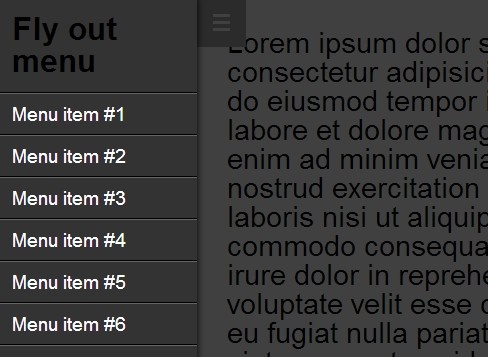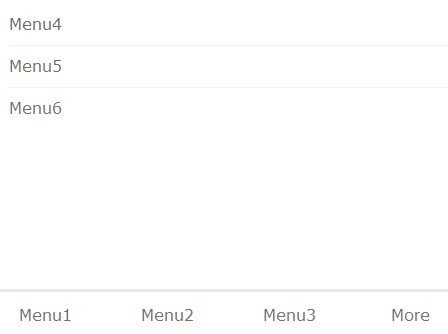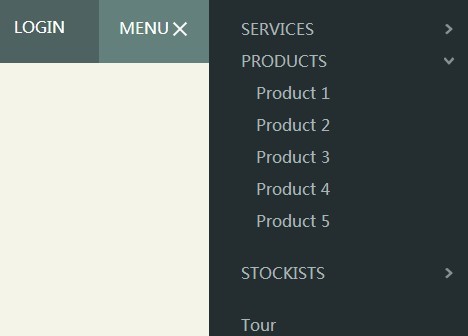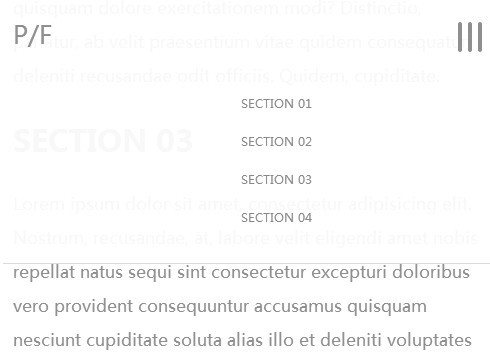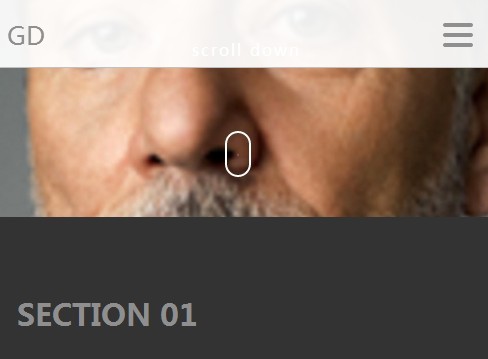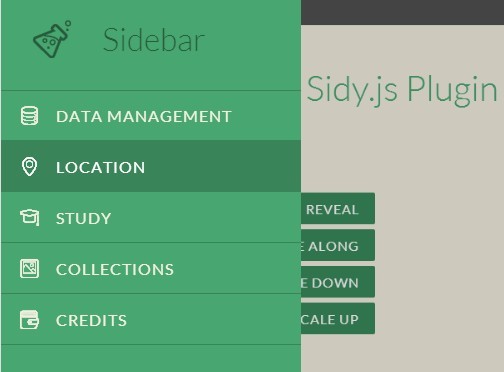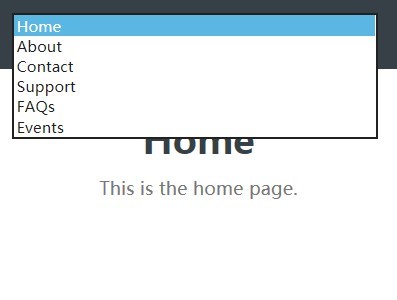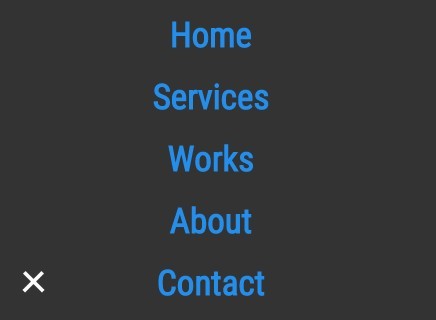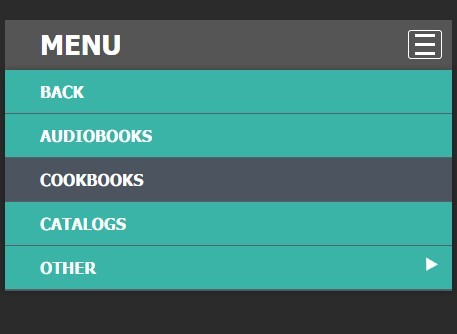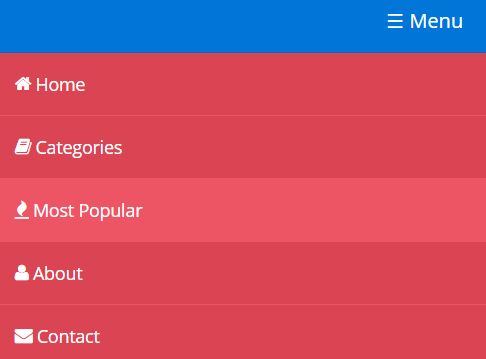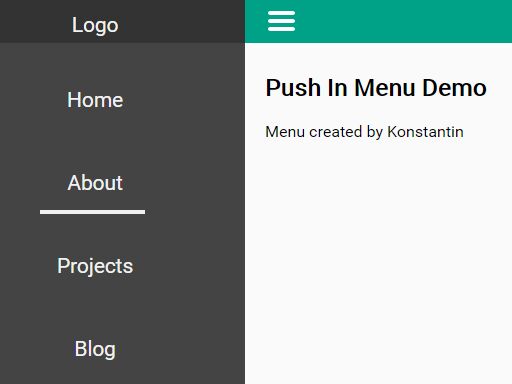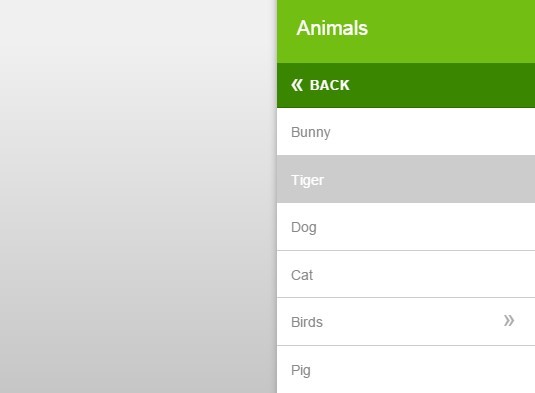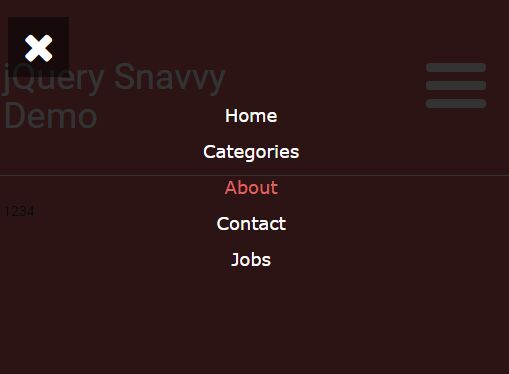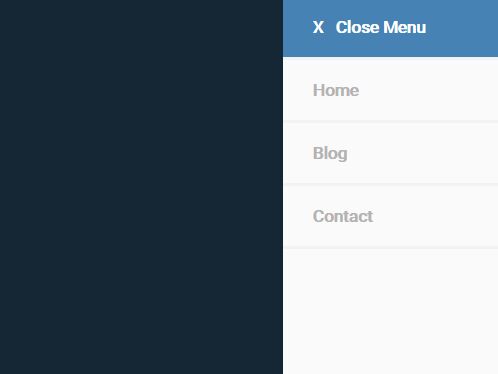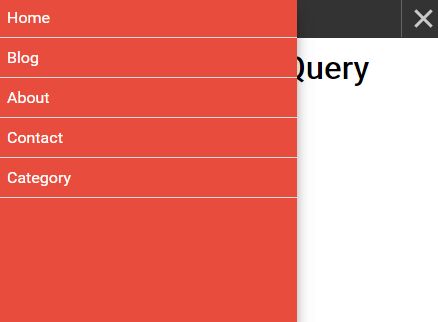
Slide Menu
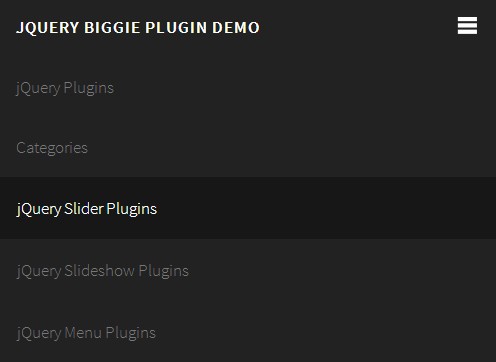
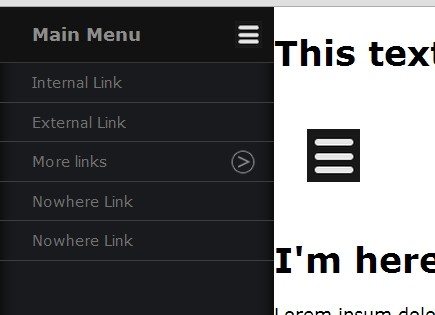
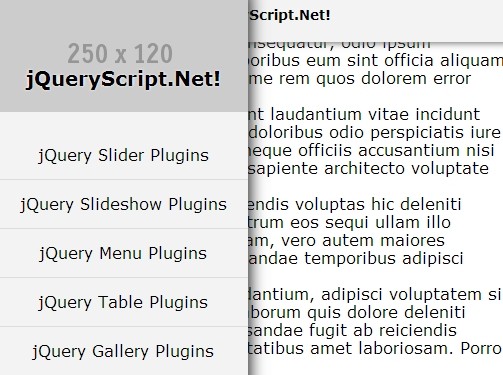
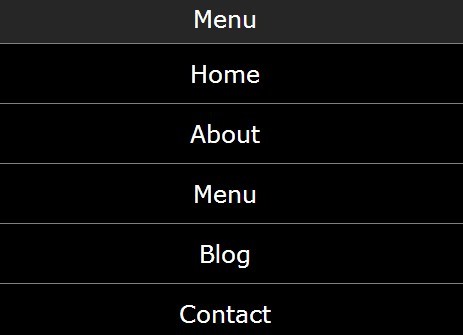
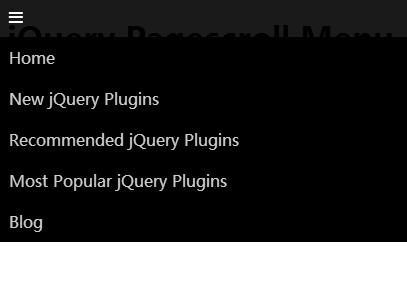
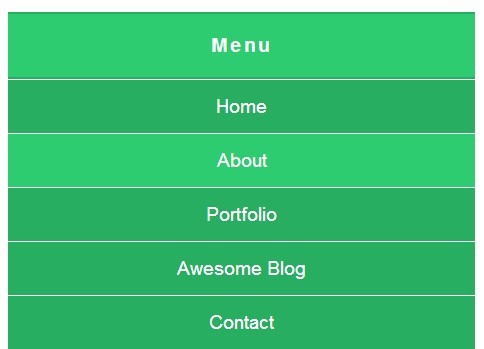
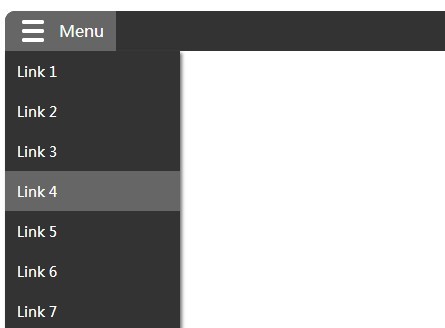
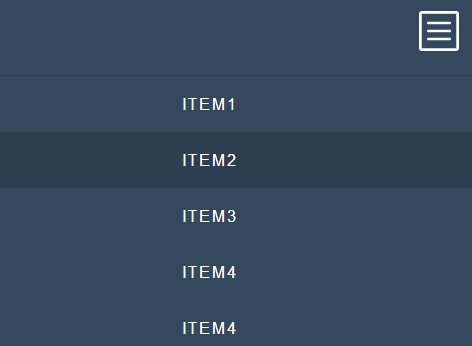
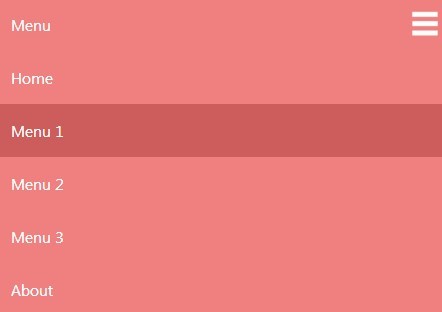
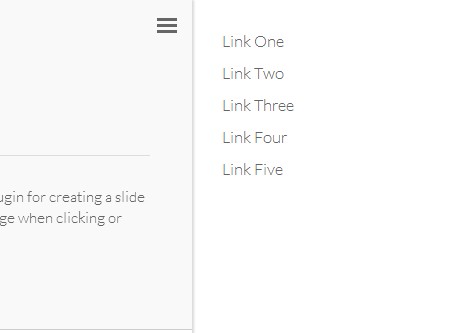
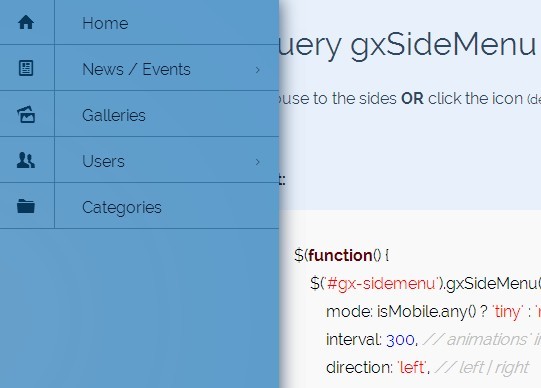
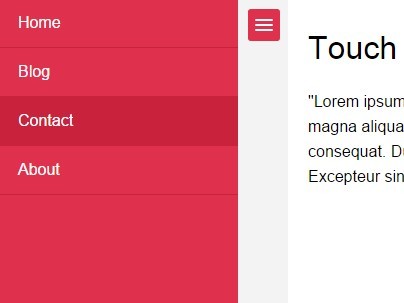
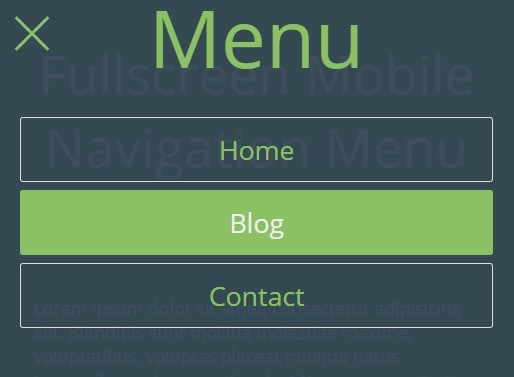
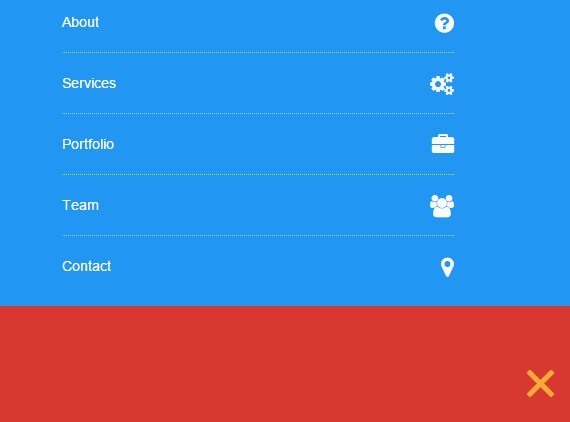
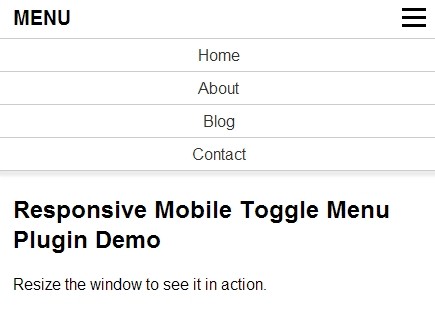
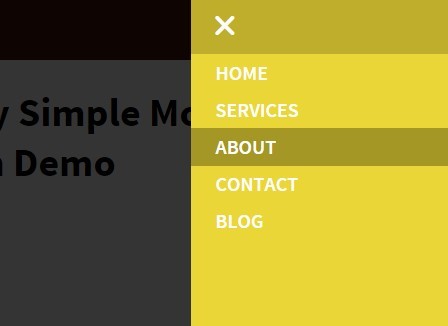
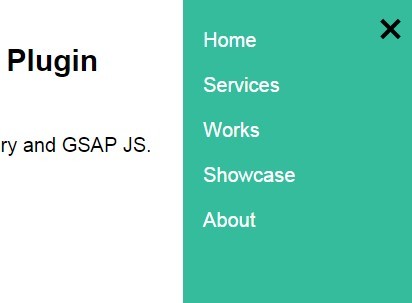
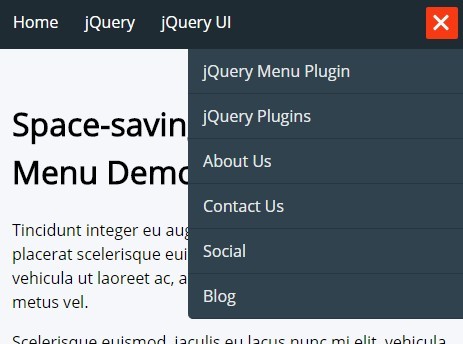
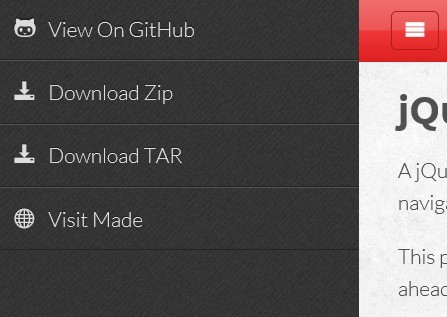
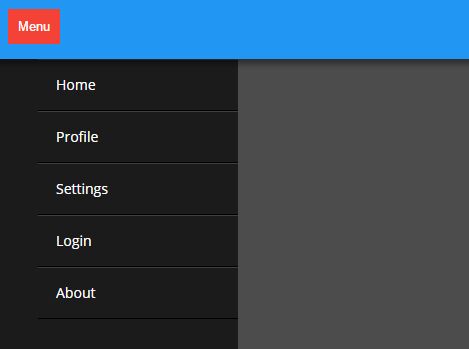
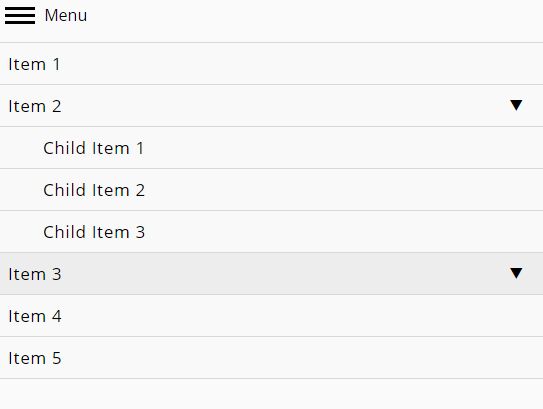
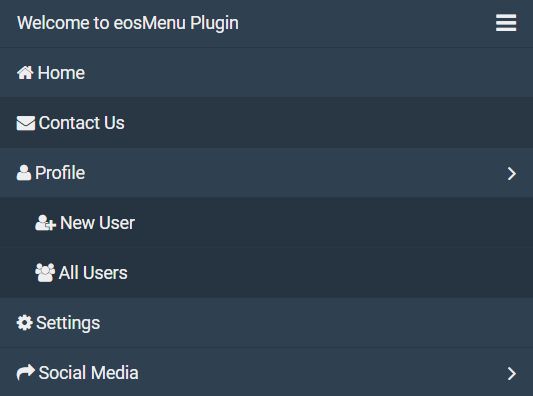
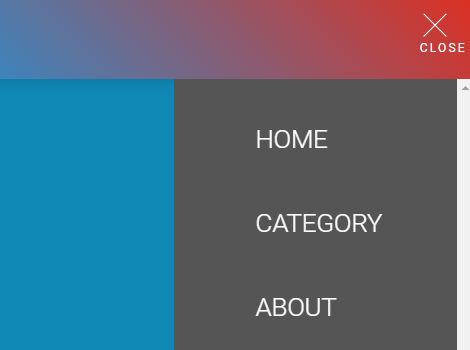
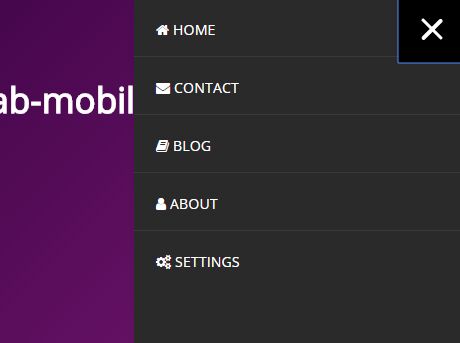
A library agnostic multilevel page menu with a smooth slide effect based on CSS transitions and various options.
Support: All current browsers and IE11+ (if using dist/slide-menu.ie.js).
Breaking changes
Version 1.0 has been released and includes breaking changes: SlideMenu no longer depends on jQuery and the library has been rewritten in TypeScript. See below instructions how to use the current version.
Install
npm install @grubersjoe/slide-menuNow import dist/slide-menu.js and dist/slide-menu.css in your bundler or build system of choice or use a 1998 <script> and <link> tag. Afterwards SlideMenu will be available in the global namespace (window.SlideMenu).
To keep the bundle size small (17 kB vs. 22 kB) Internet Explorer 11 is not supported out of the box. If you need to support Internet Explorer 11 use dist/slide-menu.ie.js instead.
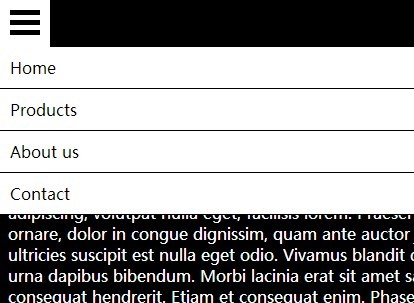
Usage
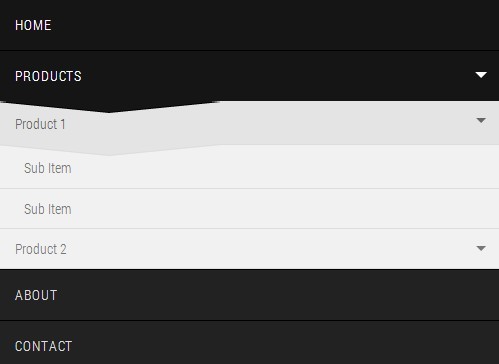
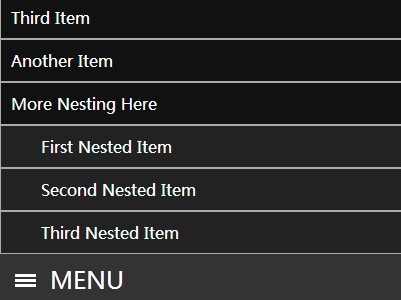
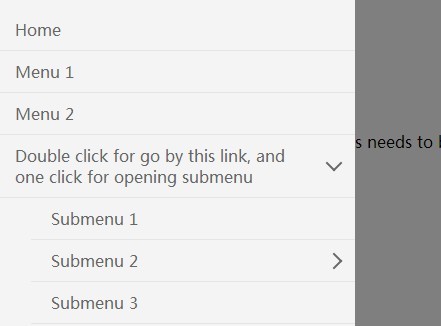
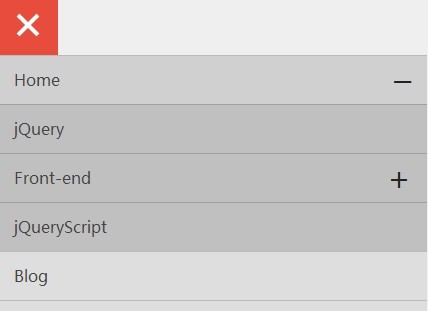
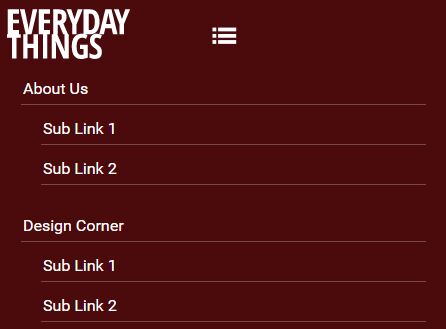
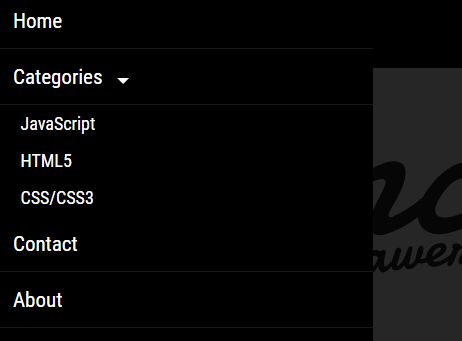
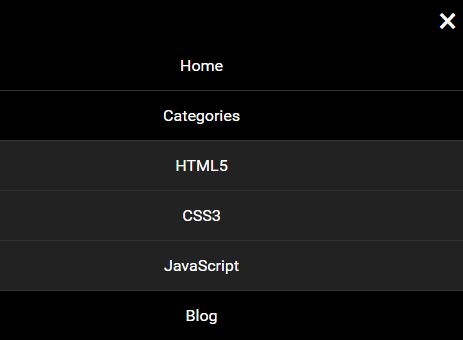
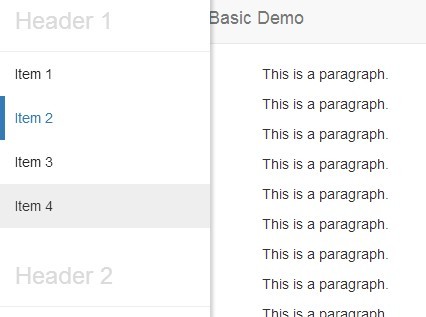
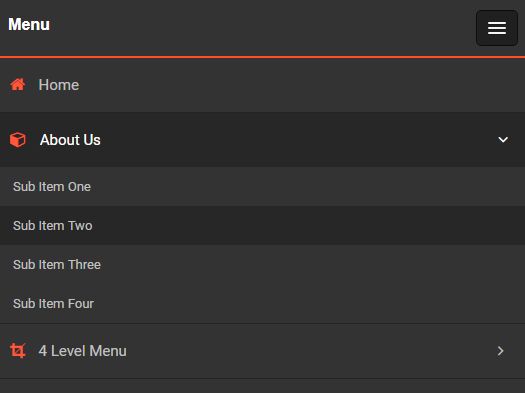
All you need is the traditional CSS menu HTML markup and a wrapper with the class slide-menu. Menus can be nested endlessly to create the desired hierarchy. If you wish to programmatically control the menu, you should also set an ID to be able to use the API (see below).
Example
<nav class="slide-menu" id="example-menu"> <ul> <li> <a href="#">Home</a> <ul> <li><a href="#">Submenu entry 1</a></li> <li><a href="#">Submenu entry 2</a></li> <li><a href="#">Submenu entry 3</a></li> </ul> </li> <li> <a href="/blog">Blog</a> </li> <li> <a href="/about">About</a> </li> </ul> </nav>Create the menu then like this:
document.addEventListener("DOMContentLoaded", function () { const menuElement = document.getElementById('example-menu'); const menu = new SlideMenu(menuElement); });Options
The SlideMenu() constructor takes an optional second parameter to pass in various options:
| Option | Description | Valid values | Default |
|---|---|---|---|
backLinkAfter | HTML to append to back link in submenus | HTML code | '' |
backLinkBefore | HTML to prepend to back link in submenus | HTML code | '' |
keycodeClose | Key used to close the menu | Any valid KeyboardEvent key | undefined |
keycodeOpen | Key used to open the menu | Any valid KeyboardEvent key | undefined |
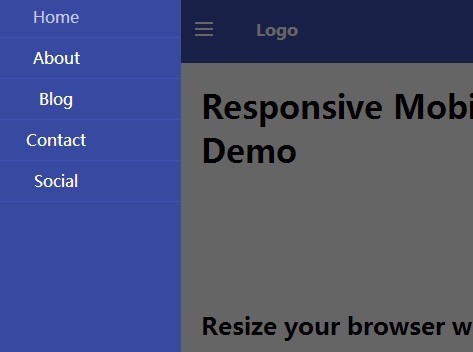
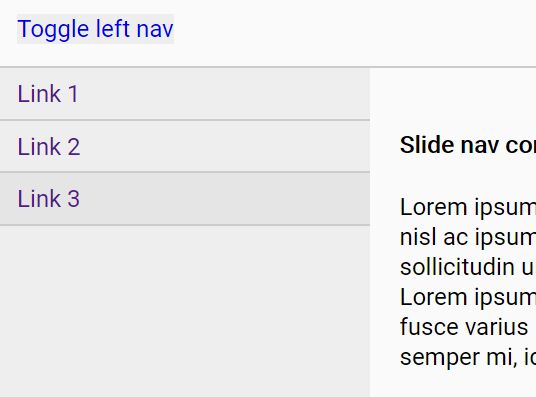
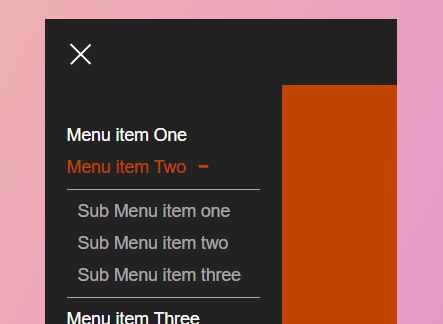
position | Position of the menu | 'left' or 'right' | 'right' |
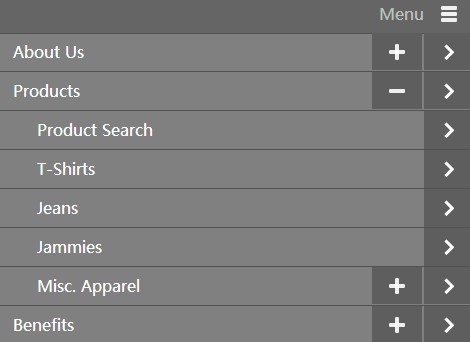
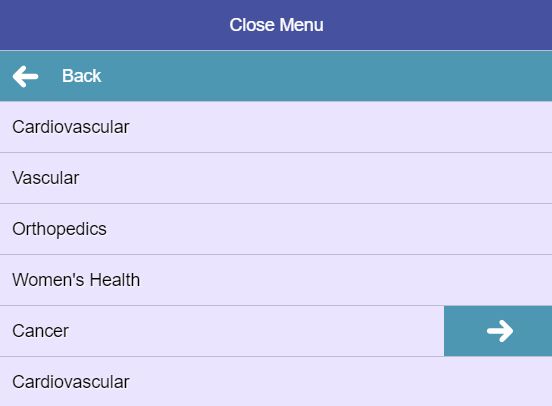
showBackLink | Add a link to navigate back in submenus (first entry) | boolean | true |
submenuLinkBefore | HTML to prepend to links with a submenu | HTML code | '' |
submenuLinkAfter | HTML to append to links with a submenu | HTML code | '' |
Example:
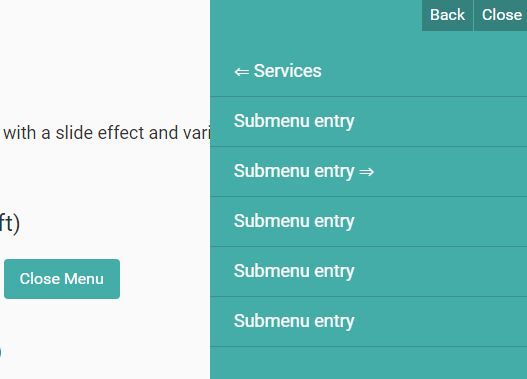
document.addEventListener("DOMContentLoaded", function () { const menu = new SlideMenu(document.getElementById('example-menu'),{ showBackLink: false, submenuLinkAfter: ' <strong>⇒</strong>' }); });API
You can call the API in two different ways:
-
Reuse the reference to the
SlideMenuinstance:const menu = new SlideMenu(document.getElementById('example-menu')); // ... later menu.close();
-
The
SlideMenuinstance is also added as property of the menu DOM element (I'm still not sure if this might be a really bad idea). So if you need to control an existing menu without a reference to it, you can fetch it any time this way:const menu = document.getElementById('example-menu')._slideMenu; menu.open();
Methods
close(animate = true)- Close the menuback()- Navigate on level back if possibledestroy()- revert all DOM changes made by SlideMenu. This includes inline styles, but not theslide-menuclass name for the container element.navigateTo(target)Open the menu level which contains specified menu element.targetcan either be adocument.querySelectorcompatible string selector or the the DOM element (inside the menu). The first found element (if any) will be used.open(animate = true)- Open the menutoggle(animate = true)- Toggle the menu
Events
SlideMenu emits events for all kind of actions, which trigger as soon as the action is method is called. Plus, all events have also an <event>-after equivalent, which is fired after the step is complete (completely animated).
sm.back[-after]fires immediately when navigating backwards in the menu hierarchy or after the animation is complete respectively.sm.close[-after]fires immediately when theclose()method is called or after the animation is complete respectively.sm.forward[-after]fires immediately when navigating forward in the menu hierarchy or after the animation is complete respectively.sm.navigate[-after]fires immediately when calling thenavigateTo()method or after the animation is complete respectively.sm.open[-after]fires immediately when theopen()method is called or after the animation is complete respectively.
Make sure to add the event listener to the HTML element, which contains the menu, since the events for this specific menu are dispatched there:
document.addEventListener("DOMContentLoaded", function () { const menuElement = document.getElementById('example-menu'); const menu = new SlideMenu(menuElement); // Attach the event listener to the *DOM element*, not the SlideMenu instance menuElement.addEventListener('sm.open', function () { console.log('The menu opens'); }); menuElement.addEventListener('sm.open-after', function () { console.log('The menu has opened'); }); });Control buttons
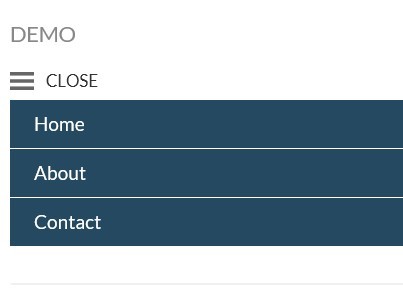
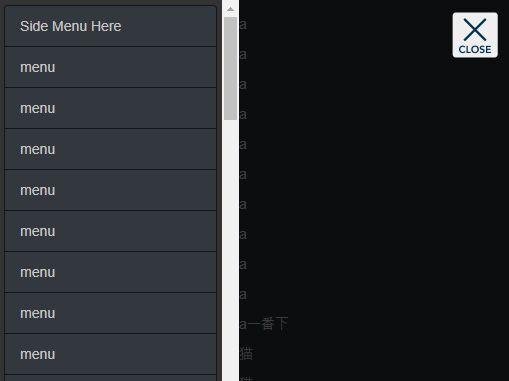
Buttons to control the menu can be created easily. Add the class slide-menu__control to anchors or buttons and set the data attributes target to the ID of the desired menu and action to the API method:
<button type="button" class="slide-menu__control" data-action="open">Open</button> <button type="button" class="slide-menu__control" data-action="back">Back</button>Inside the menu container the attribute data-target can be omitted or set to to the string this to control this menu.
<a class="slide-menu-control" data-action="close">Close this menu</a> <a class="slide-menu-control" data-target="this" data-action="close">Close this menu</a>Development
yarn install yarn start:devOpen http://localhost:9000/.
To create a production build:
yarn build