jQuery-jKit
A very easy to use, cross platform, jQuery based UI toolkit, that's still small in size, has the features you need, and doesn't get in your way of doing things!
Full Documentation
Get the full documentation over here: jquery-jkit.com
Basics
###Including the library
<script type="text/javascript" src="jquery-1.9.1.min.js"></script> <script type="text/javascript" src="jquery.jkit.1.2.16.min.js"></script> <script type="text/javascript"> $(document).ready(function(){ $('body').jKit(); }); </script> ###Basic Usage (HTML)
jKit uses the the "data-jkit" attribute to inject it's functionality into your html. If you don't want, you don't have to use JavaScript, at all!
data-jkit="[slideshow:interval=4000;speed=250;animation=fade]" Let's have a closer look at what's inside the attribute:
data-jkit="[command:option=value;anotheroption=anothervalue][anothercommand]" The first thing is always the jKit command that you want to execute. In the first example we used the slideshow command. If you don't want to use your own command options, than that's all you have to do. If you want to use your own options, than add a doublepoint followed by your options like this:
data-jkit="[command:option1=value1;option2=value2;option3=value3]" In most cases you add just one command to a HTML element, but sometimes you want to add more, and that's exactly why we have the brackets! Here's an example with two commands:
data-jkit="[split:container=span][cycle:what=css.color;where=span;sequence=,,,#f30]" Here's a complete example with the random command. Inside a div element we have four paragraphs and want to only show three of them, randomly chosen:
<div data-jkit="[random:count=3]"> <p>Text 1</p> <p>Text 2</p> <p>Text 3</p> <p>Text 4</p> </div> And to illustrate two commands on one single element, we create a slideshow from those three randomly selected paragraphs:
<div data-jkit="[random:count=3][slideshow:interval=2000;speed=500;animation=fade]"> <p>Text 1</p> <p>Text 2</p> <p>Text 3</p> <p>Text 4</p> </div> It's that easy! You can even have jKit stuff inside jKit stuff as in the following example where we put lorem ipsum text into the paragraphs:
<div data-jkit="[random:count=3][slideshow:interval=2000;speed=500;animation=fade]"> <p data-jkit="[lorem:length=100]"></p> <p data-jkit="[lorem:length=200]"></p> <p data-jkit="[lorem:length=300]"></p> <p data-jkit="[lorem:length=400]"></p> </div> If you want you can put spaces and even linebreaks between the options to make it more readable, for example like this:
<div data-jkit="[ random: count = 3 ][ slideshow: interval = 2000; speed = 500; animation = fade ]"> <p data-jkit="[lorem:length=100]"></p> <p data-jkit="[lorem:length=200]"></p> <p data-jkit="[lorem:length=300]"></p> <p data-jkit="[lorem:length=400]"></p> </div> In one of our tests, we put a slideshow into a tab navigation, into an accordion, into another accordion and a last accordion. It worked great!
In our first versions of jKit, we abused the rel attribute to execute the commands, you can still do that, but we think you should better use the HTML 5 doctype together with the data-jkit attribute. Anyway, if you really want to use the rel attribute, here's how:
<p rel="jKit[lorem:length=400]"></p> ###Basic Usage (JavaScript)
You can execute all jKit commands with JavaScript, too. This is not the prefered way, but sometimes you have to do it and this is how:
$('#someElement').jKit('yourCommand', { 'option1': value1, 'option2': 'value2' }); ADVANCED
There's a lot of cool stuff under the hood of jKit for advanced users. Here's how to get most out of jKit.
###Macros
Macros can make your life a lot easier if you need to use the same command and options more than once. There are two ways to define a macro, the first one is on plugin init:
<script type="text/javascript"> $('body').jKit({ 'macros': { 'hide-if-empty': 'binding:selector=this;source=text;mode=css.display', 'smooth-blink': 'loop:speed1=2000;duration1=250;speed2=250;duration2=2000' } }); </script> You can than use them like this:
<div data-jkit="[hide-if-empty]">...</div> The second way to define a macro is with the macro command:
[macro:name=hoverhide] It creates a macro from the previously used command on the same element. Here's a real example to get a better idea of how the macro command works:
<p rel="jKit[binding:selector=this;source=event.mouseover;mode=css.opacity;condition=value=1;if=0;speed=1000;interval=-1][macro:name=hoverhide]"></p> <p rel="jKit[hoverhide]"></p> <p rel="jKit[hoverhide]"></p> <p rel="jKit[hoverhide]"></p> When using a macro, it is possible to overwrite any of the options defined in the macro. Here's an example:
<p rel="jKit[binding:selector=this;source=event.mouseover;mode=css.opacity;condition=value=1;if=0;speed=1000;interval=-1][macro:name=hoverhide]"></p> <p rel="jKit[hoverhide:speed=2000]"></p> <p rel="jKit[hoverhide:speed=3000]"></p> <p rel="jKit[hoverhide:speed=4000]"></p> One last warning! If you name a macro the same as a built in command, you will overwrite that command, so please be carefull and give your macros unique names!
###Easing Plugin
All commands that use animations have an option called "easing". To get all the great easing options, you have to include this amazing easing plugin on your page (or some other easing plugin that may be around somewhere).
###Dynamic Option Values
jKit makes it possible to use dynamic option values by adding the "*" character to the end of the value. You can either use global variables or global functions. Here's an example where we limit the length of a string to the number stored in a global variable.
<script type="text/javascript"> var maxStringLengths = 25; </script> <span rel="jKit[limit:elements=chars;count=maxStringLengths*]">1234567890123456789012345678901234567890123456789</span> Here's how you would do the same thing using a global function:
<script type="text/javascript"> function maxStringLengths(){ return 25; } </script> The second way is of course only usefull in case you don't want to return the same value each time. And because "this" inside the function is the current element, you can actually do some very cool stuff with it.
###The Target Option
The target option is a special option that's available on all commands. It allows you to target childrens of the current element, so it's very usefull for stuff where you need to apply the same command to multiple elements. Here's an example where we limit the character count for every li element:
<ul rel="jKit[limit:elements=chars;count=10;target=children]"> <li>jkdhfajksdf fdsjafhkj fkha jkdfajkslhf jkshjhl </li> <li>jdhj ghs fdsgh jdsjg dflshg jfdghsjk jfdsjg</li> <li>dfjhdjsh dfjks fgjg dsjgdfs</li> </ul> Here are some example values for target:
- children: Selects the immediate children
- children.li: Selects the immediate children of element type "li"
- children.li.myclass: Selects the immediate children of element type "li" with class "myclass"
- each: Selects all containing elements (be carefull with this one!)
- each.h3: Selects all containing elements of type "h3"
###Escaping
Sometimes you may need to use one of the protected characters inside an option value. In such a case, all you need is to escape the character with "". Here's an example where we escape the "=" character inside the condition option value:
<p rel="jKit[binding:selector=this;source=clearance;mode=css.opacity;condition=value\=0;if=1;else=0.2]"></p> ###Defaults
Each command comes with default settings. So for example this two lines do exactly the same:
<a href="" rel="jKit[scroll:speed=500;dynamic=yes;easing=linear]">To the top!</a> <a href="" rel="jKit[scroll]">To the top!</a> You can define your own defaults on plugin init like this:
<script type="text/javascript"> $('body').jKit({ 'commands': { 'showandhide': { 'delay': 0, 'speed': 500, 'duration': 10000, 'animation': 'fade', 'easing': 'linear' }, 'loop': { 'speed1': 500, 'speed2': 500, 'duration1': 2000, 'duration2': 2000, 'easing1': 'linear', 'easing2': 'linear', 'animation': 'fade' } } }); </script> You can find all the original defaults by looking at the jKit source code, they are right at the top.
###Replacements
jKit is a pretty small library and we don't want to make it bigger than about half the size of jQuery. This makes it impossible to create some big implementations for a command with tons of options and beautiful visuals. But don't worry, there's a way to replace the implementation of a command with an extended version. We will publish every command replacement right on the command page, so you always know what's available.
You can easely add replacements on jKit init like this:
<script type="text/javascript"> $('body').jKit({ 'replacements': { 'encode': specialEncodeCommand } }); function specialEncodeCommand(that, type, options){ var s = this.settings; // we don't need this one, but I'll leave it here so you know how to get the plugin settings in case you need them var $that = $(that); this.executeCommand(that, type, options); // execute the original command // now add some additional functionality: if (options.format == 'uppercase'){ $that.html($that.html().toUpperCase()); } } </script> As you can see, you don't have to dublicate the whole commands code if you just want to add a little bit at the end, just use the following line to execute the original code first:
this.executeCommand(that, type, options); ###Plugins
Another great way to use more cool stuff that isn't implemented inside jKit is with the plugin command. You can add plugins on init like this:
<script type="text/javascript"> $('body').jKit({ 'plugins': { date: { 'path': "plugins/datepicker/js/datepicker.js", 'fn': 'DatePicker' }, hint: { 'path': "plugins/jquery.ztinputhint-1.2.js", 'fn': 'ztInputHint' }, maxlength: { 'path': "plugins/maxlength/jquery.maxlength-min.js", 'fn': 'maxlength' }, grow: { 'path': "plugins/jquery.jgrow-0.4.js", 'fn': 'jGrow' }, confirm: { 'path': "plugins/jquery.confirm-1.3.js", 'fn': 'confirm' }, time: { 'path': "plugins/timePicker/jquery.timePicker.min.js", 'fn': 'timePicker' }, mask: { 'path': "plugins/jquery.maskedinput-1.2.2.min.js", 'fn': 'mask', 'option': 'mask' } } }); </script> You can than use them like this:
<input name="tweet" id="tweet" data-jkit="[plugin:script=maxlength;maxCharacters=140]"> There are basically two kind of jQuery plugins you can use:
<script type="text/javascript"> $('#myElement').pluginName( { setting1: 'value1', setting2: 'value2' } ); $('#myElement').pluginName( option, { setting1: 'value1', setting2: 'value2' } ); </script> If you are a plugin developer, follow this two patterns and your plugin should be jKit compatible!
Currently Available Commands
- background
- hide
- remove
- show
- showandhide
- loop
- limit
- scroll
- lightbox
- partially
- random
- slideshow
- gallery
- tabs
- accordion
- carousel
- parallax
- animation
- menu
- tooltip
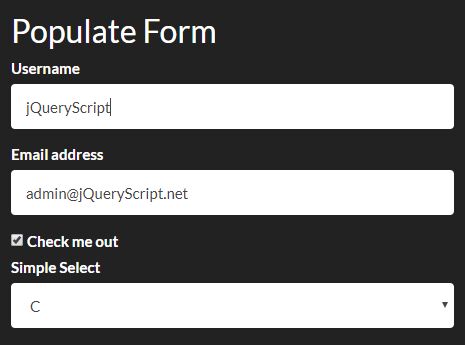
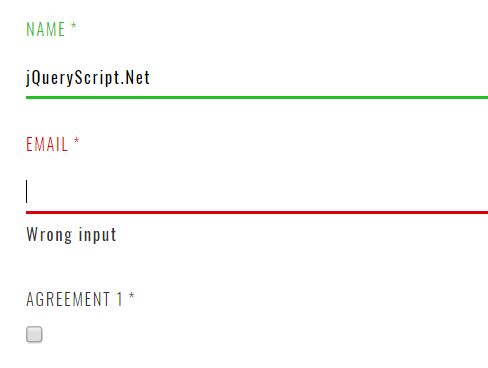
- form
- validate
- plugin
- lorem
- binding
- macro
- template
- chart
- encode
- split
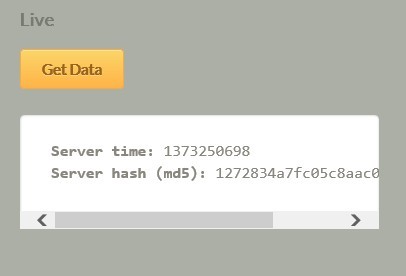
- live
- key
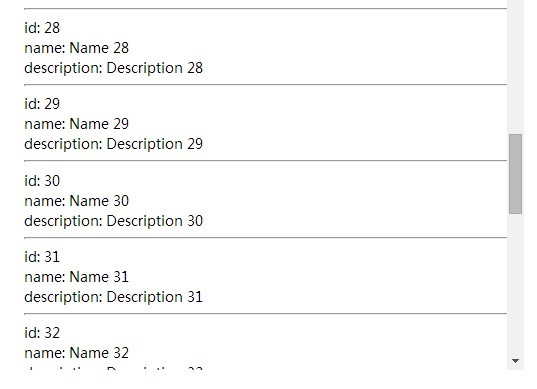
- ajax
- replace
- cycle
- fontsize
- swap
- ticker
- sort
- zoom
- api