Slider Pro - jQuery slider plugin
A modular, responsive and touch-enabled jQuery slider plugin that enables you to create elegant and professionally looking sliders.
Main features:
- modular architecture
- responsive
- touch-swipe
- CSS3 transitions
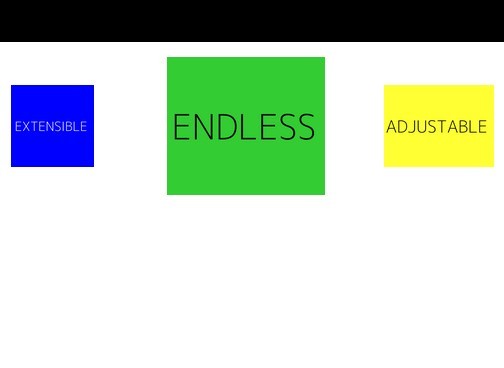
- animated layers (and static)
- infinite scrolling
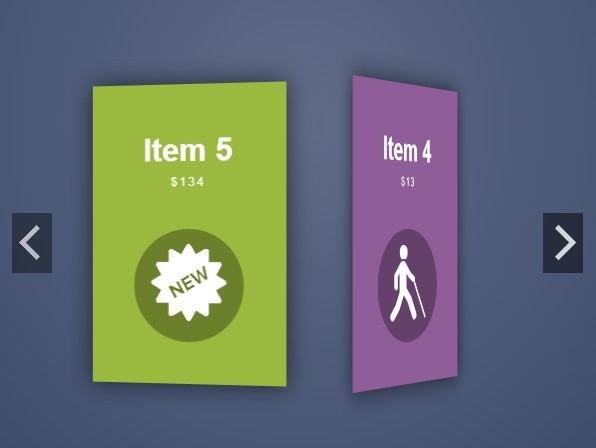
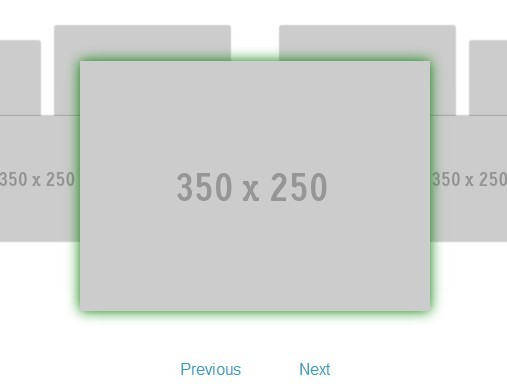
- carousel layout
- different sized images
- full width and full window support
- thumbnails
- deep linking
- lazy loading
- retina-enabled
- fade effect
- full-screen support
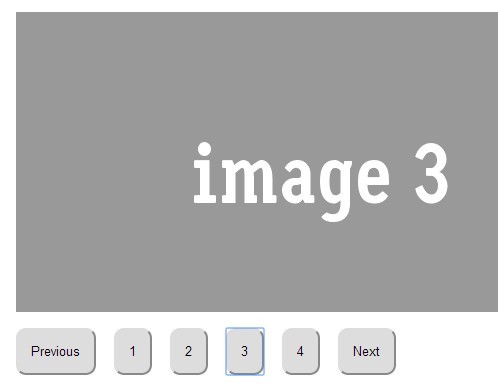
- CSS-only navigation controls (no graphics) for easy customization
- video support
- conditional images (different images for different screen sizes)
- JavaScript breakpoints
Check the plugin's presentation page for examples and more details of the available features.
Getting started
1. Get a copy of the plugin
You can fork or download the plugin from GitHub, or you can install it through npm or bower.
$ npm install slider-pro $ bower install slider-pro 2. Load the required files
Inside the page's head tag include the slider's CSS file.
<link rel="stylesheet" href="dist/css/slider-pro.min.css"/>In the page's footer, just before </body>, include the required JavaScript files.
<script src="libs/js/jquery-1.11.0.min.js"></script> <script src="dist/js/jquery.sliderPro.min.js"></script>3. Create the HTML markup
<div class="slider-pro" id="my-slider"> <div class="sp-slides"> <!-- Slide 1 --> <div class="sp-slide"> <img class="sp-image" src="path/to/image1.jpg"/> </div> <!-- Slide 2 --> <div class="sp-slide"> <p>Lorem ipsum dolor sit amet</p> </div> <!-- Slide 3 --> <div class="sp-slide"> <h3 class="sp-layer">Lorem ipsum dolor sit amet</h3> <p class="sp-layer">consectetur adipisicing elit</p> </div> </div> </div>The structure you see in the code above (slider-pro > sp-slides > sp-slide) as well as the class names used are required.
If you add an image to the slide and you want it to behave like a background image you need to add the sp-image class to it.
More about the supported content (i.e., layers, html, video) in the Modules doc.
4. Instantiate the slider
<script type="text/javascript"> jQuery( document ).ready(function( $ ) { $( '#my-slider' ).sliderPro(); }); </script>Slider Pro has 50+ options which you can pass to the slider when you instantiate it. More about this in the JavaScript API doc.
Detailed usage instructions
Support
If you found a bug or have a feature suggestion, please submit it in the Issues tracker.
If you need help with implementing the slider in your project, I recommend using Stack Overflow instead of the Issues tracker.
License
The plugin is available under the MIT license.