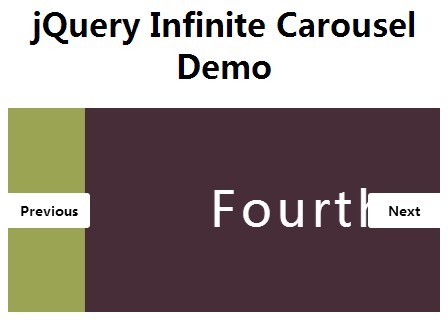
AdaptaSlider
A simple/basic/bare-bones slider/carousel jQuery plugin that gives you the functionality you need without requiring you to change your design or code.
You've just finished with your meticulous HTML markup and CSS styling for the main page of a new site. Designed the slider to look a certain way, but now you need to make it functional. If you go searching for a script, it's likely you'll have to restructure the way you made your slider and change a bunch of CSS to jive with the script's expected setup... Or, you can try to build a slider from the ground up, which you could do, but shouldn't there be something out there already that isn't so restrictive?
Every time I need to implement a slider I go in search of a simple, adaptable slider script that doesn't impose it's structure or style on what I've already designed. I always fail and settle for hacking my code so that it fits what the slider script expects, and I usually resort to editing the script anyways.
Why should a slider script insist on how you make your navigation buttons? Why do some insist that the script should create the buttons without asking you what they should look like? Why do I have to include an extra CSS file? It's as if they expect that you choose a slider script before designing your site...
This time I decided to search no longer and instead build what I was looking for myself. Enter AdaptaSlider. While I don't believe that I can personally come up with The Solution, I think this is close.
Why another jQuery slider?
With the ubiquity of jQuery, it's likely that you're already using it. WordPress, Drupal, Joomla, and many other CMS softwares include jQuery, and Twitter Bootstrap relies on it for extra functionality. And let's be honest: jQuery makes our lives easier, especially concerning cross-browser compatibility. AdaptaSlider was built with jQuery 1.11.0 so that it should work in IE 6, 7, & 8.
What's different about AdaptaSlider?
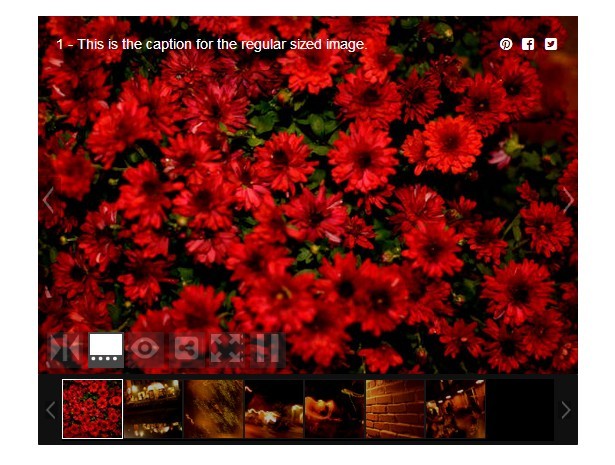
AdaptaSlider is specifically designed to be used within an existing design, meaning that you have total control over the style of the slider, the slides, the navigation buttons... everything! On the flip side, it means that you must design the slider, the slides, and the navigation buttons yourself. I've included some sample CSS for each example page, but it's your responsibility to make the slider unique for your instance.
AdaptaSlider has a few tiers of functionality available, depending on your needs.
1. Skimpy
You can use AdaptaSlider as a basic timer and class-setter with optional navigation functionality. This means that it will not apply any CSS overrides to your HTML, and will not control any transitions; all it does is set current, prev, and next class names on the slide elements (and active on the select buttons, if provided). And these class names are customizable!
This means that you have total control, using CSS transitions or even JavaScript/jQuery, to create the transitions yourself.
You don't even have to use the timer; you can tell it what elements to use as navigation controls, or you can forego buttons altogether if you want to call the next(), prev(), or select() methods yourself with JS/jQ.
2. Scanty
Building on the last tier, the middle-of-the-road option lets you do all that with automatic transitions. These transitions are not fancy, but you are welcome to override the transition(fromSlide, toSlide) method for more exciting animations. Otherwise, your choices are slide (default) and fade.
This is how AdaptaSlider is set up by default. When you apply the plugin to an element, it's children will be arranged in the appropriate way and the slider will autoplay.
3. Plenty
There are plenty of ways to customize AdaptaSlider to fit your needs.
As mentioned above, you can decide whether the slider animates, autoplays, has buttons, and what the buttons are.
There are also a bunch of other options for many different configurations. Advanced users can specify callback functions to be triggered during specific parts of the slider lifecycle, as well as pass custom setup & transition function in without having to edit the source code. All options are detailed in the Settings section below.
How do I use it?
HTML Setup
AdaptaSlider is designed to be as flexible as possible, but your slider HTML should at least follow a "parent element with all children as slides" paradigm. This means that you should be able to use list elements, a <div> with child <div>s or <img>s, a <section> with <article>s, etc. However, I would generally advise using an unordered list:
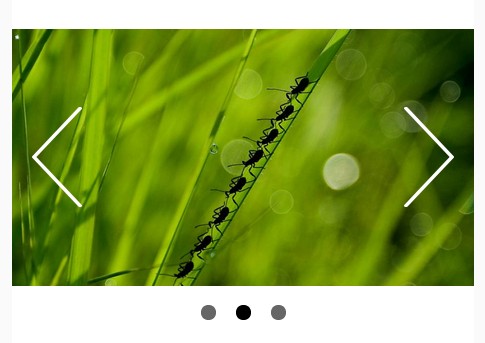
<ul id="slider" role="listbox"> <li><img src="example/1.jpg" /></li> <li><img src="example/2.jpg" /></li> <li><img src="example/3.jpg" /></li> <li><img src="example/4.jpg" /></li> </ul>Default Use
To use AdaptaSlider with the above defaults (sliding transitions on a 7 second timer, no controls) simply load jQuery in the <head>:
<head> ... <script src="http://ajax.googleapis.com/ajax/libs/jquery/1.10.2/jquery.min.js"></script> </head>Then load AdaptaSlider and call it on a jQuery object at the end of <body>:
<body> ... <script src="js/jquery.adaptaslider.js"></script> <script> // $(document).ready equivalent $(function() { $('#slider').adaptaSlider(); }); </script> </body>Basic Use
The whole point of this is that you're probably going to want some customization. In that case, call the plugin using the options described above as properties in an object passed as a parameter to adaptaSlider():
$('#slider').adaptaSlider({ mode: 'fade', easing: 'linear', autoPlay: false, transitionTime: 1000 });Navigation
The most important customizeable feature is the way navigation controls are handled. You have the option of specifying existing elements, having the plugin create them, or no navigation (default).
Specifying existing navigation elements
If you have already created and styled slider navigation controls to your liking, you can tell AdaptaSlider to use them!
$('#slider').adaptaSlider({ prevButton: '.prev-button-class', nextButton: '.next-button-class', selectButton: '.select-button-class' });This will provide functionality to your prev and next buttons and will look for any elements with .select-button-class to associate with slides in document order.
Creating navigation elements
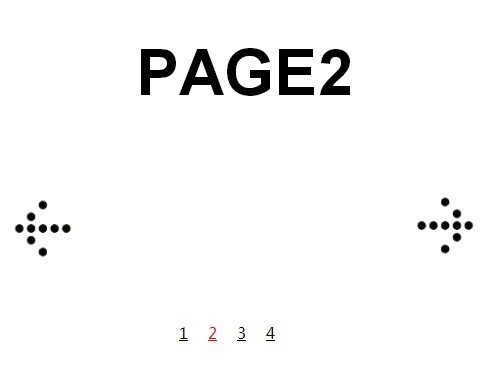
You can also have AdaptaSlider programatically create controls for you with the prevHTML, nextHTML, and selectHTML settings. These are simply inputs for HTML strings (opening & closing tags, please) that the script should insert into the element specified by the respective *Button setting.
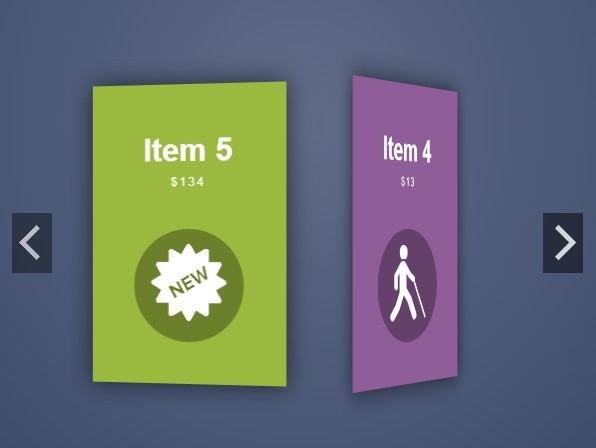
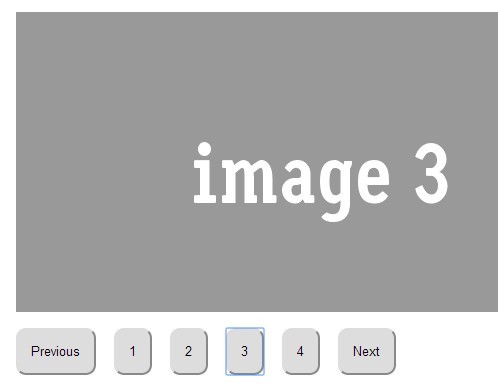
$('#slider').adaptaSlider({ prevButton: '.prev-button-container', prevHTML: '<button class="prev">prev</button>', nextButton: '.next-button-container', nextHTML: '<button class="next">next</button>', selectButton: '.select-button-container', selectHTML: '<button class="select"></button>', selectHTMLNumbers: true });Select buttons are unique in that there will be one created for each slide. You can also use the selectHTMLNumbers option to automatically insert numbers, starting at 1.
Advanced Use
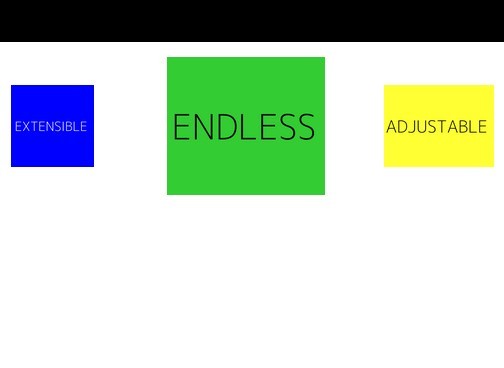
Setting mode to "custom" will give you the most control over the slider transitions. Doing so limits the script to assigning prev, current, and next classes (which are customizable) to the correct slides at the appropriate time intervals. You can use CSS to create your own transitions:
#slider { list-style: none; margin: 0; padding: 0; height: 0; padding-bottom: 66%; background-color: #333; position: relative; overflow: hidden; } #slider li { position: absolute; top: 0; left: 0; display: none; width: 100%; height: 100%; /*padding-bottom: 66%;*/ background-repeat: no-repeat; background-position: center center; background-size: 100% auto; -webkit-transition-property: top, left, opacity; -moz-transition-property: top, left, opacity; -o-transition-property: top, left, opacity; transition-property: top, left, opacity; -webkit-transition-duration: 1s; -moz-transition-duration: 1s; -o-transition-duration: 1s; transition-duration: 1s; } #slider .prev { display: block; top: 100%; opacity: 0; z-index: 3; } #slider .current { display: block; left: 0; opacity: 1; z-index: 2; } #slider .next { display: block; left: 100%; opacity: 0; }See Custom Transitions and API sections below for more advanced usage.
Settings
Slideshow features
mode : 'slide'Either 'slide', 'fade', or 'custom'. Only the first letter is checked, will default to slide (req: animate)easing: 'swing'Either 'swing' or 'linear'. You can include the easing jQuery plugin for more options: http://gsgd.co.uk/sandbox/jquery/easing/startSlide: 0Zero-indexed slide to start onanimate: trueIf false, slider will not control transitions; you can then create CSS transitions based on the 'current', 'prev', & 'next' classes that are applied to the slidesautoPlay: trueIf false, slider must be manually controlledpauseOnHover: trueIf false, slider will not pause on hover (req: autoPlay)loop: trueIf false, slider will stop on last slide (req: autoPlay)
Custom class names
currentSlideClass: 'current'Class applied to current slideprevSlideClass: 'prev'Class applied to previous slidenextSlideClass: 'next'Class applied to next slideactiveSelectClass: 'active'Class applied to active select button
Timing
pauseTime : 7000Milliseconds to pause on each slide (req: autoPlay)transitionTime : 600Milliseconds to transition between slides (req: autoPlay)resumeTime: 12000Milliseconds to resume autoplay after user interaction (req: autoPlay)
Controls
useControls: trueIf false, controls will not be set up; you can still manually invoke transitions with your own scriptprevButton: ''jQuery selector string for prev buttonnextButton: ''jQuery selector string for next buttonselectButton: ''jQuery selector string for select button(s)
Button creation
prevHTML: ''This string (or function returning an HTML string) will be placed inside prevButton (req: useControls, prevButton)nextHTML: ''This string (or function returning an HTML string) will be placed inside nextButton (req: useControls,nextButton)selectHTML: ''This string (or function(index) returning an HTML string) will be placed inside selectHTML, one for each slide (req: useControls, selectHTML)selectHTMLNumbers : falseWhether numbers should be inserted into the selectHTML; incompatible with selectHTML containing a function (req: useControls, selectHTML)
Callback functions
onLoaded: function(){}Callback triggered after plugin loadsonWillSlide: function(fromSlide, toSlide){}Callback triggered before slider slides, supplies 'fromSlide' & toSide'onDidSlide: function(fromSlide, toSlide){}Callback triggered after slider slides, supplies 'fromSlide' & toSide'
Custom
customSetup: function(slider){}(req: mode=custom)customTransition: function(slider, fromSlide, toSlide, time, easing, callback){}You MUST invoke the callback! (req: mode=custom)
Debug
verbose: falseIf true, log all the things to JavaScript console
Custom Transitions
In order to use the customSetup() and customTransition() options, mode must be set to "custom". You can then pass in functions for slide setup and transition like so:
$('#slider').adaptaSlider({ mode: 'custom', customSetup: function(slider) { // Here you have access to the 'slider' jQuery object. // You can also use anything in the public API with 'this', ie: this.$slider.css({...}); this.$slides.css({...}); }, customTransition: function(slider, fromSlide, toSlide, time, easing, callback) { // Here you get the slider as well as fromSlide & toSlide (int), // and also the time & easing as set by the options. // To get toSlide as a jQuery object, use it as the index in the .eq() function: this.$slides.eq(toSlide).animate({...}, time, easing, callback); // Note the 'callback' at the end of the .animate() function; this is important! // It notifies the plugin that the transition is finished. Don't forget it! // If you're not using jQuery's .animate(), just ensure that you call the callback // _after_ your transition is complete. You can call it manually like this: callback.call(this); // Or manually trigger this function: this.doneAnimating(); } });API
The quickest way to get access to the AdaptaSlider API is to invoke it like this:
var sliderAPI = $('#slider').adaptaSlider({...}).data('adaptaSlider');(If you know of a more elegent way to provide the API while still preserving jQuery chainability, please let me know!)
You now have access to the API through the sliderAPI variable (or whatever you choose to name it).
Public Properies
sliderThe slider DOM element$sliderThe slider jQuery object$slidesAll slides as a jQuery object; Accessable afterupdate()numSlidesNumber of slides (int); Accessable afterupdate()$prevButtonThe prevButton jQuery object; Accessable afterupdate()$nextButtonThe nextButton jQuery object; Accessable afterupdate()$selectButtonThe selectButton jQuery object; Accessable afterupdate()settingsThe settings object; see Settings aboveplayingWhether auto-playing or not (bool); treat this as read-only and usesetPlaying()or `togglePlaying()'animatingTrue while transitioning (bool); trat this as read-only (see Custom Transitions section above)timerTimer ID for the current transition timer (int); treat this as read-only, usesetTimer()andclearTimer()
Public Methods
update()Update the slider; invoke if you add slides or nav elements or change settingsprev()Go to previous slidenext()Go to next slideselect(index)Go to slide atindex(int)getPrevSlide()Returns previous slide (int)getNextSlide()Returns next slide (int)setCurrentSlide(index)Sets slide classes; does not initiate transitionsetCurrentSelect()Sets active select button class (based on currentSlide)setCurrentSlideAndSelect(index)Convenience method to set slide & select button classes at oncesetTimer(time, callback)Callscallbackafter thetimehas elapsed; this is used internally for pauses between transitions, so using this withanimate: truewill cause issuesclearTimer()Clears the timer set bysetTimer()setPlaying(bool)Turns autoplay on or offtogglePlaying()Toggles autoplaydoneAnimating()Used to notify plugin that the animation is finished
To Do
I'm considering dropping jQuery .animate() transitions. There are some bugs, particularly on older versions of Safari, that would be eliminated if I used CSS transitions. I fear, however, that this change would require adding CSS, which I didn't want to require when I started out writing this. I may just bite the bullet and do it, as it would also provide some succinct examples of how to create your own transitions with CSS.