HexSlide Documentation
The HTML Basics
To setup your HTML markup, simply start by creating an image tag.
Image Tag
<img src="youimg.extension" alt="What is this image?"> HTML 5 allows us to use custom attributes, aslong as they are prefixed with data-.
We are going to use data-slideshow-src.
Inside of this attribute, we place our image URLs separated using "|" (No Quotes).
Add the custom attribute
<img src="youimg.extension" alt="What is this image?" data-slideshow-src="img.jpg|img2.jpg|img3.jpg|img4.jpg"> Your required HTML code is done now. You may want to target the image to adjust its size and other properties.
The CSS
The CSS required to make this work is contained in the file hexslide.css, move or copy the css file into your site directory first
Dont edit CSS rules unless you know what you're doing, rules before the appearance comment should NOT be edited at all.
Only edit appearence related css rules after this comment:
/* ONLY EDIT APPEARENCE */ Only change rules like background, color, opacity. But not positioning or transitions etc...
After this comment:
/* EDIT HERE AND BELOW */ edit the rules however you like. Be aware that editing the rules may result in unwanted changes.
All CSS before the above comment in the css file is required and should not be adjusted unless you know what your doing.
You may link the CSS file to your document, or copy & paste the code into your current CSS file.
I recommend linking the CSS.
Link the hexslide.css file to your document, or copy the CSS rules contained inside.
The Javascript
The Javascript is minified to reduce file size, and reduce modification attempts.
Step 1
First off, link the hexslide.min.js file from the downloaded .zip into your document. Move or copy the javascript file into your site directory first
Then link the Javascript document using
<script src="hexslide.min.js"></script> Replace the src argument with the path to the javascript file.
Step 2
Now that you have the Javascript file included in your document we must now initialize the plugin.
If you want to run the plugin using all default settings, then all you have to do is the following code:
$("img").hexSlide();
The above snippet of code will convert the image into a hexslide slide-show div. Although if you want custom settings to make your slide-show perform how you need it to, we need to understand the settings available.
def. = Default Setting ( Does not need to be set unless changed )
- = This setting can be changed on the fly, learn more at the end of the document
Available String Settings
- interval ( def. 3000 ) *
- speed ( def. 500 ) *
- pauseOnHover ( def. true ) *
- autoPlay ( def. true ) *
- navigation ( def. true ) *
- alwaysShowNav ( def. false ) *
- stopAutoOnNav ( def. false ) *
- indicators ( def. true ) *
- width ( def. false ) *
- minwidth ( def. false ) *
- maxwidth ( def. false ) *
- height ( def. false ) *
- maxheight ( def. false ) *
- minheight ( def. false ) *
- animation ( def. false ) *
- shuffle ( def. false ) *
- alwaysShowIndicators ( def. false ) *
- debug ( def. false )
Interval ( int )
The interval is the time ( in ms ) spent waiting between slides ( Only used when autoPlay is true )
Speed ( int )
The speed is how fast ( in ms ) the slide fades in and out
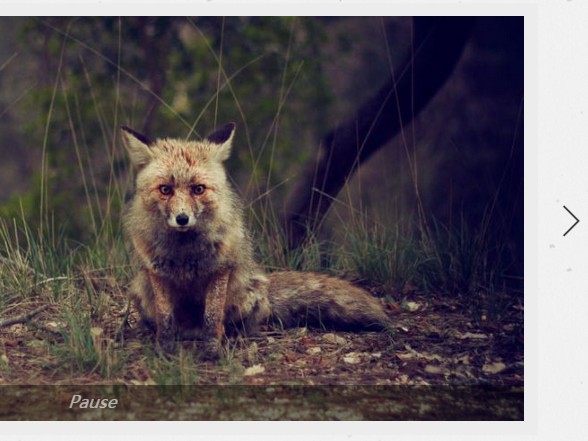
pauseOnHover ( boolean )
If true, the slide show will not auto play if the user moves mouse onto slide-show, and wont restart until the user moves mouse off of slide-show
autoPlay ( boolean )
If true the slide show will use the interval to automatically play the slide-show
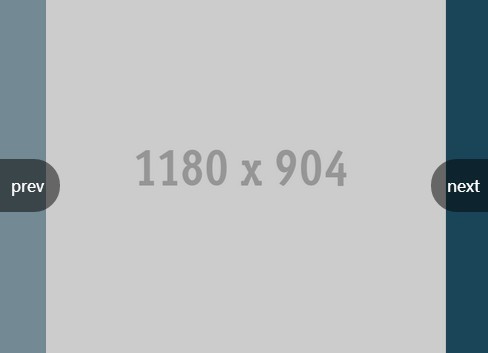
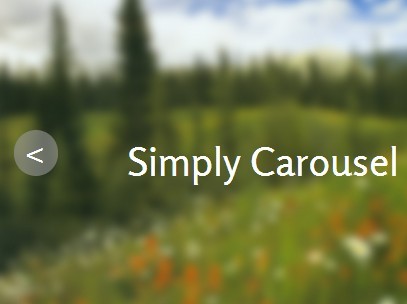
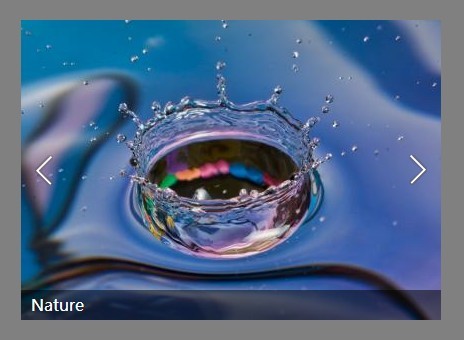
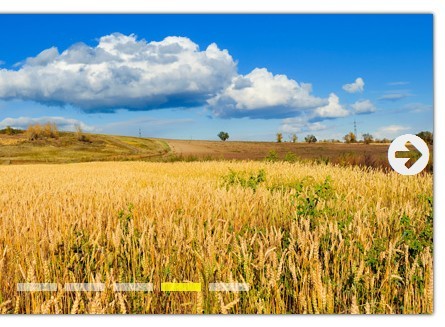
navigation ( boolean )
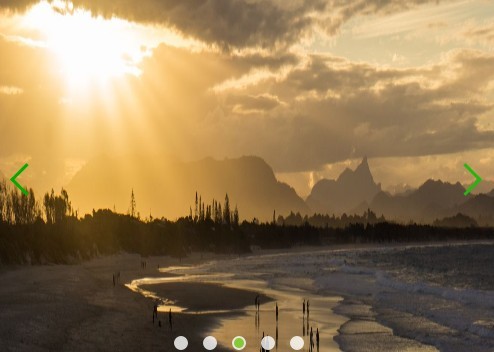
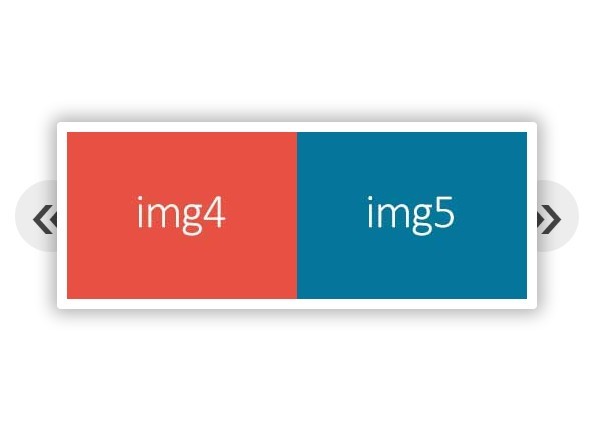
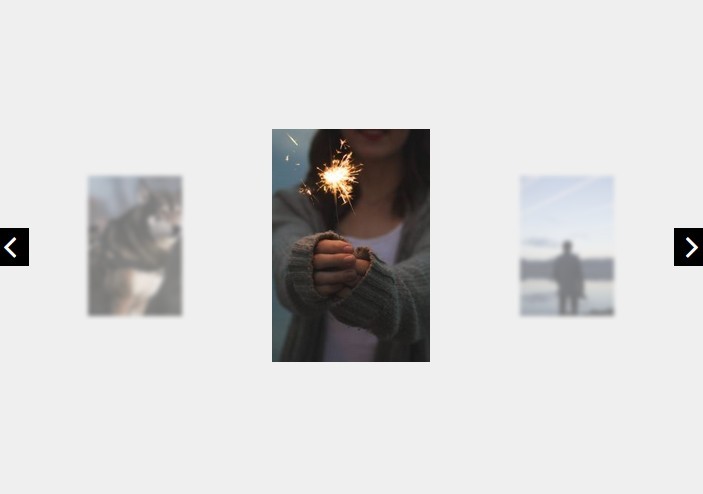
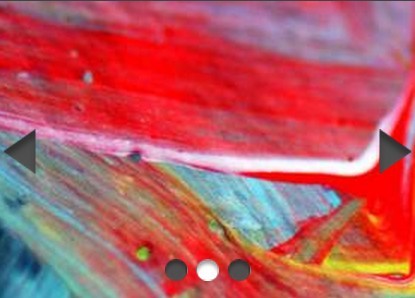
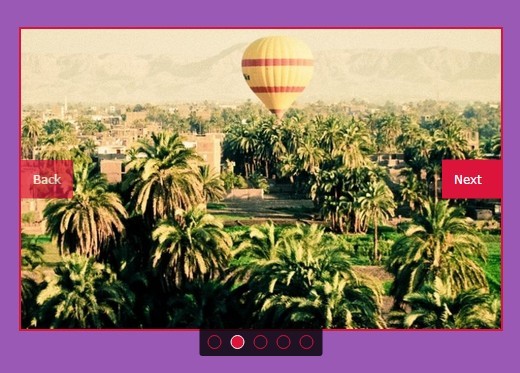
If true Back and Next buttons will be created and can be used to navigate the slide-show
alwaysShowNav ( boolean )
If true, the navigation will not hide them selves when the user is not hovering on the slide-show
alwaysShowIndicators ( boolean )
If true, the indicators will not hide them selves when the user is not hovering on the slide-show
stopAutoOnNav ( boolean )
If true autoPlay will be disabled when the user navigates ( using forward/back or indicator )
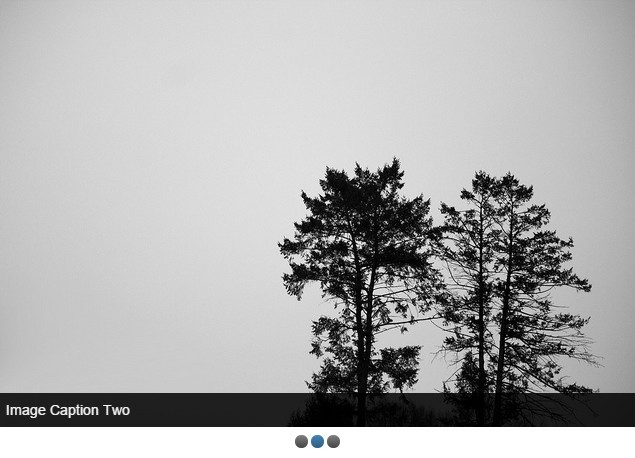
indicators ( boolean )
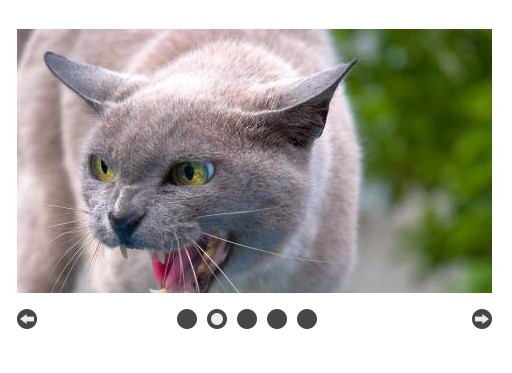
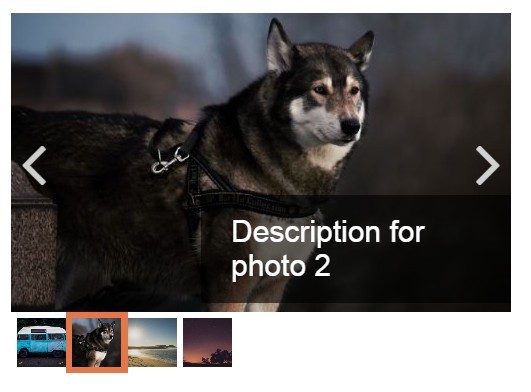
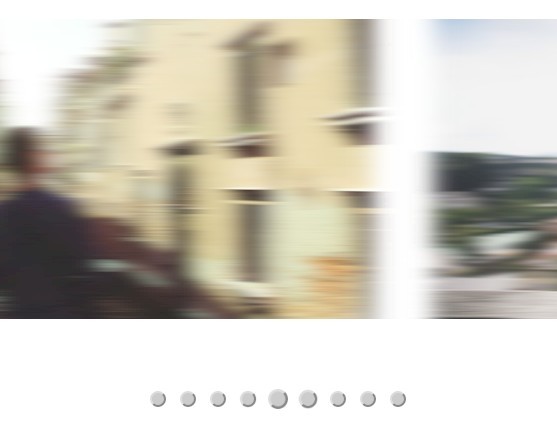
If true, circles will be created underneath the slide show, one per slide. A user can use these to navigate the slides.
width ( CSS Property )
If false or an unknown value is given then the width of the container will be set to that of the img tag before plugin initialization
height ( CSS Property )
If false or an unknown value is given then the height of the container will be set to that of the img tag before plugin initialization
minwidth ( CSS Property )
If false or an unknown value is given then the min width wont be set. If width is a dynamic value then the container could possibly get very small
maxwidth ( CSS Property )
If false or an unknown value is given then the max width wont be set. If width is a dynamic value then the container could get very large
maxheight ( CSS Property )
If false or an unknown value is given then the max height wont be set. If height is a dynamic value then the container could get very large
minheight ( CSS Property )
If false or an unknown value is given then the min height wont be set. If height is a dynamic value then the container could get very large
animation ( String )
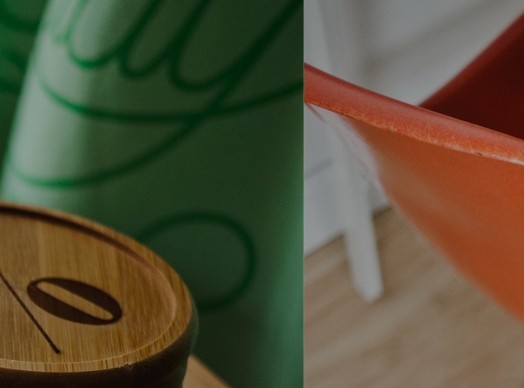
If false or an unknown value is given, the animation using to change the slides will be a simple fade in/out. If supplied value is string slide, the slides will slide in and out of the window.
shuffle ( boolean )
If true the slideshow will randomize the order of the slides. It will do this by generating an order every time the slideshow loops.
debug ( boolean )
This setting should only be used by developers while making changes. The debug fills the console with information that is useful when debugging problems, not so much for a user of the website.
Any setting above that has an "*" next to it means that the setting is dynamic. Therefore after starting the plugin you can target the slideshow ( using our Class objects below ) and simply call hexSlide containing only the settings you want to change.
Your new settings will be merged with your old settings, and the defaults.
Lets say you wanted to remove the navigation, or disable pauseOnHover after starting the plugin, simply target the slideshow using a custom class you apply when setting the plugin ( used below )
First INIT
$("img").hexSlide({ additionalClass:{ container: "my-slideshow-target" } }) Second INIT
$(".my-slideshow-target").hexSlide({ pauseOnHover: false }) The above code shows a slideshow being created with class .my-slideshow-target. This class is then used in the second call which disabled pauseOnHover, the container class remains afterwards.
Available Object Settings
- additionalCSS ( def. false )
- additionalClass ( def.false )
- callback ( def. Object [object] )
- text ( def. Object [object] )
additionalCSS ( object )
The additionalCSS object can contain 1-2 other objects, indexed using container, slide, nextBtn, nextTxt, prevBtn, prevTxt. EG: additionalCSS: { container: { "cssrule": "cssvalue" }, slide: { "cssrule": "cssvalue" } }
Any CSS in the slide index will be applied to each individual slide. Any rules in the container index will be applied to the parent div.hexslide, the prevBtn and nextBtn CSS applies to the div containing the button. The nextTxt and prevBtn applies to the span inside.
The reason this exists is because .css cannot be used on the inital call of the plugin because the img tag is removed and replaced. This also allows you to adjust the css of other elements inside without using callbacks.
additionalClass ( object )
This object can contain 1-2 string values, indexed using either container or slide EG: additionalClass: { container: "my-container-class", slide: "my-slide-class and-another-slide-class" }
Mutliple classes must be separated using a space not a comma, semi-colon or other character
The reason this exists is because .addClass/.removeClass cannot be used on the inital call of the plugin because the img tag is removed and replaced. This also allows you to add/remove classes on the slides inside without using callbacks
callback ( object ) * ( This object setting is called each time, changing it will work )
This object currently only contains one index, named start. The key must be a function, this function will be called after and every time the plugin is used. EG: callback:{ start: function(){ alert("done!"); } }
text ( object )
This object contains two indexs. previous and next. These indexs must hold a string key. EG: text: { previous: "Back Button", next: "Next Button" }
The string held within the index, is applied to the appropriate button. By default the previous has a value of "Back" and the next has a value of "Next".
Unlike straight settings, object setting are NOT dynamic ( except callback ) because the majority of them are called when starting the plugin and not afterwards and keeping track of your previous CSS classes would be difficult. If you need to change the class, simply change it using normal jQuery methods.
$(".my-slideshow-target .slide-btn.right").text("Next Button") Example Call
$("img").hexSlide({ speed: 1000, interval: 5000, additionalCSS:{ container:{ "display":"inline-block", "background": "black" } }, additionalClass: { container: "center-image" }, callback: { start: function(){ console.log("Done!") $(window).trigger("resize"); } } }) The above code will turn any img tags with data-slideshow-src into a hexslide slide-show.
The image will change over 1 second every 5 seconds. The container has a background color of black and a display of inline-block. The container also has a class of center-image
When the plugin has finished, "Done!" will be output to the console and any Javascript listening for a window resize, will fire in case the size of the img (slideshow) has changed.
Notes
Nothing, you're done.
Feel free to contact me here:
http://harryfelton.web44.net/digital_website/help.php#!contact * Only works with javascript.
Email: [email protected]
If you want to change the plugin settings permanently ( so you don't have to set the setting each time you call the plugin ) you can change them using the following directive:
$.fn.hexSlide.defaults; You will have to reset the entire table, so here are the defaults:
$.fn.hexSlide.defaults = { interval: 3000, speed: 500, shuffle: false, width: false, height: false, maxheight: false, maxwidth: false, minheight: false, minwidth: false, pauseOnHover: true, autoPlay: true, navigation: true, alwaysShowNav: false, alwaysShowIndicators: false, stopAutoOnNav: false, indicators: true, animation: false, debug: false, additionalClass: { slide: false, container: false }, additionalCSS: { slide: false, container: false, nextBtn: false, nextTxt: false, prevBtn: false, prevTxt: false }, callback: { start: function(){} }, text: { previous: "Back", next: "Next" } } You can simply copy these, change what you need to, and set the directive to them, OR you can simply target them like so:
$.fn.hexSlide.defaults.interval = 4000 Now unless specified when running the plugin, the interval will be 4 seconds, instead of three.
If any of these defaults are missing the program may crash or not function correctly, because of this the second method of default adjustment is recommended.
When changing a default always check its object type. These are specified under the headers available string settings and available object settings. If you change a default to the incorrect type the plugin may crash.
Changing the global defaults is dangerous and can result in undesired changes.