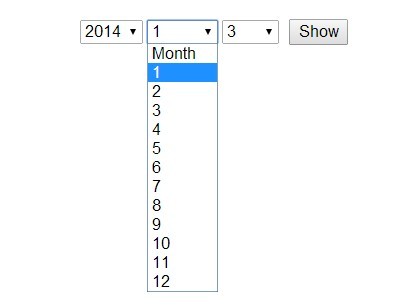
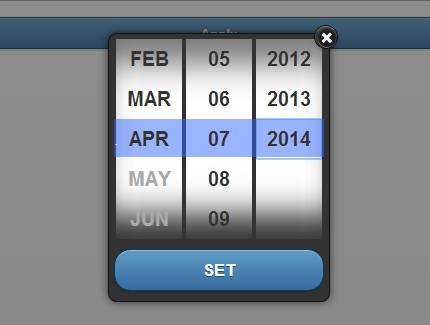
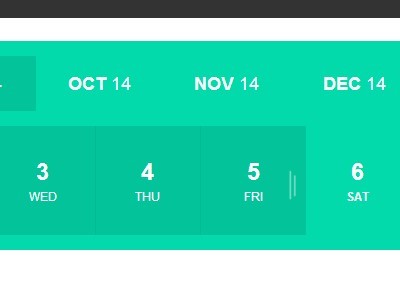
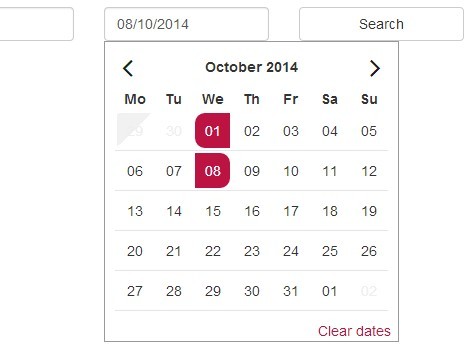
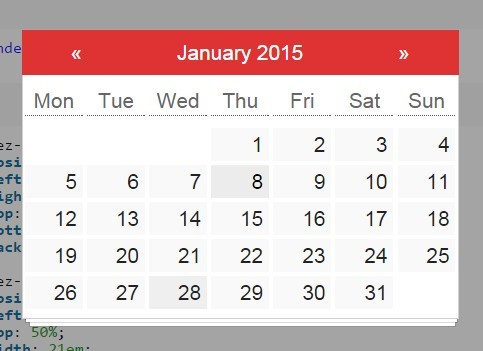
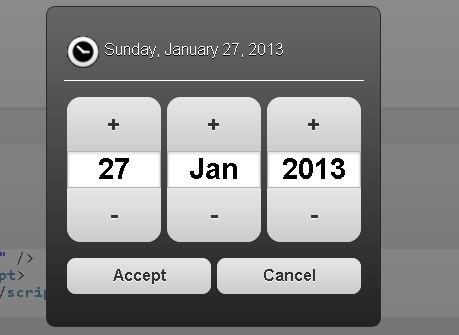
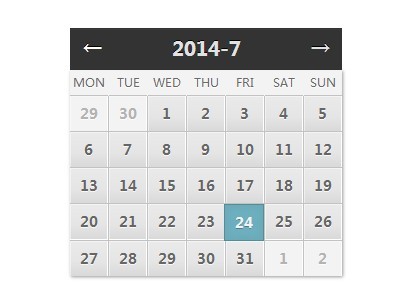
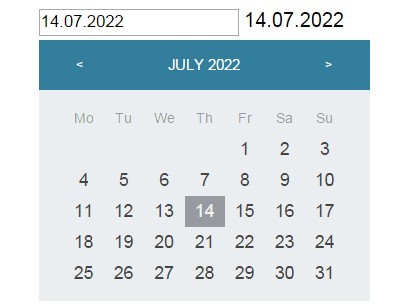
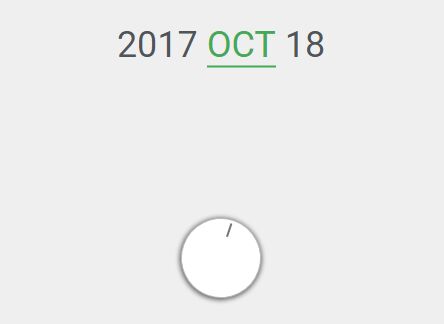
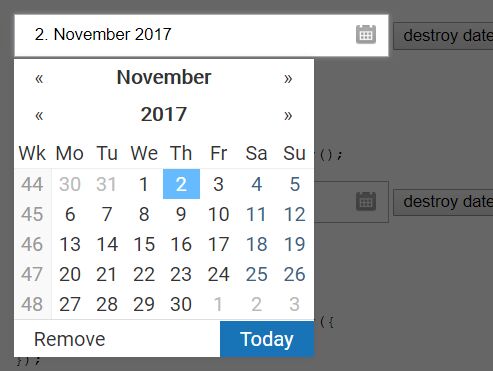
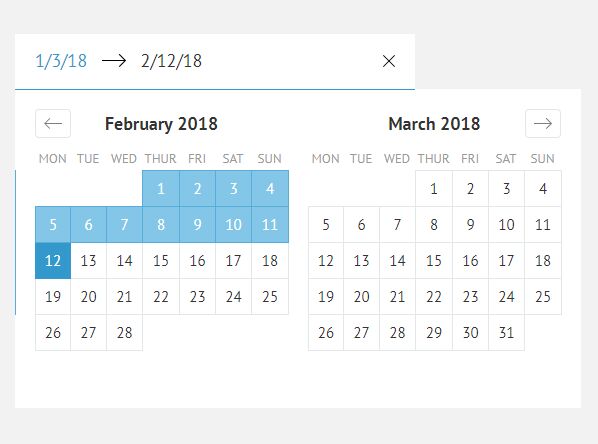
MomentPicker 
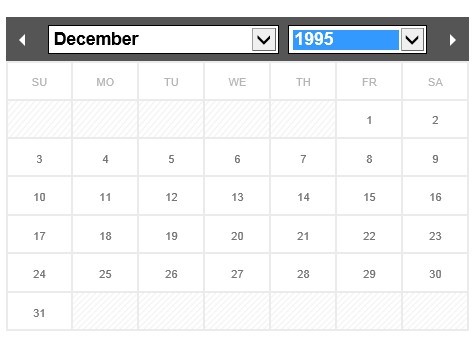
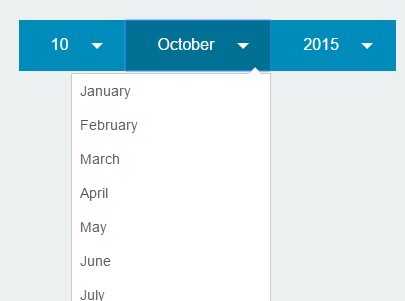
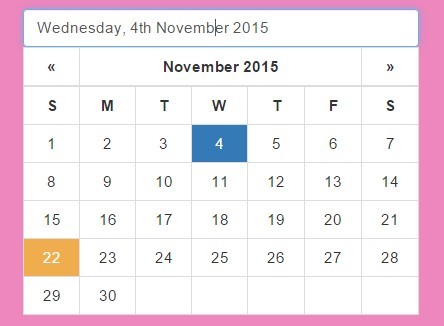
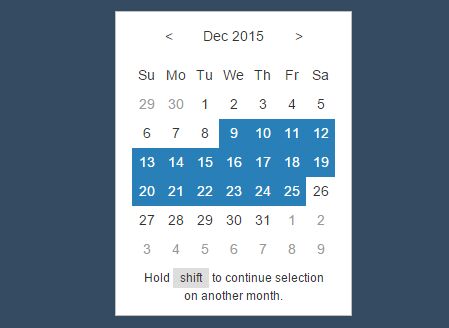
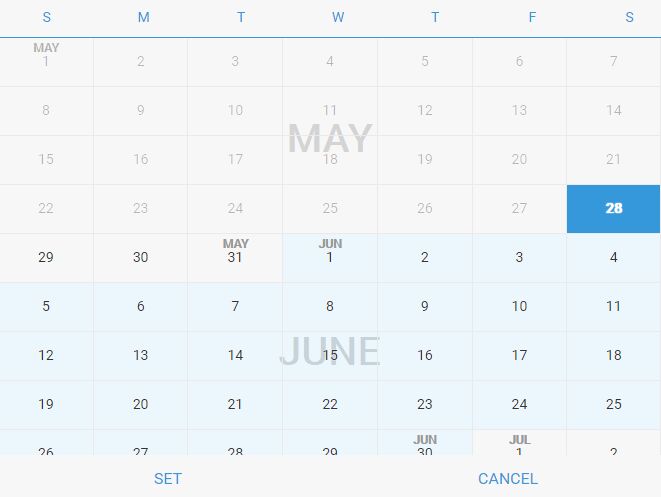
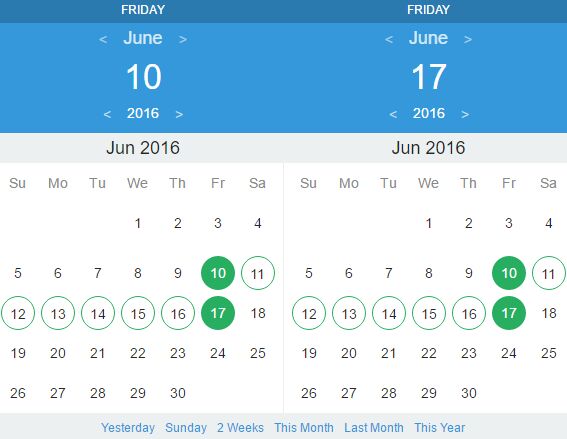
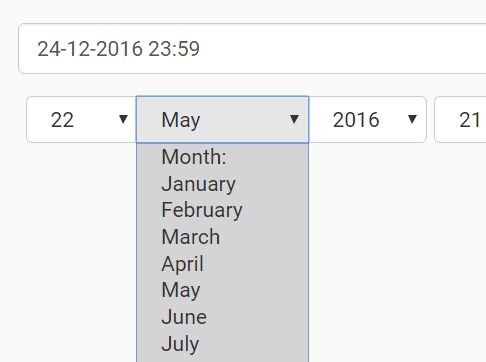
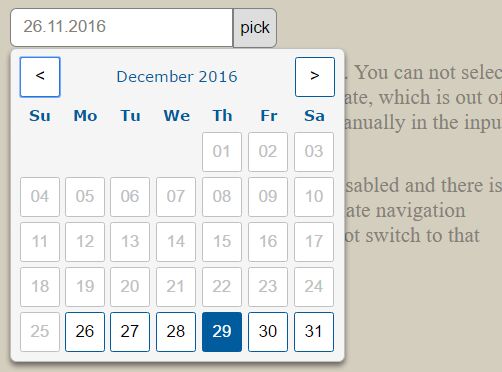
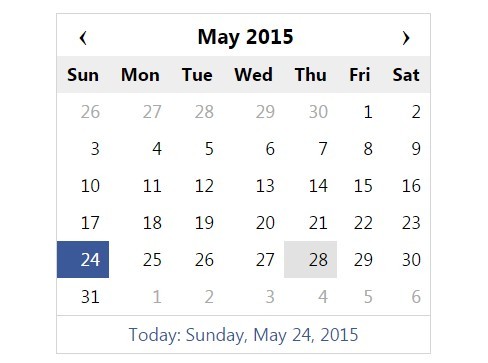
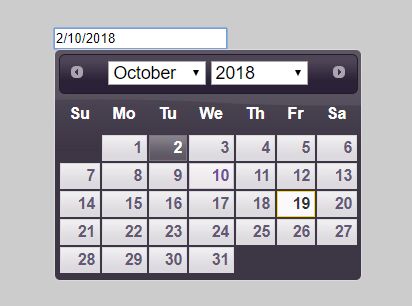
A datepicker based on Moment.js and jQuery
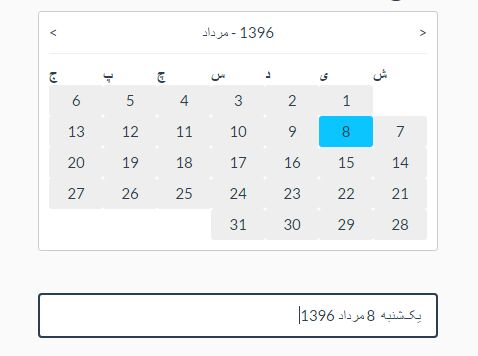
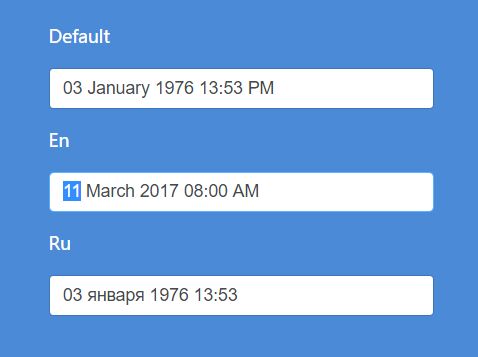
You can change the default language (english) and even make it RTL (with some css).
How to use
The proper way to get it is through bower bower install MomentPicker, but you can also clone this project or even download the minified version from the dist folder.
After grabbing it, include the css (the one included here or your own) and the js (jQuery, Moment.js and MomentPicker).
To instantiate just apply it to any div wrapped in jQuery, like:
$(function() { $('#picker').MomentPicker(); });Options
You can easily configure it by passing a plain js object to the constructor.
$(function() { $('#picker').MomentPicker({ date : moment(), min : moment().subtract('d', 10), max : moment().add('y', 1), level: 0, style: { selected: 'selected', current : 'current' } }); });date
The current date, to start with an already selected date. You should use (and expect to receive) Moment.js instances for all the dates.
min
The minimum date allowed to be selected. It can be a date or a function returning dates that will be called everytime MomentPicker needs to render dates or validate a date.
max
The maximum date allowed to be selected. It can be a date or a function returning dates that will be called everytime MomentPicker needs to render dates or validate a date.
level
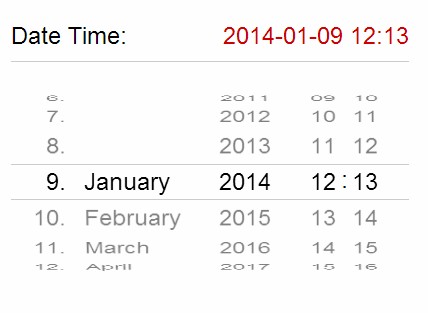
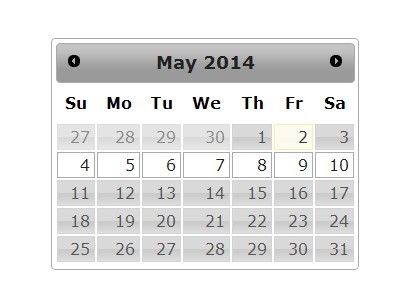
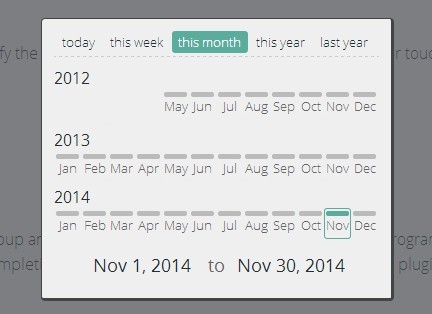
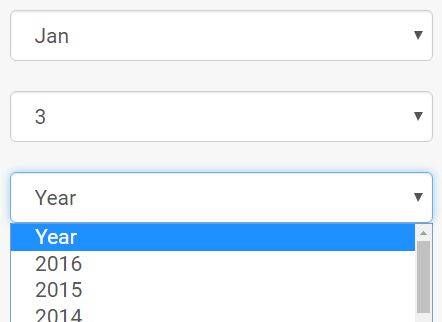
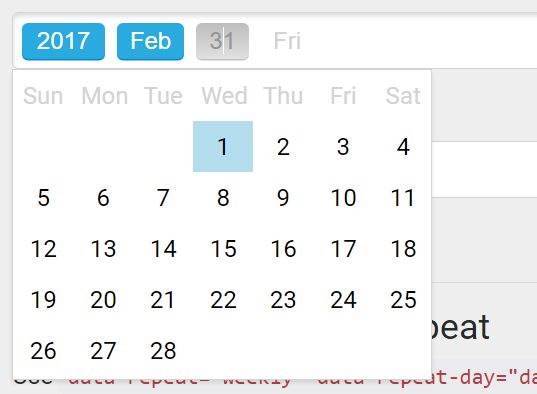
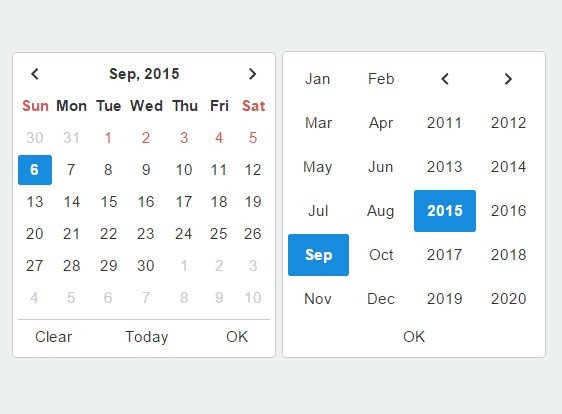
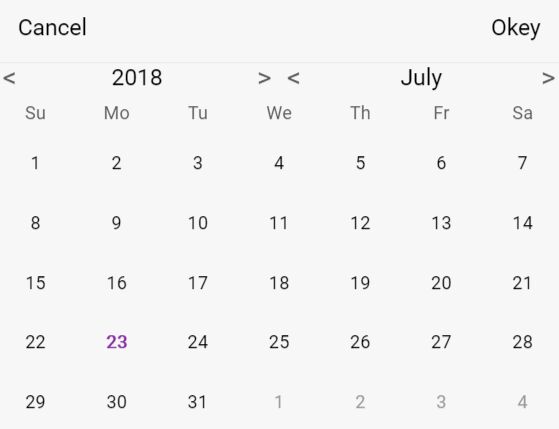
An integer value to determine the possible ways to pick a date, starting from picking the year (level 0), the month (level 1) or only the date itself, like a regular datepicker (level 2).
style
Lets you change the css class names applied to selected dates (year, month and date depending on the level) and to the current date (current date is today).
API
You can grab an instance of the API from an already applied MomentPicker using jQuery's data:
var api = $('#picker').data('MomentPicker');from the plugin itself (on an already applied jQuery object):
// picker is a jQuery object! var picker = $('#picker').MomentPicker(); // api is the MomentPicker API var api = picker.MomentPicker();or from any event object received as the first argument on every listener callback:
var picker = $('#picker').MomentPicker(); picker.on('render', function(event) { console.log(event.api); });val
Gets/sets the selected date.
next
Shows the next group of years, months or the next month (depending on which level you are).
prev
Shows the previous group of years, months or the next month (depending on which level you are).
min
Gets/sets the minimum allowed date.
max
Gets/sets the maximum allowed date.
renderYears
Renders the year's level (a group of years, level 0).
renderMonths
Renders the month's level (a group of months, level 1).
renderDays
Renders the days's level (just a month, level 2).
Events
Events are a great way to interact with the plugin and add some custom funcionality in a decoupled way, like including some extra information and attaching some behaviours to date links.
MomentPicker uses the jQuery's trigger method to emit its events through the DOM. The context of every callback (this) will be the jQuery's picker instance and you can grab the api from the event object received as explained above.
For example, if you need to add some text to a date, exclude it from being selected or add some specific css class to it, just try this:
var picker = $('#picker').MomentPicker(); picker.on('renderDays', function(event) { picker .find('[data-day^="1-5"]') .replaceWith('<a href="http://en.wikipedia.org/wiki/International_Workers%27_Day">International Workers' Day</a>'); });pick
Fired after a date is selected or setted through the API.
renderYears
Fired after the level 0 gets rendered.
renderMonths
Fired after the level 1 gets rendered.
renderDays
Fired after the level 2 gets rendered.
render
Fired after everything gets rendered.
showPrev
Fired after the current viewed group of years/group of months/month is changed for the previous one.
showNext
Fired after the current viewed group of years/group of months/month is changed for the next one.
ready
Fired after the plugin is fully instantiated.
Styling
The style is done with css, so you can craft your own just taking a look to the more than simple plugin markup or modifying the one included here.
