exam-wizard
Exam Wizard Jquery Plugin to Handling Examinations, Questions, Answers Easily, its helpful to build exams, surveys, questioners
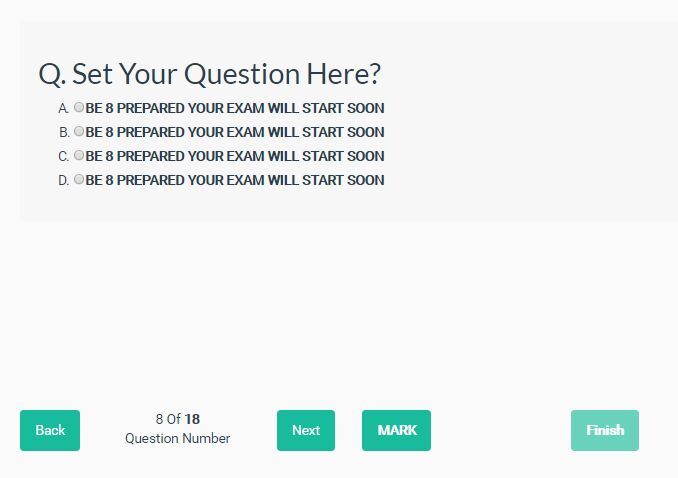
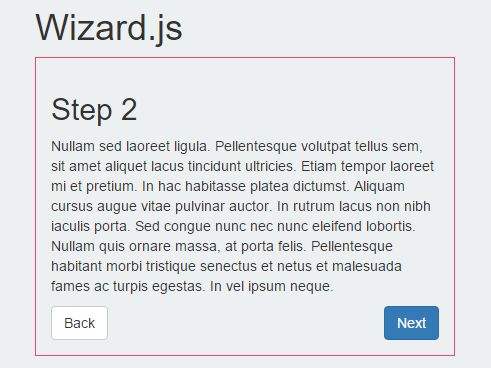
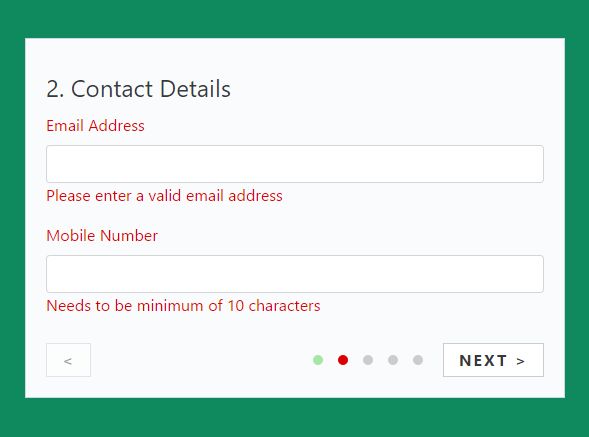
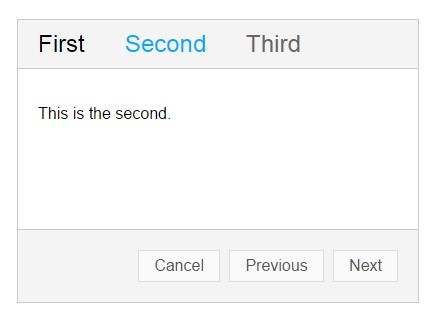
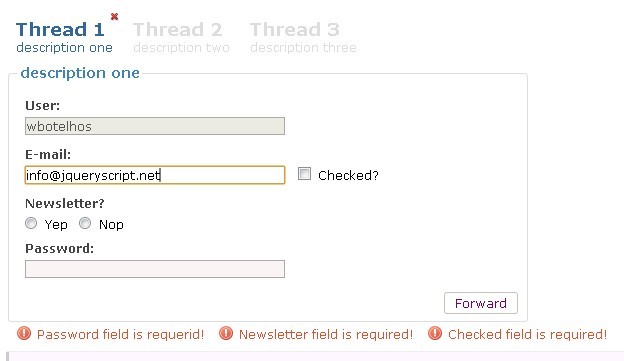
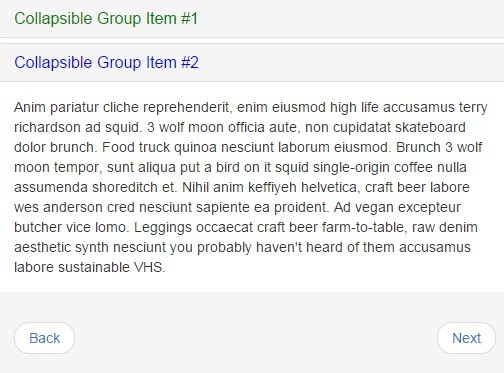
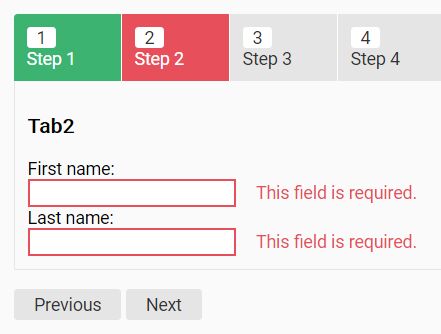
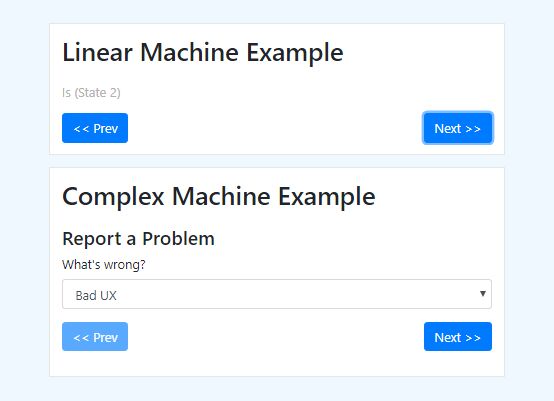
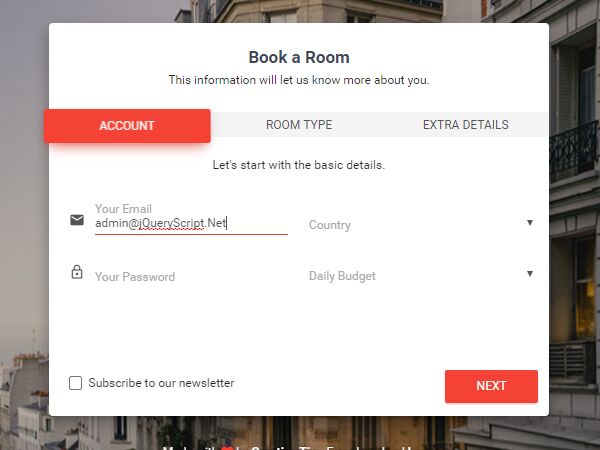
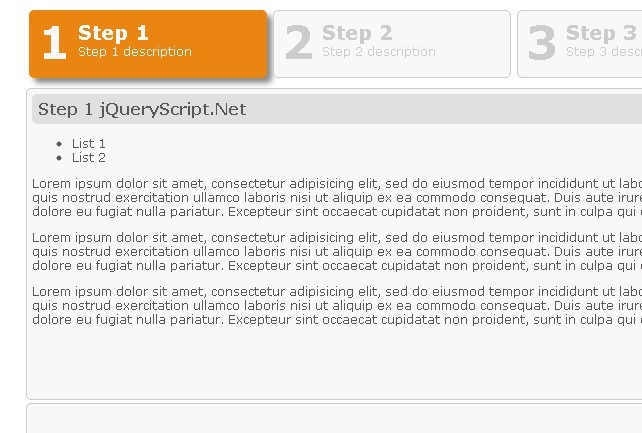
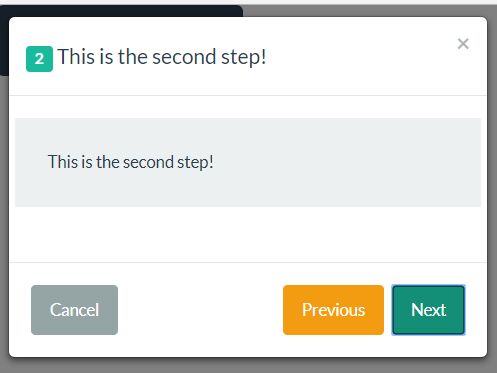
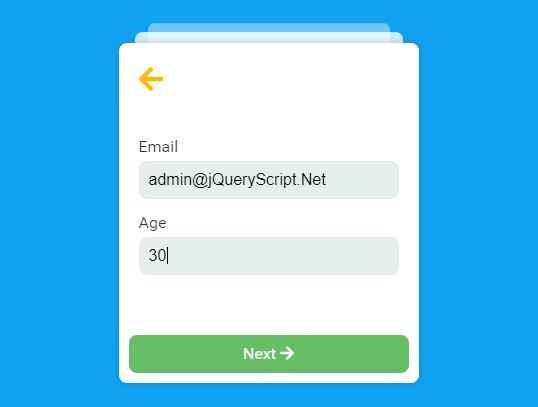
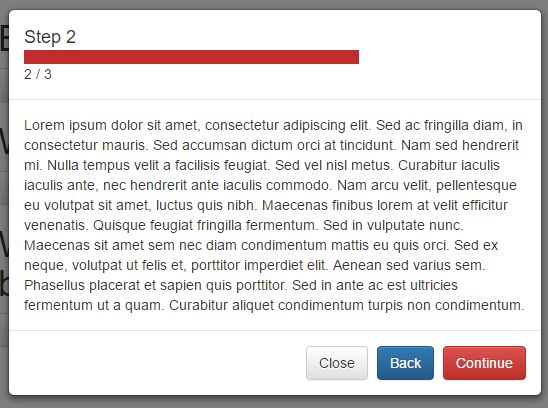
Screenshot from Simple Demo
Live Demo
Live Demo For Exam Wizard in examwizard.2nees.com
Features
- Ability to build unlimited of questions with full of action control.
- Ability to let user marks questions.
- Ability to let users use quick access menu.
- Ability to set real answer or alternate answer to display in quick access menu.
- Ability to determind number of qustions in quick access menu.
- Ability to display summery of result on modal when user click on finish button.
- Ability to enable/disable mark questions, quick access, finish modal.
- Ability to update selectors for actions control.
- Ability to trigger callback function on every main action.
- Ability to prevent next/prev button dependance on pre-trigger-funtion.
- Ability To Save All Users Answers in cookies.
- Ability to add auth key for cookie to keep data safe for every user/exam dependance of your rules.
- Ability to retrieve all marked value from examVariable directly.
- Ability to retrieve all answerd value from examVariable directly with options to retrive all form data or just questions data, also we can get data sorted as a groub or with normal array.
- Ability to retrieve total of marked questions from examVariable directly.
- Ability to retrieve total of answerd questions from examVariable directly.
- Ability to retrieve total of Remaining questions from examVariable directly.
- Ability to retrieve current question number from examVariable directly.
- You will work on exam wizard with data-attribute for name, values and types, and this give you a power to keep real name, value and type without change, its helpfual if you like to use it in exsisting form, with fremworks, or cms.
- This plugin work on input type, select and textarea.
- This plugin work on multiple value for select and checkbox fields.
Dependency
- jQuery Library
Installation:
The preferred way to install this extension is through composer.
Either run
php composer.phar require --prefer-dist aneeshikmat/exam-wizard "*@dev"
Usage
To use this plugin you need to write your code like this template(in basic use):
<!-- Html Template --> <form id="examwizard-question"><!-- examwizard-question #id selector for exam form(you can update it by option --> <div class="yourClass" data-question="1"> ------ <input type="radio" data-alternatetype="radio" name="fieldName[0]" data-alternateName="answer[0]" data-alternateValue="A" value="1"/> ------ </div> <div class="yourClass hidden" data-question="2"><!-- We Add hidden class here --> ------ <input type="radio" data-alternatetype="radio" name="fieldName[1]" data-alternateName="answer[1]" data-alternateValue="A" value="1"/> ------ </div> <!-- Hidden field, save current question number, marked values, total of question --> <input type="hidden" value="1" id="currentQuestionNumber" name="currentQuestionNumber" /> <input type="hidden" value="18" id="totalOfQuestion" name="totalOfQuestion" /> <input type="hidden" value="[]" id="markedQuestion" name="markedQuestions" /> </form> <!-- Scripts --> <script src="js/jquery.js"></script><!-- Required --> <script src="js/examwizard.min.js"></script><!-- Required --> <script> var examWizard = $.fn.examWizard(); </script> As you see, its very simple, and now we will be explaning this code, and then go to display all option may be use to help us.
- Form tag must be has an #id selector, the default selector is examwizard-question, and you can change it by set it in examwizard configration like this:
<script> var examWizard = $.fn.examWizard({ formSelector: "#new-examwizard-question", }); </script> -
Wrapper
has an data-question attribute with question number value. -
Question Field most be write with this rule:
a. data-alternatetype: this data attribute has an field type.(required). b. data-alternateName: this data attribute has an alternate name, this is useful to keep field name without any update, its useful if you need to update old form, use in cms or fremwork, alternateName most has value like this rule "answer[question-number - 1]" so that if we on question 1 thats mean alternateName="answerd[0]".(required) c. data-alternateValue: this data attribute has an alternate value for field, its useful on quick access menu, its will be display a readable value for user, for example if field value is 1 and data-alternateValue="A" then the displayed value will be is "A" not "1".(Optional) -
#currentQuestionNumber field is an hidden field save current question number, init value = 1.
-
#totalOfQuestion field is an hidden field save total of question number, its most set to can be groubing question. (in this example we has an 18 question, so that exam-wizard will handling 18 question only.
-
#markedQuestion field is an hidden field save all marked value, default value is empty array "[]". (if you disabled marks option, you dont need this field).
Quick Access
Quick access section its an simple layout useful to display answers input by users and marked links, this option is enabled by default.
<!-- Quick Access Html Template --> <div class="col-xs-3" id="quick-access-section"> <table> <!-- You can use table, or any other html tag like div, spans..etc --> <tr class="question-response-rows" data-question="1"> <td>1</td> <td class="question-response-rows-value">-</td> </tr> <tr class="question-response-rows" data-question="2"> <td>2</td> <td class="question-response-rows-value">-</td> </tr> </table> <div class="col-xs-12"> <a href="javascript:void(0)" class="btn btn-success" id="quick-access-prev">< Back</a> <span class="alert alert-info" id="quick-access-info"></span> <a href="javascript:void(0)" class="btn btn-success" id="quick-access-next">Next ></a> </div> </div> The main item in quick Access is:
A) #quick-access-section in div wrapper. B) .question-response-rows this class required in every row in quick access, and data-question is required too, its has an question number.
C) .question-response-rows-value this class has an value for each question, defualt value when nothing select is "-".
D) .quick-access-prev is quick access class to do back action if we groubing rows(like screen shot)
E) .quick-access-next is quick access class to do next action if we groubing rows(like screen shot)
F) #quick-access-info This selector will has an information about quick access page number of total like 1/2(look at screen shot).
And now, let us see full configration for quickaccess
var examWizard = $.fn.examWizard({ quickAccessOption: { enableAccessSection: true,// Enable or disable Quick Access quickAccessPagerItem: 'Full',// Number of rows in quick access, by default is full and you can send your number like 9 quickAccessInfoSeperator:'/',// the sperator for quick access information the default is /. (1/2) quickAccessDefaultRowVal:'-', // Default Row Value when value is empty quickAccessRowValSeparator: ', ', // Default Value Sperator for multible value nextCallBack :function(){}, // CallBack Function when click on next quick access callBack prevCallBack :function(){}, // CallBack Function when click on prev quick access callBack } }); Marked Buttons
Its an button used to display marked link on quick access, its easy way to let user to back to question if he like to update, or answer.
<!-- Mark Button Template --> <div class="mark-unmark-wrapper" data-question="1"> <a href="javascript:void(0);" class="mark-question btn btn-success" data-question="1"> <b>MARK</b> </a> <a href="javascript:void(0);" class="hidden unmark-question btn btn-success" data-question="1"> <b>UNMARK</b> </a> </div> <div class="mark-unmark-wrapper hidden" data-question="2"> <a href="javascript:void(0);" class="mark-question btn btn-success" data-question="2"> <b>MARK</b> </a> <a href="javascript:void(0);" class="hidden unmark-question btn btn-success" data-question="2"> <b>UNMARK</b> </a> </div> A) .mark-unmark-wrapper is the main selector wrapper for mark/unmark button, data-question has an question number.(other wrapper will contaion hidden class).
B) .mark-question is the selector for trigger mark action, data-question has an question number.
C) .unmark-question is the selector for trigger unmark action, data-question has an question number. (by default will has hidden class).
And This is JS Option:
var examWizard = $.fn.examWizard({ markOption: { markedLabel: 'Marked',// This is Link lable will be display on quick access (look to screen shot). enableMarked: true,// Enalbe or Disable mark button, by default its enable markCallBack: function(){},// CallBack Function when click on mark button unMarkCallBack: function(){},// CallBack Function when click on unmark button }, }); Prev & Next Buttons
<!-- Html Button Template --> <div class=""> <a href="javascript:void(0);" id="back-to-prev-question" class="btn btn-success disabled"> Back </a> </div> <div class=""> ---- <span id="current-question-number-label">1</span> ---- </div> <div class=""> <a href="javascript:void(0);" id="go-to-next-question" class="btn btn-success"> Next </a> </div> A) #back-to-prev-question selector to back to prev question
B) #go-to-next-question selector to got to next question
C) #current-question-number-label updated question number when user click on next, back or marked link(in another way its display a current question number).
And now let us to see js option:
var examWizard = $.fn.examWizard({ nextOption: { allowadNext: true, // Direct conf to enable or disable next button callBack: function(){}, // Callback function trigger after next action done breakNext: function(){return false;}, // Pre execute function to execute code and return bool to break next or no. (by default its return false thats mean next action will not break); }, prevOption: { allowadPrev: true,// Direct conf to enable or disable prev button allowadPrevOnQNum: 2,// This option give Ability to set when Prev button will be enabled.(by default will be enable on question 2). callBack: function(){},// Callback function trigger after prev action done breakPrev: function(){return false;},// Pre execute function to execute code and return bool to break prev action or no. (by default its return false thats mean prev action will not break); }, }); Finish Button
<!-- Finish Button Template --> <div class=""> <a href="javascript:void(0);" id="finishExams" class="btn btn-success disabled"> <b>Finish</b> </a> </div> <!-- If You enable modal --> <div class="modal fade" id="finishExamsModal" tabindex="-1" role="dialog" aria-labelledby="myModalLabel"> <div class="modal-dialog" role="document"> <div class="modal-content"> <div class="modal-header"> <button type="button" class="close" data-dismiss="modal" aria-label="Close"><span aria-hidden="true">×</span></button> <h4 class="modal-title" id="myModalLabel">Modal title</h4> </div> <div class="modal-body"> <div> <span>Total Of Answerd Quastion</span> <span class="finishExams-total-answerd"></span> </div> <div> <span>Total Of Marked Quastion</span> <span class="finishExams-total-marked"></span> </div> <div> <span>Total Of Remaining Quastion</span> <span class="finishExams-total-remaining"></span> </div> </div> <div class="modal-footer"> <button type="button" class="btn btn-default" data-dismiss="modal">Close</button> <button type="button" class="btn btn-primary">Save changes</button> </div> </div> </div> </div> A) #finishExams the default selector to trigger finishing exam.
b) you need to add disabled class for button if you would like to prevent an finsih action before exam end.
c) If you enable modal when click on finish button, you need to set #finishExamsModal for modal, also you can display summery of results by adding .finishExams-total-answerd, .finishExams-total-marked, .finishExams-total-remaining.
Let us see our js configration:
var examWizard = $.fn.examWizard({ finishOption: { enableAndDisableFinshBtn:true, // Direct variable to enable or disable finsih button, by defaults its enable enableFinishButtonAtQNum:'onLastQuestion', // By default finsih button will be enable when user on last question enableModal: false, // This bool to trigger modal when click on finish button. callBack: function(){} // Call Back function will be trigger after click on finish button }, }); Cookies
To save users answerd when he refresh page or any other case, you can use cookies, and this is configration to use cookies
var examWizard = $.fn.examWizard({ cookiesOption: { enableCookie: false,// For enable or disable cookie, by default is disabled cookieKey: '',// Cookie Key is usefal if your exam may be run from many users in the same device or if one user has the many exams or both cases. expires: 1*24*60*60*1000 // cookies expire data, by default its 1 day } }); Note: To work truthly for cookie, you need to run page as a web root style.
Getter Function (Return value after each trigger).
var examWizard = $.fn.examWizard({ -------- }); // Returned All marked question var values = examWizard.getMarkedQuestion(); // Return All Answerd/form data, groupingData used to collect data as object or arrays, fieldWithAlternateNameOnly to get only question value...both option by default is true. var values = examWizard.getAnswerdValue(groupingData = true, fieldWithAlternateNameOnly = true); // Return Total of Answerd Question var values = examWizard.getTotalOfAnswerdValue(); // Return total of marked values var values = examWizard.getTotalOfMarkedValue(); // Return Total Of Remaining Question var values = examWizard.getTotalOfRemainingValue(); // Return current question number var values = examWizard.getCurrentQuestionNumber(); // Return All Form Data var values = examWizard.getAllFormData(); Full Html Template
<!-- Html Template --> <form id="examwizard-question"><!-- examwizard-question #id selector for exam form(you can update it by option --> <div class="yourClass" data-question="1"> ------ <input type="radio" data-alternatetype="radio" name="fieldName[0]" data-alternateName="answer[0]" data-alternateValue="A" value="1"/> ------ </div> <div class="yourClass hidden" data-question="2"><!-- We Add hidden class here --> ------ <input type="radio" data-alternatetype="radio" name="fieldName[1]" data-alternateName="answer[1]" data-alternateValue="A" value="1"/> ------ </div> <!-- Hidden field, save current question number, marked values, total of question --> <input type="hidden" value="1" id="currentQuestionNumber" name="currentQuestionNumber" /> <input type="hidden" value="18" id="totalOfQuestion" name="totalOfQuestion" /> <input type="hidden" value="[]" id="markedQuestion" name="markedQuestions" /> </form> <!-- Quick Access Html Template --> <div class="col-xs-3" id="quick-access-section"> <table> <!-- You can use table, or any other html tag like div, spans..etc --> <tr class="question-response-rows" data-question="1"> <td>1</td> <td class="question-response-rows-value">-</td> </tr> <tr class="question-response-rows" data-question="2"> <td>2</td> <td class="question-response-rows-value">-</td> </tr> </table> <div class="col-xs-12"> <a href="javascript:void(0)" class="btn btn-success" id="quick-access-prev">< Back</a> <span class="alert alert-info" id="quick-access-info"></span> <a href="javascript:void(0)" class="btn btn-success" id="quick-access-next">Next ></a> </div> </div> <div class="mark-unmark-wrapper" data-question="1"> <a href="javascript:void(0);" class="mark-question btn btn-success" data-question="1"> <b>MARK</b> </a> <a href="javascript:void(0);" class="hidden unmark-question btn btn-success" data-question="1"> <b>UNMARK</b> </a> </div> <div class="mark-unmark-wrapper hidden" data-question="2"> <a href="javascript:void(0);" class="mark-question btn btn-success" data-question="2"> <b>MARK</b> </a> <a href="javascript:void(0);" class="hidden unmark-question btn btn-success" data-question="2"> <b>UNMARK</b> </a> </div> <!-- Html Button Template --> <div class=""> <a href="javascript:void(0);" id="back-to-prev-question" class="btn btn-success disabled"> Back </a> </div> <div class=""> ---- <span id="current-question-number-label">1</span> ---- </div> <div class=""> <a href="javascript:void(0);" id="go-to-next-question" class="btn btn-success"> Next </a> </div> <!-- Finish Button Template --> <div class=""> <a href="javascript:void(0);" id="finishExams" class="btn btn-success disabled"> <b>Finish</b> </a> </div> <!-- Scripts --> <script src="js/jquery.js"></script><!-- Required --> <script src="js/examwizard.min.js"></script><!-- Required --> <script> var examWizard = $.fn.examWizard({ // Your Configration }); </script> Full examWizard Configration
<script> var examWizard = $.fn.examWizard({ currentQuestionSelector:'#currentQuestionNumber', totalOfQuestionSelector:'#totalOfQuestion', formSelector: '#examwizard-question', currentQuestionLabel: '#current-question-number-label', alternateNameAttr: 'data-alternateName', alternateValueAttr: 'data-alternateValue', alternateTypeAttr: 'data-alternateType', quickAccessOption: { quickAccessSection: '#quick-access-section', enableAccessSection: true, quickAccessPagerItem: 'Full', quickAccessInfoSelector:'#quick-access-info', quickAccessPrevSelector:'#quick-access-prev', quickAccessNextSelector:'#quick-access-next', quickAccessInfoSeperator:'/', quickAccessRow: '.question-response-rows', quickAccessRowValue: '.question-response-rows-value', quickAccessDefaultRowVal:'-', quickAccessRowValSeparator: ', ', nextCallBack :function(){}, prevCallBack :function(){}, }, nextOption: { nextSelector: '#go-to-next-question', allowadNext: true, callBack: function(){}, breakNext: function(){return false;}, }, prevOption: { prevSelector: '#back-to-prev-question', allowadPrev: true, allowadPrevOnQNum: 2, callBack: function(){}, breakPrev: function(){return false;}, }, finishOption: { enableAndDisableFinshBtn:true, enableFinishButtonAtQNum:'onLastQuestion', finishBtnSelector: '#finishExams', enableModal: false, finishModalTarget: '#finishExamsModal', finishModalAnswerd: '.finishExams-total-answerd', finishModalMarked: '.finishExams-total-marked', finishModalRemaining: '.finishExams-total-remaining', callBack: function(){} }, markOption: { markSelector: '.mark-question', unmarkSelector: '.unmark-question', markedLinkSelector: '.marked-link', markedQuestionsSelector:'#markedQuestion', markedLabel: 'Marked', markUnmarkWrapper: '.mark-unmark-wrapper', enableMarked: true, markCallBack: function(){}, unMarkCallBack: function(){}, }, cookiesOption: { enableCookie: false, cookieKey: '', expires: 1*24*60*60*1000 // 1 day } }); </script> Browsers Support
In general its work in all modern browser. Tested on (Chrome, Firefox, Microsoft Edge, Safari).
And Its Not Support for Old version of browser & Internet Exploler.
