PhotoGallery 2
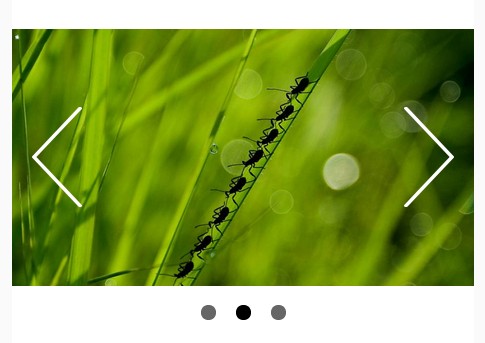
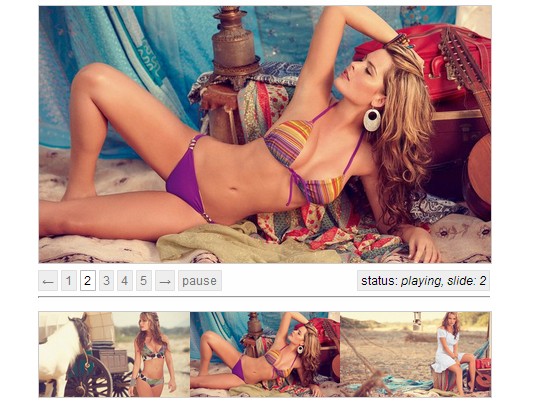
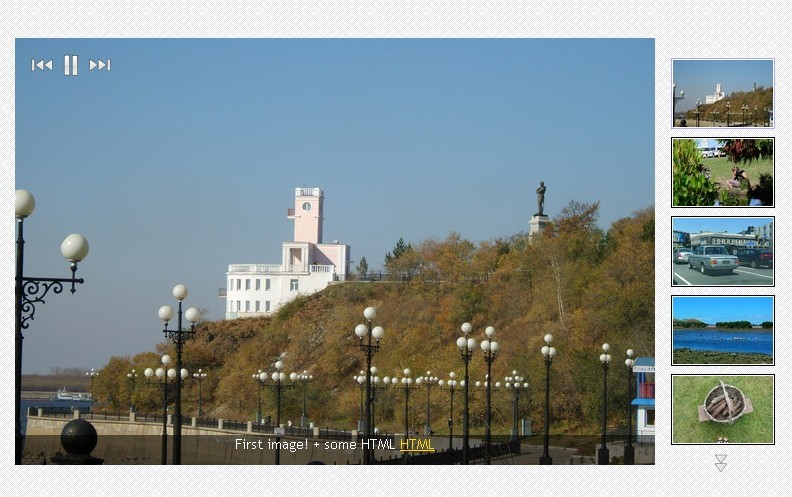
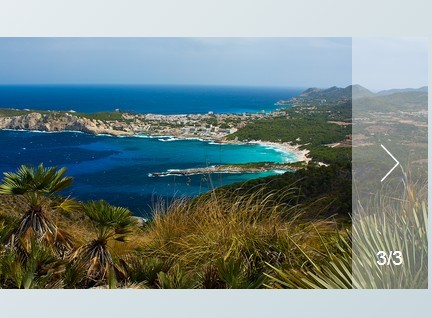
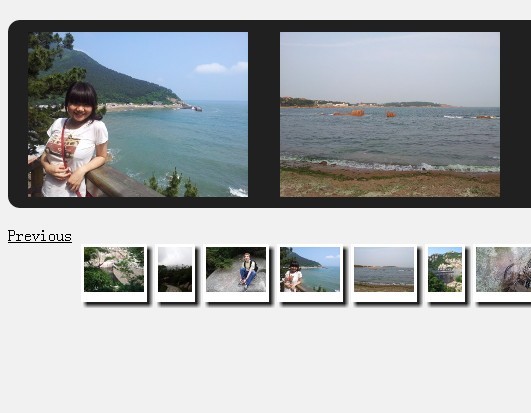
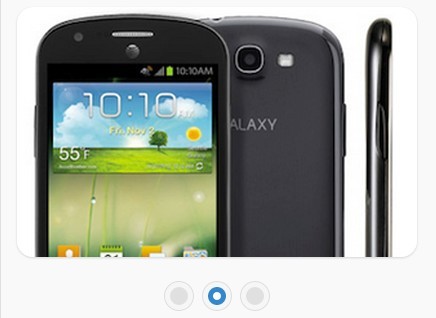
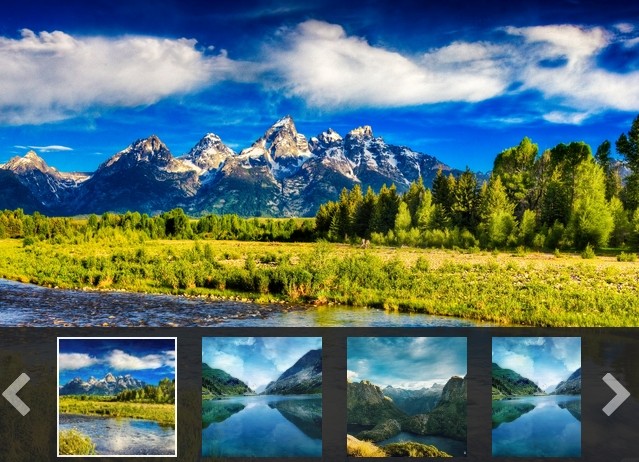
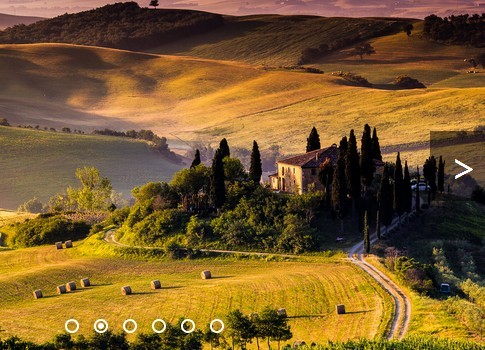
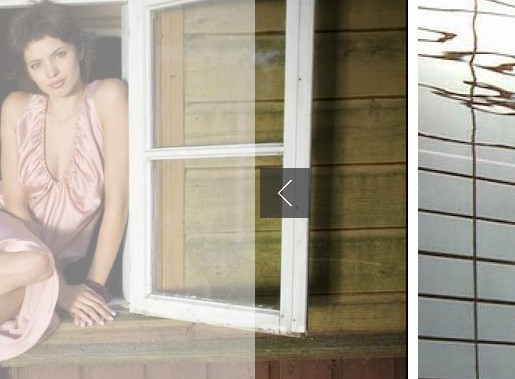
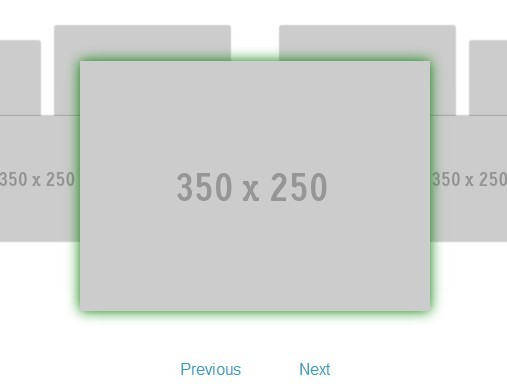
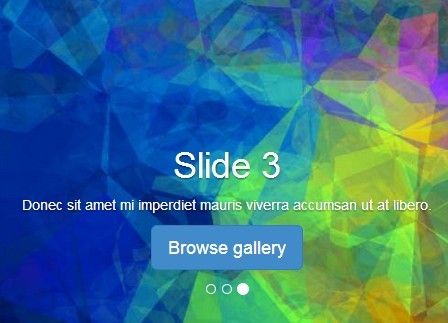
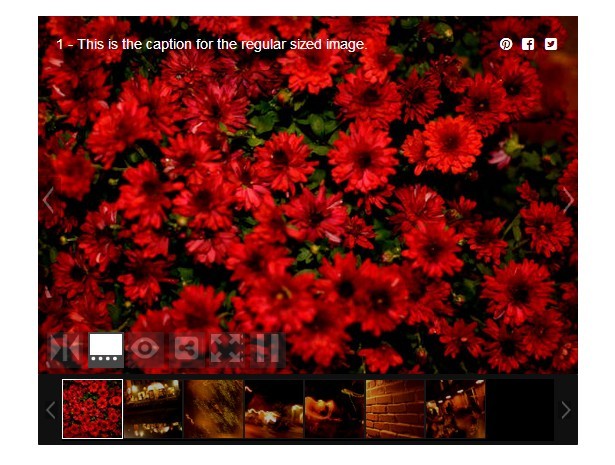
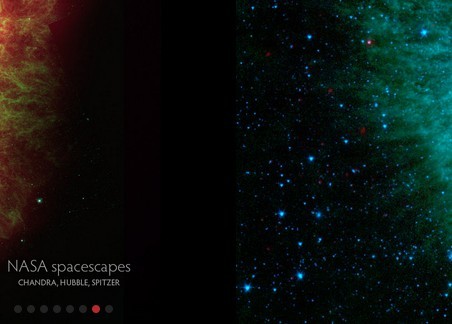
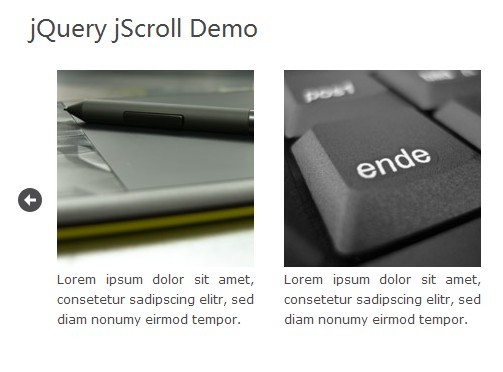
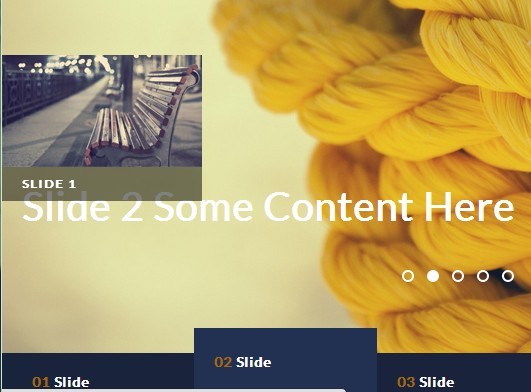
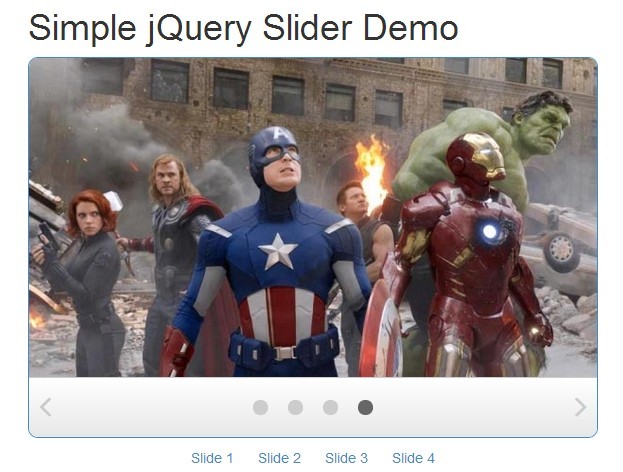
A very lightweight jQuery plugin that is used to create dynamic, easy-to-use photo galleries based off of PhotoGallery 1. ##Demo
Pros
- Lightweight (7.87KB minfied)
- Easy to use
- Dynamic
- Versatile
- Cross-browser compatible
##Installation To install PhotoGallery 2, download photogallery.min.js and photogallery.min.css from this GitHub repository, and place these tags in your page's <head> with the <script> below the script for jQuery and the <link> above any stylesheets that you have (if any):
<script src="path/to/photogallery.min.js"></script> <link rel="stylesheet" href="path/to/photogallery.min.css" /> You must also have jQuery installed. If for whatever reason you cannot or do not want to, you may like PhotoGallery 1.
Once that is done, follow the steps in Usage to create and initialize a gallery. ##Usage To create a gallery after you've installed the plugin, first place a <div> element anywhere in your <body>, and put all of the slides inside the element via <img> tags, like so:
<div id="photo-gallery"> <img src="http://i.imgur.com/EkIiBwB.jpg" /> <img src="http://i.imgur.com/57q5KId.jpg" /> <img src="http://i.imgur.com/IqT3SjC.jpg" /> <img src="http://i.imgur.com/KkaqG7r.jpg" /> </div> After the photo gallery element is created, you must initialize it in JavaScript. In a script that is below photogallery.min.js, call .PhotoGallery() on $(element) after the page loads, like this:
$(document).ready(function() { $("#photo-gallery").PhotoGallery(); }); If you've done everything correctly, you should see a photo gallery on the page.
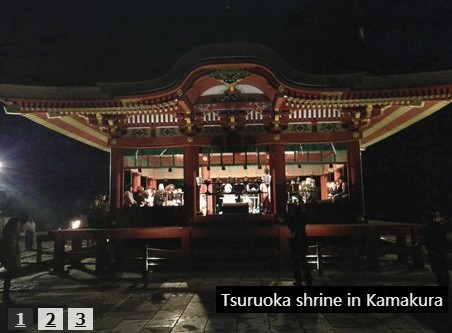
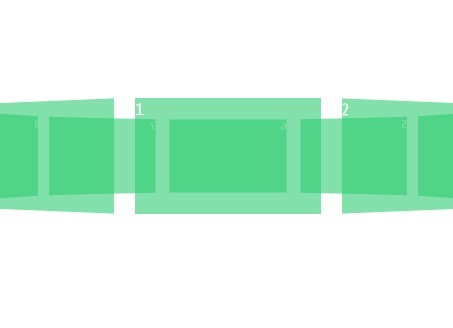
Slide navigation
To navigate to a slide, execute .PhotoGallery() on the element with the argument of "+=[amount of slides to move forth]" or "+=[amount of slides to move back]" to more forth or back a specific number of slides, or "next" or "prev" to move forth or back one slide, respectively.
To be implemented: To move to a specific tile instantly, you can enter {currentSlide: [slide]} as the argument.
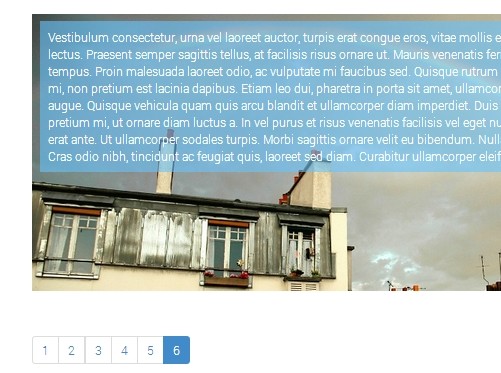
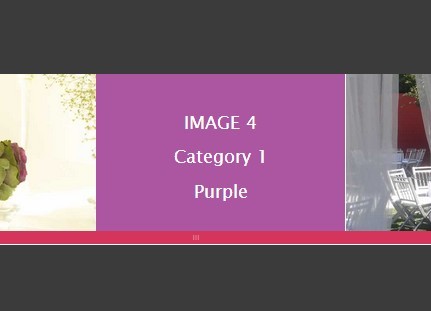
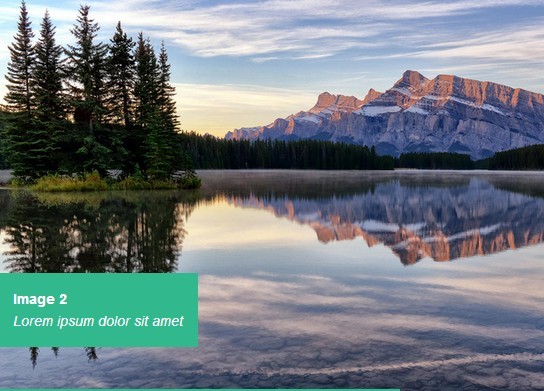
Titles and captions
You can give any slide a title (tooltip text) or caption by giving the <img> element the title or data-caption attributes.
Configuration
To configure settings when you initialize a photo gallery, add a an object literal into the first function argument, and place any of the settings into it, separated by commas. To configure them after you initialize, call .PhotoGallery() on the gallery element again, with an object literal containing any of the same settings in the argument. For example, if you wanted to disable autoScroll, you would execute this code:
$(element).PhotoGallery({autoScroll: false}); If you want these settings to be permanent for every time you initialize a photo gallery, you can change them in the defaults. The defaults will affect all galleries, unless you run .PhotoGallery() on an element with disrepant settings in the argument. For example, to make images' background size be contain by default, you would execute the following code:
$.fn.PhotoGallery.defaults.backgroundSize: "contain"; The settings
| Setting | Description | Code | Accepted values | Default |
|---|---|---|---|---|
| Background Size | How big the image is on the slide. See also the section on background size. Cover: Scale the background image to be as large as possible so that the background area is completely covered by the background image. Contain: Scale the image to the largest size such that both its width and its height can fit inside the content area. Stretch (to be implemented): Scale the image so that the width and height take up 100% of the width and height of the slide, regardless of the image's own width-height proportion. This will only work on the initialization call of .PhotoGallery() to an element. | backgroundSize: [background size] | "cover", "contain", or "stretch" (to be implemented) | "cover" |
| Automatic Scroll | If this is enabled, then the gallery will automatically progress the slides without the user doing anything. The amount of time between scrolling can be set with scrollDelay (See below.) | autoScroll: [enabledness] | Boolean (true or false) | true |
| Scroll Delay | The amount of time, in milliseconds, that a slide is shown before the gallery presents the next slide. If autoScroll is set to false, this setting does nothing. | scrollDelay: [delay in milliseconds] | Positive number | 6000 |
| Animation Speed | How long, in milliseconds, that the animation is shown for displaying the next slide. If set to 0, then no animation will be shown. The time for this animation is included in scrollDelay (See above.) As such, setting this value to an amount less than scrollDelay will result in the gallery becoming unusable (Though it still acts as expected). | animationSpeed: [speed in milliseconds] | Positive number | 200 |
| Starting Slide | The index slide that the photo gallery will start on. The index begins with 0 for the first slide, then 1 for the second, and so on. | startingSlide: [slide] | Integer between 0 and the amount one less than the total number of slides. This will only work on the initialization call of .PhotoGallery() to an element. | 0 |
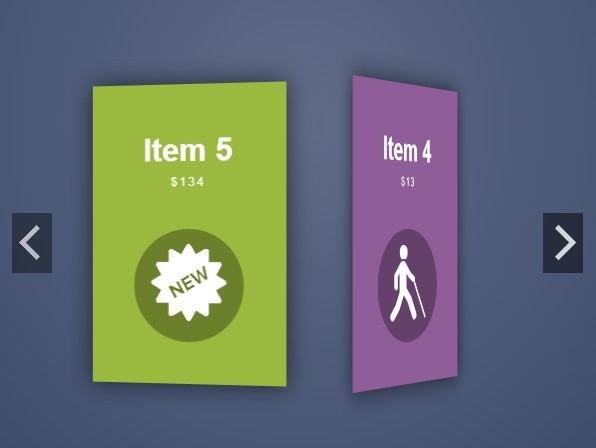
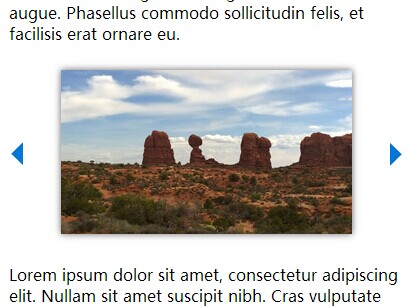
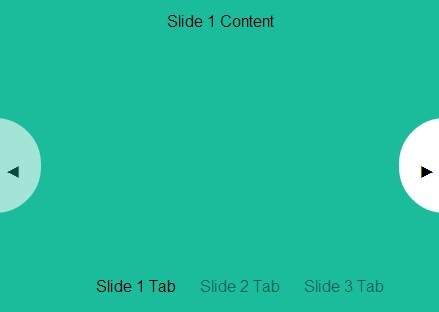
| Navigational Buttons (to be implemented) | Whether to show the left and right arrows on either side of the gallery element. | navButtons: [enabledness] | Boolean (true or false) | true |
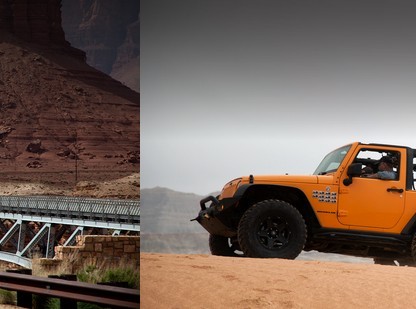
Background Size
In addition to the configuration setting for background size, there are two other, more prioritized ways to change images' background size. That is with the size-cover, size-contain, and size-stretch (to be implemented) classes. You can give a specific class to a slide in the gallery, and it will, no matter what else changes it, display with that background size. You can give any specific class to an entire gallery, and it will affect all of the gallery's slides, unless any specific slide has a disrepant size-* class.
In the following example, all of the backgrounds of the slides in the gallery, #photo-gallery, will be contained instead over covered, except for the second once, because it has the class size-cover, which overrides the gallery's size-contain class.
<div id="photo-gallery" class="size-contain"> <img src="http://i.imgur.com/EkIiBwB.jpg" /> <img class="size-cover" src="http://i.imgur.com/57q5KId.jpg" /> <img src="http://i.imgur.com/IqT3SjC.jpg" /> <img src="http://i.imgur.com/KkaqG7r.jpg" /> </div> The "gallery-slide" event
PhotoGallery 2 will trigger "gallery-slide" every time the gallery scrolls to a new slide. This can be harnessed with jQuery's .on() method in this manner:
$(element).on("gallery-slide", function(event, slide) { // Code goes here console.log("Slided to #"+slide); }); The second argument will give you the index of the slide that it scrolled to, beginning with 0 for the first slide, 1 for the second, and so on.
More customization
You can customize other options with methods of you choosing, such as a different gallery background color for the contained slides, with a bit of code on your behalf. To keep the framework light and basic, I did not include them, but you can easily do it by piecing together features of PhotoGallery 2. It's versatile, like a good framework should be.
Width and height
You can adjust the width and height of the gallery with CSS.
.photo-gallery { width: 800px; height: 600px; } ##License PhotoGallery is licensed under the MIT License. A summary (that is not a substitute for the license) is that you must keep a comment with the license in all versions of the code, whether it is modified or not, and that you may share, sell, and modify the code freely.