hummingbird-treeview
A tiny and fast jQuery treeview plugin
View CHANGES.md
Visit demo page
Features
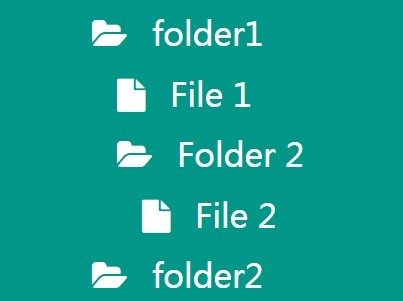
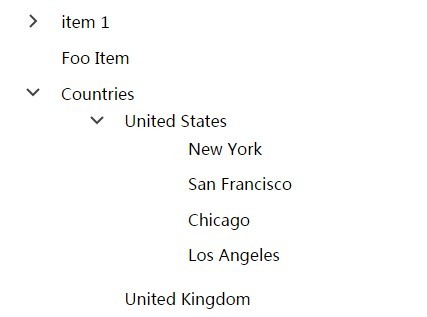
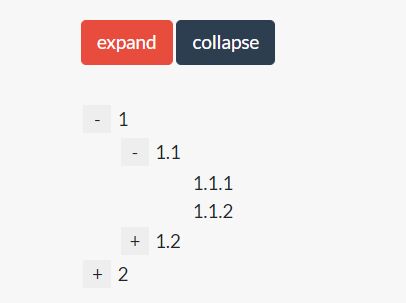
- Display hierarchical tree structures.
- Based on simple pseudo HTML lists or full HTML structures.
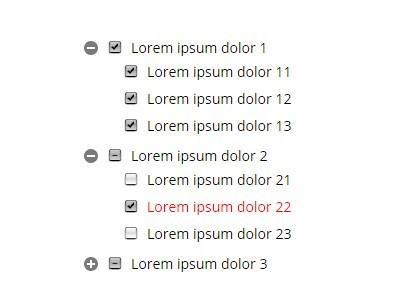
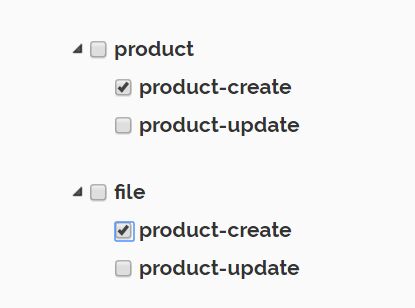
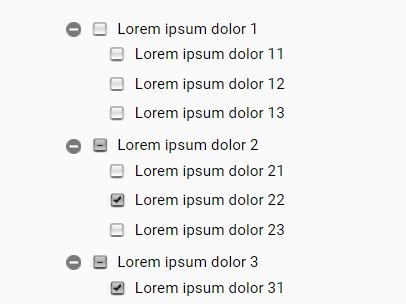
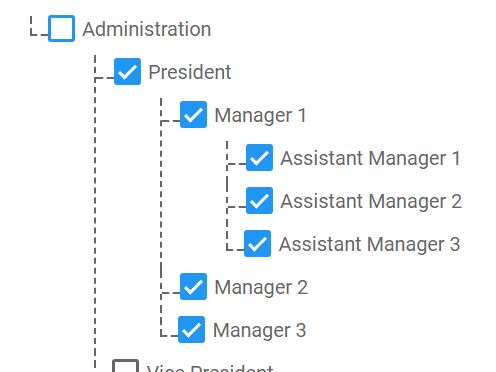
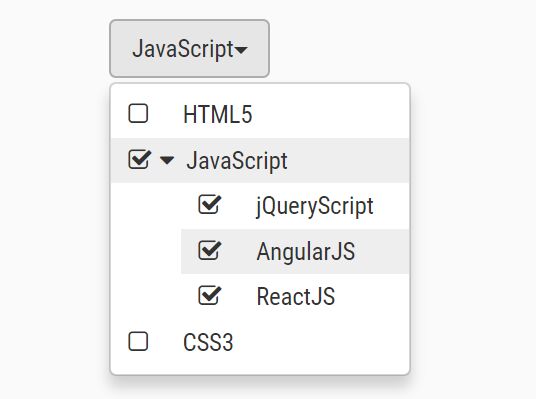
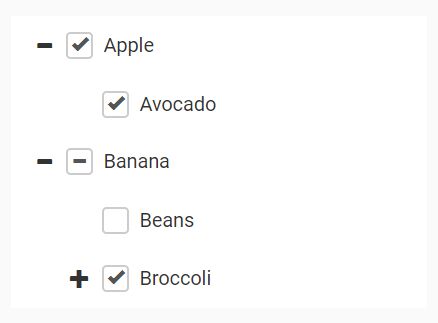
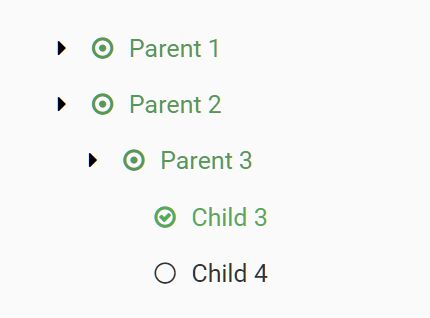
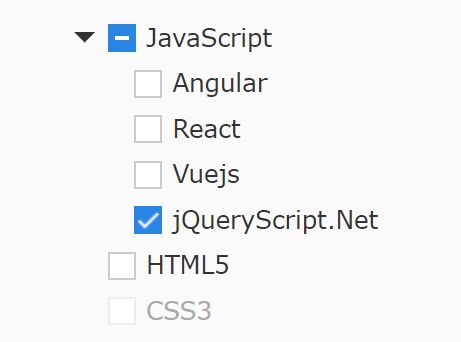
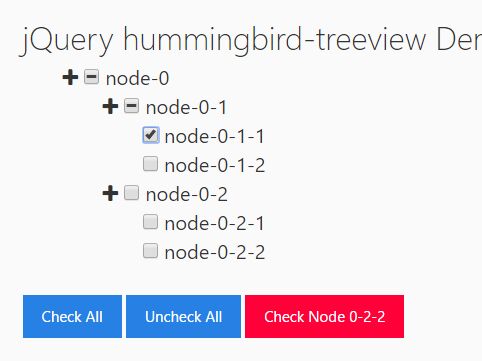
- Tri-state logic.
- Manual and programmatical check, uncheck, collapse, expand, etc.
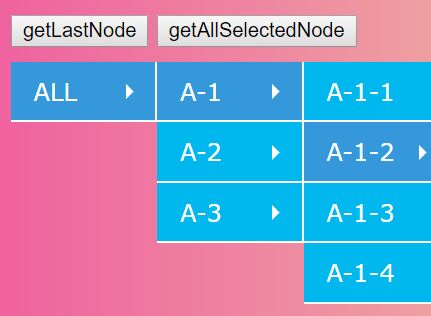
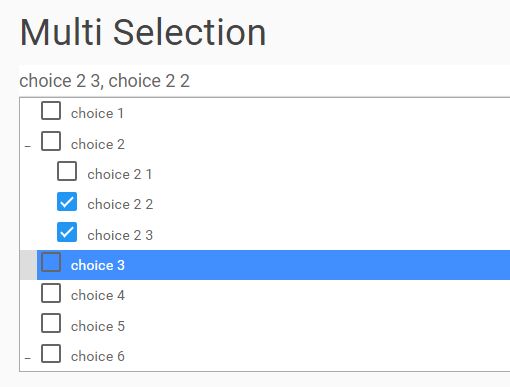
- Supports n-tuple nodes, i.e. doubles, triplets, etc.
- Supports disabled nodes, checked or unchecked.
- Get checked/unchecked items programmatically.
- Add and remove nodes dynamically.
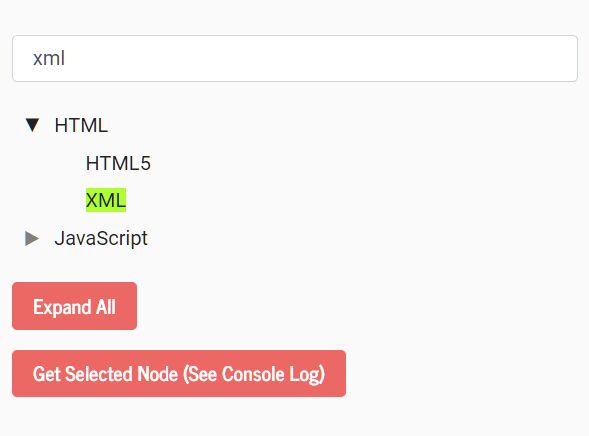
- Filter nodes.
- Supports HTML5 data-* attribute to embed custom data.
- Supports Font Awesome icons.
- Search function.
Dependencies
- jQuery v3.1.1
- font-awesome v4.7.0 and font-awesome v5.8.1
The hummingbird-treeview is tested with these versions, other versions work most probably as well.
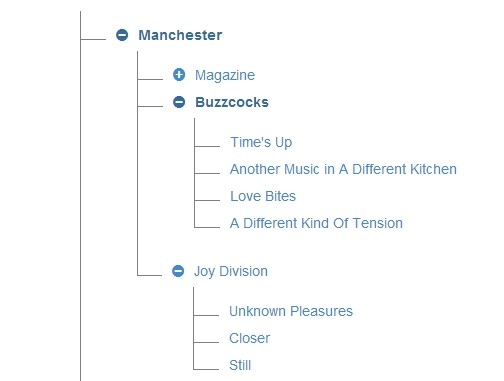
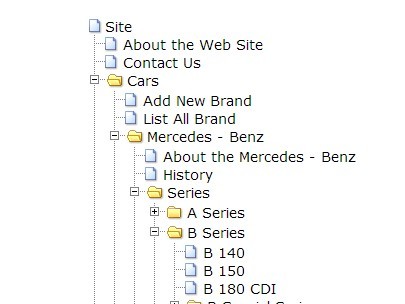
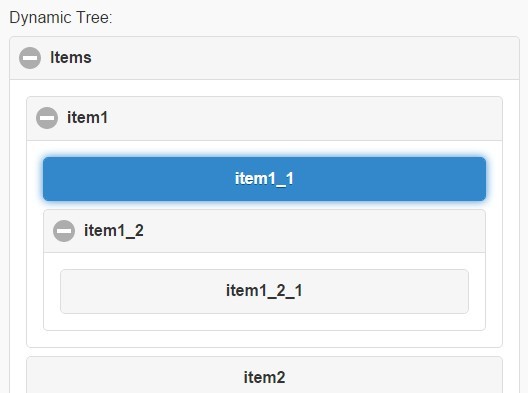
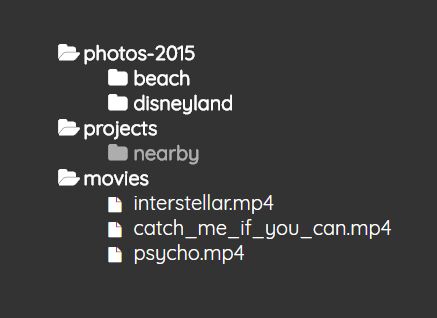
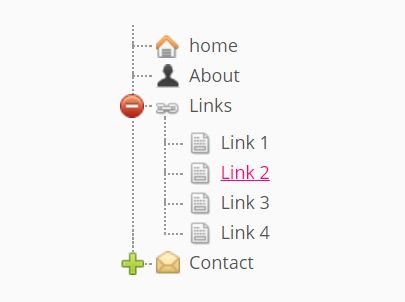
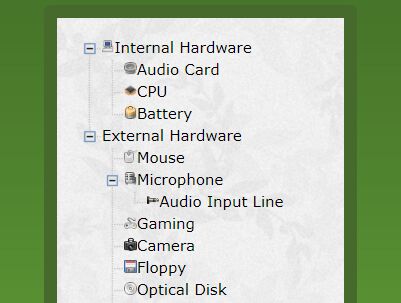
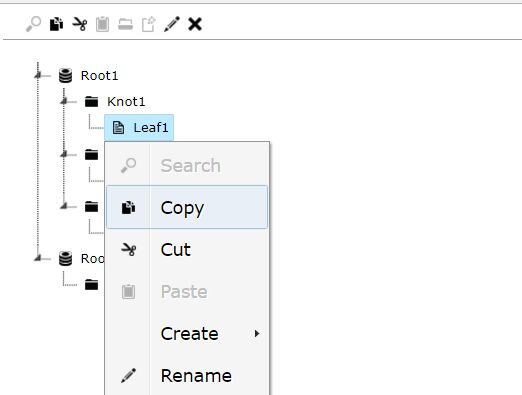
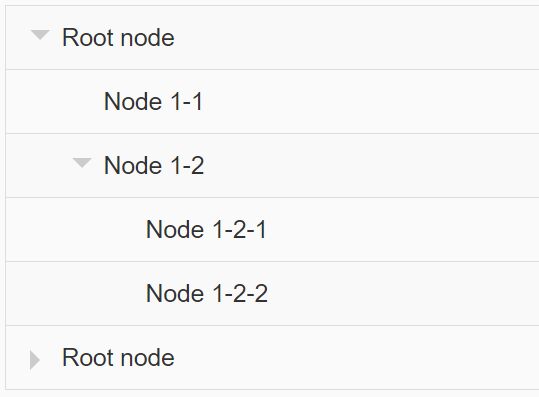
Example

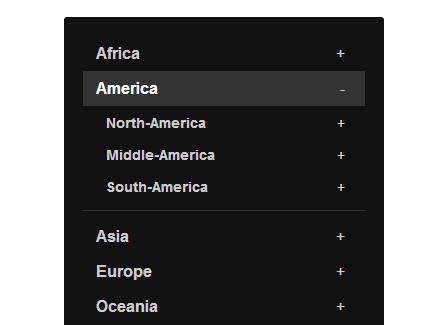
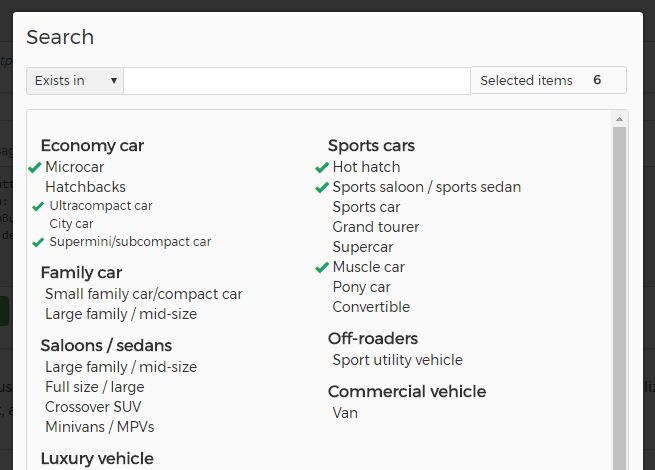
Advanced application

Getting started
Usage
Add the following resources for the hummingbird-treeview to function correctly:
<!-- Required Stylesheets --> <link href="/path/to/font-awesome.css" rel="stylesheet"> <link href="/path/to/hummingbird-treeview.css" rel="stylesheet"> <!-- Required Javascript --> <script src="/path/to/jquery.js"></script> <script src="/path/to/hummingbird-treeview.js"></script> The treeview input data can have two different formats, a very simple pseudo HTML list or a real HTML list structure. The simple pseudo HTML list can be extended with height and scroll options as well as id and data-id attributes, thus essentially we have three different ways to embed the treeview data into the page.
1. Simple pseudo HTML
<div class="hummingbird-treeview-converter"> <li>Warner Bros.</li> <li>-Goodfellas</li> <li>--Robert De Niro</li> <li>--Joe Pesci</li> <li>-The Shawshank Redemption</li> <li>--Tim Robbins</li> <li>--Morgan Freeman</li> <li>Paramount</li> <li>-The Untouchables</li> <li>--Robert De Niro</li> <li>--Kevin Costner</li> <li>-Forrest Gump</li> <li>--Tom Hanks</li> <li>--Robin Wright</li> </div> View example here
The hyphens indicate the level of indenting. It is important to note that down the tree the next node can maximal be indented by one level, i.e. it can only have one hyphen more than the node before (e.g. from Goodfellas to Robert De Niro). In contrast up the treeview, arbitrarily large jumps of indention are possible, i.e. the next node can have much less hyphens than the node before (e.g. from Morgan Freeman to Paramount).
Internally this pseudo HTML list is converted to a real HTML structure. The treeview is embedded into a <div> container with id="treeview_container". The treeview itself is given the id="treeview". The unique ids of the items/nodes (Warner Bros., Goodfellas, ...) follow this schema: id="hum_1", id="hum_2", etc. The data-ids are given the name of the nodes, i.e. data-id="Warner Bros.", data-id="Goodfellas", etc. To account for double (triplet, ...) nodes make sure that the option "checkDoubles" is set to true.
Set options, e.g.: (detailed description of all options below)
$.fn.hummingbird.defaults.collapsedSymbol = "fa-arrow-circle-o-right"; $.fn.hummingbird.defaults.expandedSymbol = "fa-arrow-circle-o-down"; $.fn.hummingbird.defaults.checkDoubles = true; ... For using Font-Awesome 5.* add SymbolPrefix="fas" or SymbolPrefix="far". Use e.g.
$.fn.hummingbird.defaults.SymbolPrefix = "fas"; $.fn.hummingbird.defaults.collapsedSymbol = "fa-hand-point-right"; $.fn.hummingbird.defaults.expandedSymbol = "fa-hand-point-down"; ... Initialize hummingbird-treeview:
$("#treeview").hummingbird(); Congratulations, you are done, your pseudo HTML list has now treeview functionality.
Multiple treeviews on one page
Using the simple pseudo HTML list with the class="hummingbird-treeview-converter" the id of the treeview will be automatically set to "treeview". Additional pseudo HTML lists on the same page will receive the ids treeview2, treeview3, etc. Similar to above the unique ids of the items/nodes now follow the schema: id="hum2_1", id="hum2_2", ... for the second treeview, id="hum3_1", id="hum3_2", ... for the third treeview, etc. Thus initialization of every treeview is needed:
$("#treeview").hummingbird(); $("#treeview2").hummingbird(); $("#treeview3").hummingbird(); ... 2. Simple pseudo HTML plus height, scroll, id, data-id
<div class="hummingbird-treeview-converter" data-height="230px" data-scroll="true"> <li id="item_1" data-id="Studio_1">Warner Bros.</li> <li id="item_2" data-id="Movie_1">-Goodfellas</li> <li id="item_3" data-id="Actor_1">--Robert De Niro</li> <li id="item_4" data-id="Actor_2">--Joe Pesci</li> <li id="item_5" data-id="Movie_2">-The Shawshank Redemption</li> <li id="item_6" data-id="Actor_3">--Tim Robbins</li> <li id="item_7" data-id="Actor_4">--Morgan Freeman</li> <li id="item_8" data-id="Studio_2">Paramount</li> <li id="item_9" data-id="Movie_3">-The Untouchables</li> <li id="item_10" data-id="Actor_1">--Robert De Niro</li> <li id="item_11" data-id="Actor_5">--Kevin Costner</li> <li id="item_12" data-id="Movie_4">-Forrest Gump</li> <li id="item_13" data-id="Actor_6">--Tom Hanks</li> <li id="item_14" data-id="Actor_7">--Robin Wright</li> </div> Set the height of the treeview element and make it scrollable. Additionally it is possible to set custom ids and data-ids. To account for double (triplet, ...) nodes make sure that they have the same data-id and the option "checkDoubles" is set to true.
Set options, e.g.: (detailed description of all options below)
$.fn.hummingbird.defaults.collapsedSymbol= "fa-arrow-circle-o-right"; $.fn.hummingbird.defaults.expandedSymbol= "fa-arrow-circle-o-down"; $.fn.hummingbird.defaults.checkDoubles= true; ... Initialize hummingbird-treeview:
$("#treeview").hummingbird(); Congratulations, you are done, your pseudo HTML list has now treeview functionality.
3. Full HTML structure
Create treeview structure/data:
<div id="treeview_container" class="hummingbird-treeview" style="height: 230px; overflow-y: scroll;"> <ul id="treeview" class="hummingbird-base"> <li> <i class="fa fa-plus"></i> <label> <input id="xnode-0" data-id="custom-0" type="checkbox" /> node-0 </label> <ul> <li> <i class="fa fa-plus"></i> <label> <input id="xnode-0-1" data-id="custom-0-1" type="checkbox" /> node-0-1 </label> <ul> <li> <label> <input class="hummingbird-end-node" id="xnode-0-1-1" data-id="custom-0-1-1" type="checkbox" /> node-0-1-1 </label> </li> <li> <label> <input class="hummingbird-end-node" id="xnode-0-1-2" data-id="custom-0-1-2" type="checkbox" /> node-0-1-2 </label> </li> </ul> </li> <li> <i class="fa fa-plus"></i> <label> <input id="xnode-0-2" data-id="custom-0-2" type="checkbox" /> node-0-2 </label> <ul> <li> <label> <input class="hummingbird-end-node" id="xnode-0-2-1" data-id="custom-0-2-1" type="checkbox" /> node-0-2-1 </label> </li> <li> <label> <input class="hummingbird-end-node" id="xnode-0-2-2" data-id="custom-0-2-2" type="checkbox" /> node-0-2-2 </label> </li> </ul> </li> </ul> </li> </ul> </div> Use here exactly the class="fa fa-plus" and change Symbols via the options functionality.
Only change the following:
Treeview structure and node properties
-
div id
The<div id="treeview_container"... can be chosen arbitrarily, but of course must be referred to consistently. -
ul id
The<ul id="treeview"... can be chosen. -
ul class="hummingbird-base"
The baseulmust be assigned to the "hummingbird-base" class:<ul id="treeview" class="hummingbird-base"> -
input id's and data-id's
The input id's and data-id's e.g.<input id="xnode-0" data-id="custom-0"... can be set. The data-id can be any text. It is important for the support of the n-tuple (doubles, triplets, ...) nodes. That means you can have more than one node with the same data-id's but different id's. Thus every node can be addressed via the unique id. And all copies of a node including itself can be addressed via the common data-id. -
input class="hummingbird-end-node"
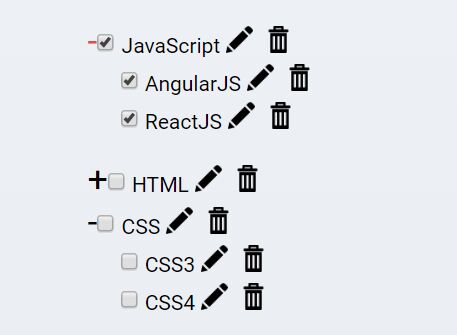
Add this to every node, which is not a parent, i.e. which has no children or nodes below.
Do not change the "fa fa-plus", do this via the options (see below).
Change font-size, line-height, checkbox width and height directly in the hummingbird-treeview.css. Additionally, the hummingbird-base class disables line breaks of nodes. To change that, edit again directly the hummingbird-treeview.css.
Options
As you have seen above, options can be adjusted by calling
$.fn.hummingbird.defaults.option= value; Following options are available:
-
SymbolPrefix
String, set this to "fas" or "far" if you are using Font-Awesome 5.*. Note that the modes "fas" and "far" cannot be mixed for the collapsed and expanded symbols. Only one mode for all is supported. -
collapsedSymbol
String, default="fa-plus". This can be any icon from the Font Awesome icons. -
expandedSymbol
String, default="fa-minus". This can be any icon from the Font Awesome icons. -
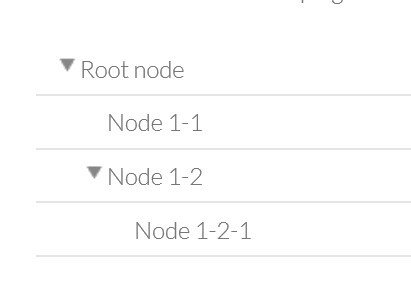
collapseAll
Boolean, default=true. On initialization, all nodes are collapsed. Change this to false to expand the nodes on initialisation. -
checkboxes
String, default="enabled". Checkboxes are used per default. Set this to "disabled" to get a treeview without checkboxes. -
checkboxesGroups
String, default="enabled". Set this to "disabled" to disable all checkboxes from nodes that are parents, i.e. which have child nodes. Set this to "disabled_grayed" to also apply a "grayed" font color to the node text. Note that disabling parent nodes means that they are not clickable, but still provide tri-state functionality. Thus, if a child of a disabled parent has been checked, the parent node is set to the indeterminate state to indicate that a child has been checked. -
checkDoubles
Boolean, default=false. Set this to true to enable the functionality to account for n-tuples (doubles, triplets, ...). That means, if we have e.g. two equal nodes (i.e. same data-id) and one of these is checked then the other will be checked automatically. The same applies for triplets, quadruplets, etc. By enabling this option, also the full tri-state functionality accounts for the n-tuples.
Methods
Methods are used to interact with the treeview programmatically. Following methods are available:
- checkAll()
Checks all nodes including full support for disabled nodes.
$("#treeview").hummingbird("checkAll"); - uncheckAll()
Unchecks all nodes including full support for disabled nodes.
$("#treeview").hummingbird("uncheckAll"); - collapseAll()
Collapses all nodes.
$("#treeview").hummingbird("collapseAll"); - expandAll()
Expands all nodes.
$("#treeview").hummingbird("expandAll"); - checkNode(attr,name,{expandParents})
Checks a node, which is identified by its id, data-id, or text, which has to be defined in the attr parameter. The name parameter holds the name of the id, data-id or text. Set optionally expandParents to true, if the parents of this node should be expanded on checking. Default of expandParents is false.
$("#treeview").hummingbird("checkNode",{attr:"id",name: "node-0-1-1-2",expandParents:false}); $("#treeview").hummingbird("checkNode",{attr:"text",name: "Goodfellas",expandParents:false}); - uncheckNode(attr,name,{collapseChildren})
Unchecks a node, which is identified by its id, data-id, or text which has to be defined in the attr parameter. The name parameter holds the name of the id, data-id or text. Set optionally collapseChildren to true, if the children of this node should be collapsed on unchecking. Default of collapseChildren is false.
$("#treeview").hummingbird("uncheckNode",{attr:"id",name: "node-0-1-1-2",collapseChildren:false}); $("#treeview").hummingbird("uncheckNode",{attr:"text",name: "Kevin Costner",collapseChildren:false}); - expandNode(attr,name,{expandParents})
Expands a node, which is identified by its id or data-id, which has to be defined in the attr parameter. The name parameter holds the name of the id or data-id. Set optionally expandParents to true, if the parents of this node should be expanded. Default of expandParents is false.
$("#treeview").hummingbird("expandNode",{attr:"id",name: "node-0-1-1-2",expandParents:true}); - collapseNode(attr,name,{collapseChildren})
Collapses a node, which is identified by its id or data-id, which has to be defined in the attr parameter. The name parameter holds the name of the id or data-id. Set optionally collapseChildren to true, if the children of this node should be collapsed. Default of collapseChildren is false.
$("#treeview").hummingbird("collapseNode",{attr:"id",name: "node-0-1-1-2",collapseChildren:true}); - disableNode(attr,name,state,{disableChildren})
Disables a node, which is identified by its id, data-id or text, which has to be defined in the attr parameter. The name parameter holds the name of the id, data-id or text. Set state to true if the node should be disabled and checked, set it to false if the node should be disabled and unchecked. Optionally set disableChildren to false or true, default is true. Note that full tri-state functionality is provided also for disabled nodes, although that they are not clickable. Additionally if all children of a parent node are disabled, that parent is automatically disabled. Although it looks like introducing a logic conflict, a parent node can be disabled, while the children are enabled. In such a case full tri-state functionality is applied to that parent, but it is still not clickable, i.e. disabled.
$("#treeview").hummingbird("disableNode",{attr:"id",name: "node-0-1-1-2",state:true,disableChildren:true}); - enableNode(attr,name,state,{enableChildren})
Enables a former disabled node, which is identified by its id, data-id or text, which has to be defined in the attr parameter. The name parameter holds the name of the id, data-id, or text. Set state to true if the node should be enabled and checked, set it to false if the node should be enabled and unchecked. Optionally set enableChildren to false or true, default is true. Additionally, enabling a parent nodes with all children disabled (enableChildren=false) is not allowed. Similar to the disableNode above it is possible to have a parent node disabled, while the children are enabled. In such a case full tri-state functionality is applied to that parent, but it is still not clickable, i.e. disabled.
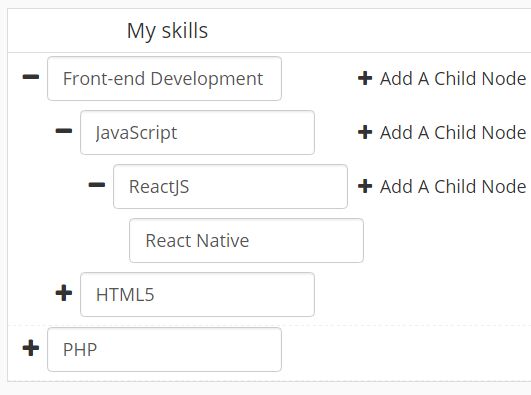
$("#treeview").hummingbird("enableNode",{attr:"id",name: "node-0-1-1-2",state:false,enableChildren:true}); - addNode(pos,anchor_attr,anchor_name,text,the_id,data_id,{end_node,children})
Add a node at pos = 'before' or 'after' an already existing node. The existing node is called here anchor. To identify the anchor node define the anchor_attr as id, data-id or text. The parameter anchor_name is then the respective name of the anchor_attr. Next define the text of the new node, the new id (the_id) and the new data_id. Note that we use data-id with hyphen and data_id with underscore. By default a hummingbird-end-node is added, i.e. end_node:true, shown below:
$("#treeview").hummingbird('addNode',{pos:'after',anchor_attr:'text',anchor_name:'node-0-1-1-2', text:'New Node',the_id:'new_id',data_id:'new_data_id'}); $("#treeview").hummingbird(); If you want to add a node including children, end_node must be set to false and an object containing the children must be passed to the method with name children:
var new_children = { child1: {id:'child1',data_id:'child1',text:'child1'}, child2: {id:'child2',data_id:'child2',text:'child2'}, }; $("#treeview").hummingbird('addNode',{pos:'after',anchor_attr:'text',anchor_name:'node-0-1-1-2', text:'New Node',the_id:'new_id',data_id:'new_data_id',end_node:false,children:new_children}); $("#treeview").hummingbird(); Finally it is important to initialise the treeview again after adding nodes. In the case you want to add a parent node, which contains again parent nodes, create first the parent node with a hummingbird-end-node child as above. Then add the next parent to the created hummingbird-end-node and finally remove the hummingbird-end-node node:
var children = { child1: {id:'child1',data_id:'child1',text:'child1'}, }; $("#treeview").hummingbird('addNode',{pos:'before',anchor_attr:'text',anchor_name:'Joe Pesci', text:'Ray Liotta',the_id:'Ray',data_id:'Ray',end_node:false,children:children}); $("#treeview").hummingbird(); var children = { child2: {id:'child2',data_id:'child2',text:'child2'}, child3: {id:'child3',data_id:'child3',text:'child3'}, }; $("#treeview").hummingbird('addNode',{pos:'after',anchor_attr:'text',anchor_name:'child1', text:'child1',the_id:'child1x',data_id:'child1x',end_node:false,children}); $("#treeview").hummingbird(); $("#treeview").hummingbird('removeNode',{attr:'id',name:'child1'}); $("#treeview").hummingbird(); Warning: Adding nodes dynamically during production can yield to inconsistencies in the tri-state logic. So it is recommended e.g. to un-check all nodes before adding a node. Further be careful by using URL query parameters, cookies, or form inputs to create nodes, because this can introduce cross-site-scripting (XSS) vulnerabilities. Remove or escape any user input before adding content to the document.
- removeNode(attr,name)
Remove a node, which is identified by attr equal id, data-id, or text. Initialise the treeview again after removing a node. Warning: Removing nodes dynamically during production can yield to inconsistencies in the tri-state logic. So it is recommended e.g. to un-check all nodes before removing a node.
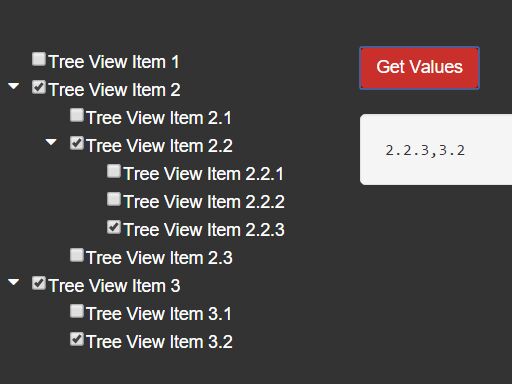
$("#treeview").hummingbird('removeNode',{attr:'id',name:'node-0-1-1-2'}); $("#treeview").hummingbird(); - getChecked(List,{onlyEndNodes})
Get checked nodes. Retrieve the id, data-id and text of the nodes. Set onlyEndNodes to true if you want to retrieve only that nodes identified by class="hummingbird-end-node", i.e. those nodes without children, so to speak the last instance. Default is false, which means that all checked nodes are retrieved. Define an object, List, for the output of this method. It is important to name the arrays exactly like in the example below. Finally this List array can be bound to a DOM element and it is also straight forward to do other stuff with the arrays, e.g. retrieving the length of it.
var List = {"id" : [], "dataid" : [], "text" : []}; $("#treeview").hummingbird("getChecked",{list:List,onlyEndNodes:true}); $("#displayItems").html(List.text.join("<br>")); var L = List.id.length; - getUnchecked(List,{onlyEndNodes})
Get unchecked nodes. Retrieve the id, data-id and text of the nodes. Set onlyEndNodes to true if you want to retrieve only that nodes identified by class="hummingbird-end-node", i.e. those nodes without children, so to speak the last instance. Default is false, which means that all unchecked nodes are retrieved. Define an object, List, for the output of this method. It is important to name the arrays exactly like in the example below. Finally this List array can be bound to a DOM element and it is also straight forward to do other stuff with the arrays, e.g. retrieving the length of it.
var List = {"id" : [], "dataid" : [], "text" : []}; $("#treeview").hummingbird("getUnchecked",{list:List,onlyEndNodes:true}); $("#displayItems").html(List.text.join("<br>")); var L = List.id.length; - filter(str,{box_disable,onlyEndNodes,filterChildren})
Removes all nodes which NOT match a search pattern. Use "|" as a seperator of search strings. The filter method uses the OR logic. For instance if str=".txt|.jpg|test" then only nodes which contain .txt or .jpg or test are shown in the treeview. To apply the filter only to nodes, which have no children, i.e. those of class="hummingbird-end-node" use onlyEndNodes:true. Use box_disable: true to not remove the nodes, but disable them. Set filterChildren:false to NOT remove children of a node that is not filtered out.
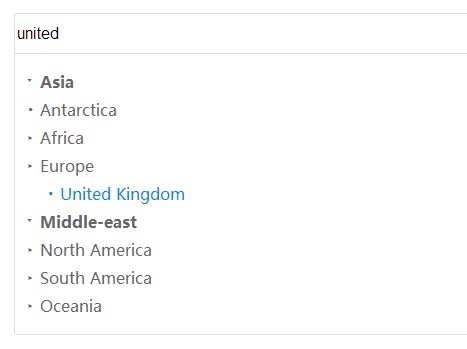
$("#treeview").hummingbird("filter",{str:".txt|.jpg|test", box_disable:false, onlyEndNodes:false, filterChildren:true}); - search(treeview_container,search_input,search_output,search_button,{scrollOffset, onlyEndNodes, dialog, EnterKey, enter_key_1, enter_key_2})
If the treeview is embedded in a scrollable (css option: overflow-y: scroll;) container, this container must be identified here as the treeview_container (using the id). Otherwise treeview_container should be set to "body". The search_input parameter depicts the id of the input element for the search function. The search_output defines an element to bind the search results on (like the ul in the example below). The search_button is simply the button for the search. A scrollOffset in pixels (negative or positive) can be defined to adjust the automatic scoll position. The best value must be observed by testing. onlyEndNodes is per default false, thus set this to true if the search should include also parent nodes. The optional parameter dialog is per default empty (""). This parameter can be used for special cases, to bind the treeview to a dynamical created object like a bootstrap modal (pop-up). In such a case this parameter would be dialog:".modal-dialog". Three other optional parameters, EnterKey, enter_key_1 and enter_key_2 are available. EnterKey is per default true and can be set to false. If true the search_button can be triggered with the Enter key. To avoid interference of the Enter key functionality it can be restricted and only be executable if enter_key_1 == enter_key_2. These two parameters can be chosen arbitrarily.
$("#treeview").hummingbird("search",{treeview_container:"treeview_container", search_input:"search_input", search_output:"search_output", search_button:"search_button", scrollOffset:-515, onlyEndNodes:false}); As an example, the search functionality is here implemented using Bootstrap. Other implementation are possible.
HTML:
<div class="dropdown"> <div class="input-group stylish-input-group"> <input id="search_input" type="text" class="form-control" placeholder="Search" onclick="this.select()"> <span class="input-group-addon" style="border-left:0"> <button type="submit" id="search_button"> <span class="glyphicon glyphicon-search"></span> </button> </span> <ul class="dropdown-menu h-scroll" id="search_output"> </ul> </div> </div> CSS:
.stylish-input-group .input-group-addon{ background: white !important; } .stylish-input-group .form-control{ //border-right:0; box-shadow:0 0 0; border-color:#ccc; } .stylish-input-group button{ border:0; background:transparent; } .h-scroll { background-color: #fcfdfd; height: 260px; overflow-y: scroll; } Events
Events are fired on changes of the treeview state so that your application can respond:
- nodeChecked
This event is fired if a node has been checked and can be catched like this:
$("#treeview").on("nodeChecked", function(){ do something ... }); - nodeUnchecked
This event is fired if a node has been unchecked and can be catched like this:
$("#treeview").on("nodeUnchecked", function(){ do something ... }); - CheckUncheckDone
This event is fired if a node has been checked or unchecked and all treeview functionality is completed. This comprises checking / unchecking parents, children, checking for n-tuples and disabled etc.
$("#treeview").on("CheckUncheckDone", function(){ do something ... });