Animate Me
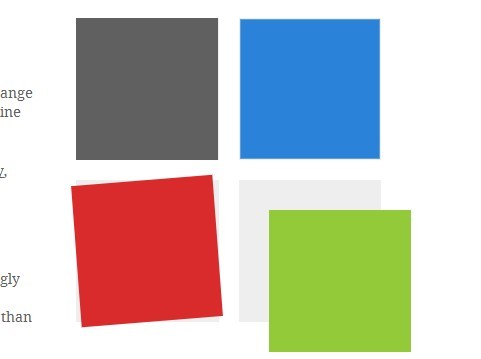
Animate DOM elements when they enter/leave the browser viewport.
This library uses a small amount on JavaScript and leaves the actual animations to the CSS.
You have the freedom to implement your own animations, use predefined (via another library) or use the built-in fade in/out animation.
Dependencies
There are no dependencies and the library is ready to be used in any environment.
If you, however, wish to develop the library, extend it, fix it, etc, you need to install its development dependencies.
Install
npm i animatemeor
yarn add animatemeor
Just download this repository and link the files located in dist folder:
<link rel="stylesheet" href="path-to-animate-me/dist/animate.me.css" type="text/css" /> <script src="path-to-animate-me/dist/animate.me.min.js"></script>or
Include it from Unpkg CDN
<script src="//unpkg.com/animateme"></script>Usage
In your HTML create the elements that you want to be animated.
The default class name used for the animations is animate-me.
Then
import AnimateMe from 'animateme';and create a new instance with the default settings
new AnimateMe();or use your own settings
new AnimateMe('.your-element', { offset: 0.8, reverse: false, animatedIn: 'your-custom-class', offsetAttr: 'data-offset-top', animationAttr: 'data-animation-name', touchDisabled: false });If you wish to use the defaults, make sure to include the predefined CSS file.
@import 'animateme/dist/animate.me.css';or just use it as a good old <link> tag.
Note
If you're not using a module bundler and are importing the JS file using a <script> tag, then you should initialize the module like this:
// with default options new window.animateMe.default(); // or with custom options new window.animateMe.default('.your-element', { offset: 0.8, reverse: false, animatedIn: 'your-custom-class', offsetAttr: 'data-offset-top', animationAttr: 'data-animation-name', touchDisabled: false });Usage note:
If you are using the <script> method when including AnimateMe, then you must initialize it with
new animateMe.default(options);Options
-
Set your own classname for the animated element when in viewport:
animatedIn: 'animate-me--in' -
Set the animation delay in pixels via
"data-offset"attribute. This attribute is added to the HTML element you want to animate. You can change this attrubute name in the options:data-offset="120" -
Choose to disable the animations on touch devices
touchDisabled: false -
Choose the start point of the animations relatively to the viewport:
offset: 0.80.8 means that all animations will start when the top of the element is at 80% from the top of the viewport
This number should be between 0 and 1.
-
Choose whether to run the animation every time the element enter the viewport:
reverse: false -
Optionally, you can use an external library such as Animate.css. If you choose to do so, make sure that you add the animation name in the
data-animationattribute of your DOM element. You can modify this attribute name in the options:
data-animation="bounce"
Supported Browsers
All browsers which know CSS transitions are supported.
IE9 and below will simply ignore the transitions and show the content as is.
Just remember to add all CSS vendor prefixes, just in case :)
Default setup:
new AnimateMe('.animate-me', { offset: 0.5, // Element will animate in when above the half of the viewport reverse: true, // Element will animate out when below the half of the viewport animatedIn: 'animate-me--in', // Class name to add to the element when above half of the viewport offsetAttr: 'data-offset', // Element's offset attribute animationAttr: 'data-animation', // Element's custom animation name touchDisabled: true // Animations will not run on touch devices });Destroy animations / event listeners
If you want to stop AnimateMe, there are two ways to do so:
- Calling
unbindon the instance will remove all event listeners which will cause your animations to stop working. - Calling
cleanupon the instance will remove all CSS classes set to your elements by AnimateMe. - Calling
destroyon the instance will remove all event listeners and all CSS classes set to your elements by AnimateMe, effectively restoring their initial state.
Example:
const instance = new AnimateMe(); // Remove event listeners but keep the CSS classes instance.unbind(); // Remove CSS classes from all elements instance.cleanup(); // Remove event listeners and the CSS classes instance.destroy();Trigger custom events
It is possible to control the AnimateMe instance via custom events. The custom events are called on the window object.
There are three events implemented:
animateme:enable: Enables the instance. Equals to a call tostarton the instance.animateme:destroy: Destroys the instance. Equals to a call todestroyon the instance.animateme:cleanup: Cleans previously set CSS classes to AnimateMe elements. Equals to a call tocleanupon the instance.
Example usage of custom events:
// First create the custom events const enable = new CustomEvent('animateme:enable'); const destroy = new CustomEvent('animateme:destroy'); const cleanup = new CustomEvent('animateme:cleanup'); // Then dispatch an event window.dispatchEvent(cleanup); window.dispatchEvent(destroy); window.dispatchEvent(enable);Important note:
Internet Explorer does not fully support new CustomEvent.
You have to create the custom events in a way that IE understands it.
Something like: document.createEvent('CustomEvent').
Bonus
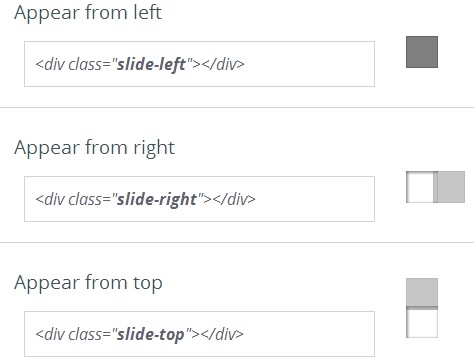
If you chose to use the predefined classnames animate-me and animate-me--in then you can take advantage of the built-in animations. Just include the css file (/dist/animate.me.css) in your project and then add additional classname to your animated elements.
There are several predefined animations and their classnames are:
animate-me--fadeInanimate-me--slideUpanimate-me--slideDownanimate-me--slideLeftanimate-me--slideRightanimate-me--pop
Demo
There is a simple demo illustrating how the AnimateMe library works.
LICENSE
MIT


