vue-parallaxy
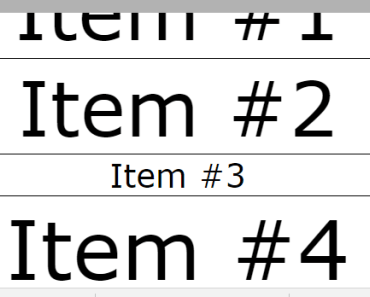
Is a compontent for fast 60fps parallax scroll effects in vue 2.
Demo
Install
npm install vue-parallaxy or yarn add vue-parallaxy
Usage
vue-parallax works with slots. So you can pass an image or even srcsets for better mobile experiences.
// Image.vue <template> <parallax> <img src="path/cool-background-image.jpg" alt="very cool bg"> </parallax> </template> <script> import Parallax from 'vue-parallaxy' export default { components: { Parallax } } </script>Props
| Prop | Type | Default Value | Description |
|---|---|---|---|
| parallax | Boolean | true | Activates parallax effect |
| speedFactor | Number | 0.15 | factor on how strong the effect is |
| direction | String | 'up' | Either 'up' or 'down', determines scroll direction of image |
| fixed | Boolean | false | Other parallax effect. Image is fixed in position |
| sectionHeight | Number | 70 | section height for mobile |
| breakpoint | String | '(min-width: 968px)' | Media query for mobile deactivation |
| sectionClass | String | 'Masthead' | CSS class of the outer section tag |
| containerClass | String | 'Masthead__image' | CSS class of the container holding the image |
| parallaxClass | String | 'is-parallax' | Modifier class for the parallax effect |
| fixedClass | String | 'is-fixed' | Modifier class for the fixed parallax effect |
Customizing
You can change some of the behavior by changing the css classes. To be more clean, you can change them over the props. No need to overwrite or !important the existing classes.
Build Setup
# install dependencies npm install # serve with hot reload at localhost:8080 npm run dev # build for production with minification npm run build # run unit tests npm run unit # run all tests npm testFor detailed explanation on how things work, checkout the guide and docs for vue-loader.
Contributing
- Fork it ( https://github.com/apertureless/vue-parallax/fork )
- Create your feature branch (
git checkout -b my-new-feature) - Commit your changes (
git commit -am 'Add some feature') - Push to the branch (
git push origin my-new-feature) - Create a new Pull Request
License
This software is distributed under MIT license.


