Disclaimer
This project is deprecated beyond repair. Google no longer supports these Google Drive APIs.
You may read the code, maybe it will help you somehow... that's all I can do for you.
vue-gdrive
VueJS text editor with Google Drive integration
If you want to build a VueJS app with Google Drive integration? Start here!
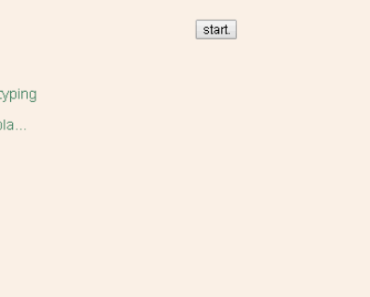
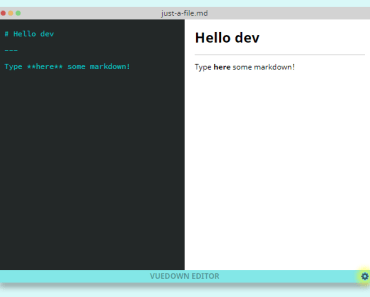
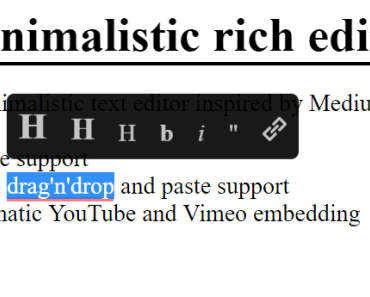
This project is just a text editor written in VueJS uses google drive API for storage, sharing (soon) and realtime colaboration (not yet). Use it as a boilerplate or reference for your awesome project!
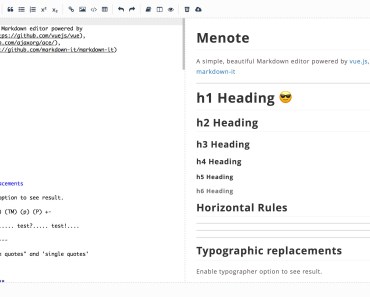
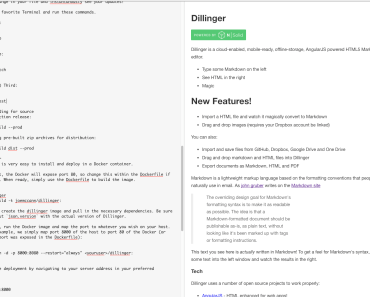
This project was the boilerplate for the Collaborative Markdown Editor. You can try it HERE.
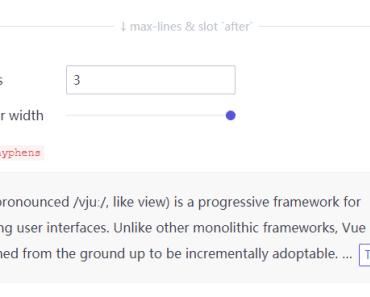
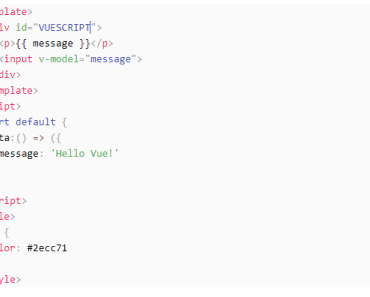
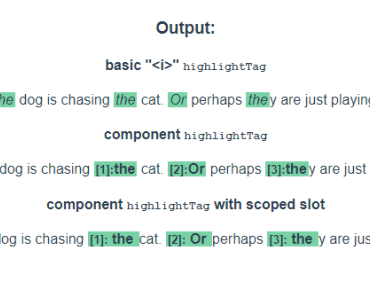
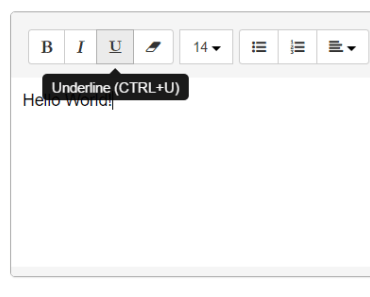
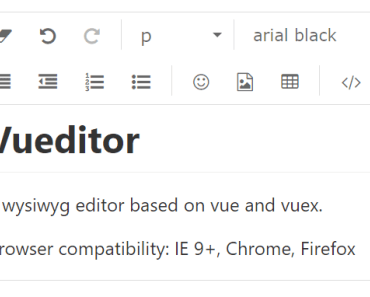
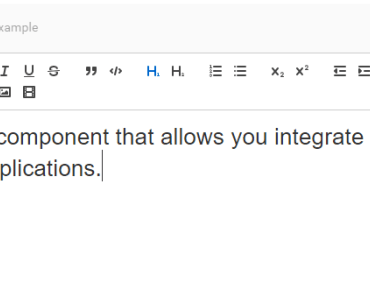
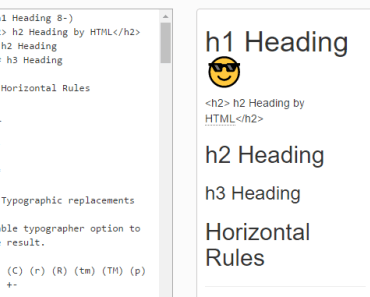
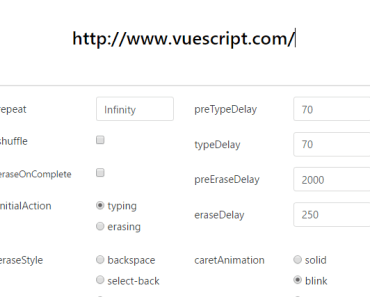
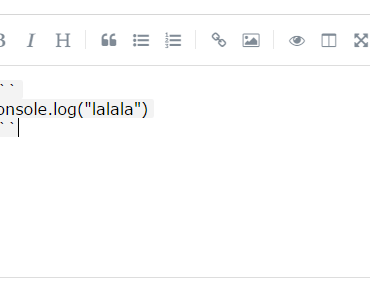
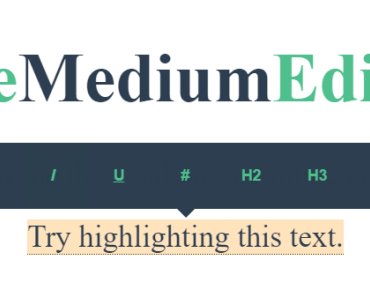
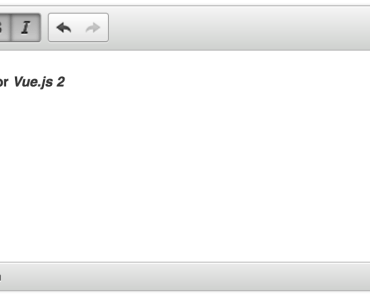
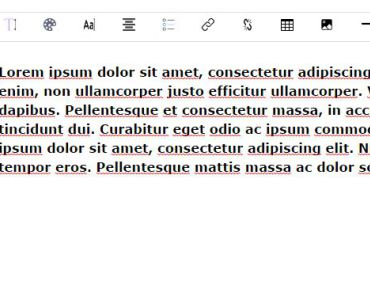
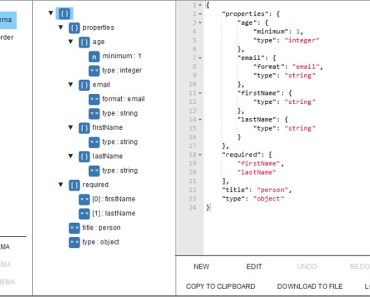
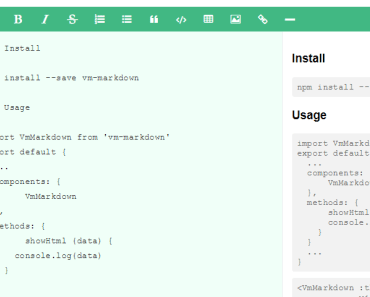
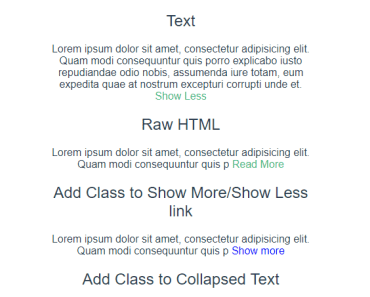
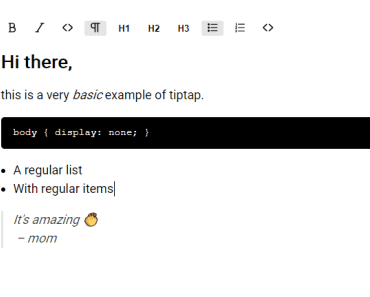
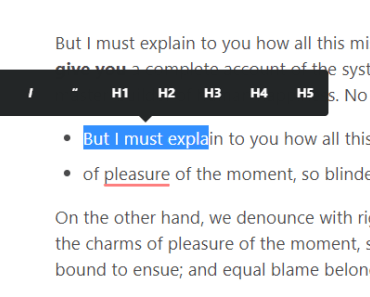
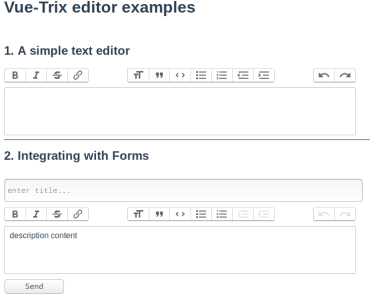
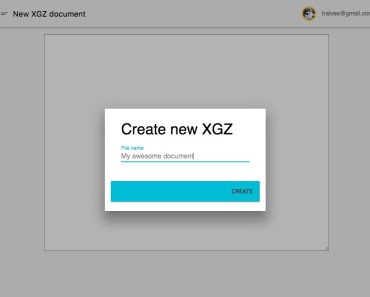
Screenshots


DEMO
Try the app here!
Roadmap
Done:
- VueJS + Vuex boilerplate;
- Material Design Lite and vue-mdl;
- G+ user authentication;
- Create file in GDrive;
- (Auto-)save file in GDrive;
- Load File from GDrive;
- Share file;
- Realtime colaboration;
TODO:
- Save in folder;
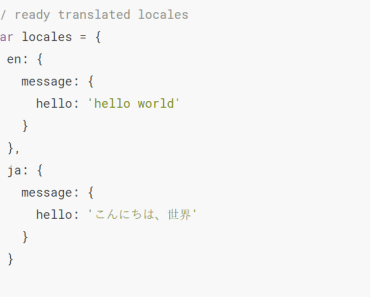
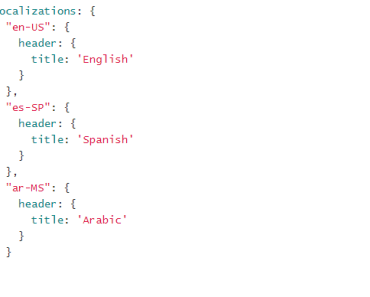
- i18n;
Building from source
Build Setup
# clone git clone https://github.com/tralves/vue-gdrive.git cd vue-gdrive # install dependencies npm installCreate a Google APIs project and Activate the Drive API
First, you need to activate the Drive API for your app. You can do it by configuring your API project in the Google Developers Console.
- Go to https://console.developers.google.com/apis/library.
- Ppen the dropdown in the top bar, next to the GoogleAPIs logo.
- Select Create project.
- Choose the project name.
- Press Create
- Open the API Manager on the left sidebar.
- Select Credentials -> Create Credentials -> OAuth Client ID
- If using a new project, select *Configure consent screen and fill out the form
- Select an EMAIL ADDRESS and enter a PRODUCT NAME if not already set and click the Save button.
- Select the application type Web application*
- List your hostname in the Authorized JavaScript Origins field.
- Click the Create button. Note the resulting client ID and secret which you'll need later on.
The hostname cannot be
localhost. To test from your machine, create an alias inetc/hostslike127.0.0.1 myvuegdrive.dev. In this case, if you usenpm run dev, the hostname of your application will bemyvuegdrive.dev:8080.
To enable integration with the Drive UI, including the sharing dialog, perform the following steps.
- Select Library section in API Manager.
- Search for 'Drive API' and click on 'Drive API' in the results.
- Click Enable API.
- Select the Drive UI Integration tab.
- Fill out the Application Name and upload at least one Application Icon.
- Set the Open URL* to
http://YOURHOST?file={ids}&user={userId}&action={action}. - Check the Creating files* option and set the New URL to
http://YOURHOST?user={userId}&action={action}. - Fill Default MIME types with
text/markdownandtext/plain. - Fill Default File Extensions with
md. - Click Save Changes.
To enable integration with the Google+ API to retrieve the user name, email and avatar, perform the following steps.
- Select Library section in API Manager.
- Search for 'Google+' and click on 'Google+ API' in the results.
- Click Enable.
Adjust the above URLs as needed for the correct hostname or path. Localhost is currently not allowed.
Note the resulting application ID on top of the page.
Setup your App information
Copy config/.env.example.js to config/.env.js.
cp config/.env.example.js config/.env.jsUpdate the CLIENT_ID and APPLICATION_ID constants in config/.env.js file. Configurations cascade from prod to dev to test.
Run and deploy
# serve with hot reload at localhost:8080 npm run dev # build for production with minification npm run buildThis application was build from the VueJS webpack template. For detailed explanation on how things work, checkout the guide and docs for vue-loader.