vue-mce
VueJS component for TinyMCE
Installation
Direct <script /> include:
Include VueMce after vue and tinymce. VueMce will be registered as a global component.
<script src="link/to/tinymce"></script> <script src="link/to/vue"></script> <script src="https://cdn.jsdelivr.net/npm/vue-mce@latest/dist/vue-mce.web.js"></script>NPM
npm install vue-mce --saveYarn
yarn add vue-mceWhen used with a module system, you must explicitly install VueMce via Vue.use():
import Vue from 'vue'; import VueMce from 'vue-mce'; Vue.use(VueMce);It is possible to import only component to have possibility register it locally:
import { component } from 'vue-mce'; const MyComponent = { components: { 'vue-mce': component, }, };You don't need to do this when using global script tags.
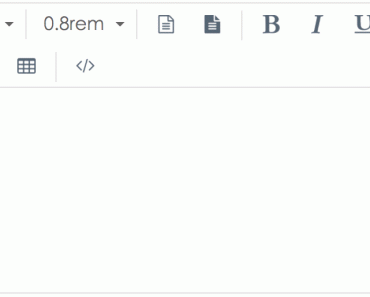
Live example
Usage
Props
By default VueMce requires no props, you can simply do this:
<whatever> <vue-mce /> </whatever>Name
html name attribute. Useful for non-ajax form submitting
Config
You can pass to VueMce component any valid tinymce config that you want to use:
<template> <vue-mce :config="config" /> </template>new Vue({ data: () => ({ config: { theme: 'modern', fontsize_formats: "8px 10px 12px 14px 16px 18px 20px 22px 24px 26px 39px 34px 38px 42px 48px", plugins: 'print preview fullpage powerpaste searchreplace autolink', toolbar1: 'formatselect fontsizeselect | bold italic strikethrough forecolor backcolor link', }, }), });Make sure that you don't pass to config selector field because it have priority over the target field which VueMce uses to mount component
Value
You can pass the value prop to VueMce component:
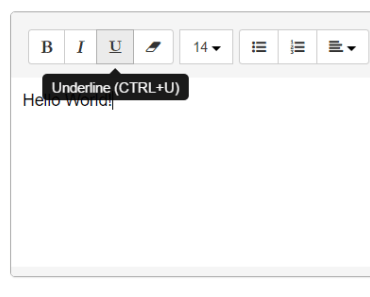
<template> <vue-mce :value="myValue" /> </template>new Vue({ data: () => ({ myValue: 'Hello World!', }), });v-model
You can use the v-model directive to create two-way data-binding.
<template> <vue-mce v-model="myValue" /> </template>ref
To set editor content, you can simply set ref to this component and call this.$refs['YOUR_REF'].setContent(yourContent)
<template> <vue-mce ref="editor" /> </template>new Vue({ methods: { getData () { API.get() .then((res) => { this.$refs['YOUR_REF'].setContent(res.content); }); }, }, created () { this.getData(); }, });Events
VueMce provides 5 types of events: init, error, input, change, destroy
<template> <vue-mce @init="handleInit" @error="handleError" @input="handleInput" @change="handleChange" @destroy="handleDestroy" /> </template>new Vue({ methods: { handleInit (editor) { /* This handler fires when tinymce editor is successfully initialized. Receives tinymce editor instance as argument You can save the editor instance to variable and call editor.setContent(yourContent) any time you want */ }, handleError (err) { /* Fires when an error occurred. Receives error object */ }, handleInput (value) { /* Fires whenever editor content changes. Receives generated HTML */ }, handleChange (value) { /* Fires only when editor emits focusout event. Receives generated HTML */ }, handleDestroy (editor) { /* Fires before VueMce component destroys. Receives tinymce editor instance */ }, }, });Questions
If you have any troubles, questions or proposals you can create the issue
License
Copyright (c) 2017 - present, Eduard Troshin
