Dynamic Table - jQuery Plug-in
Introduction
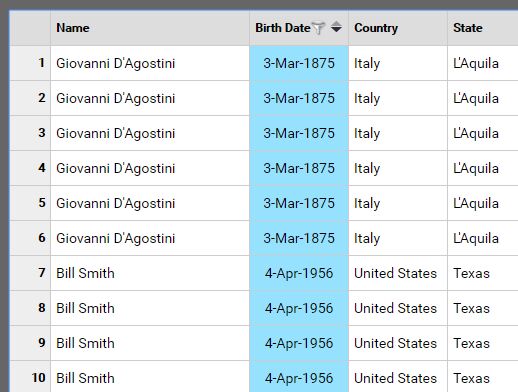
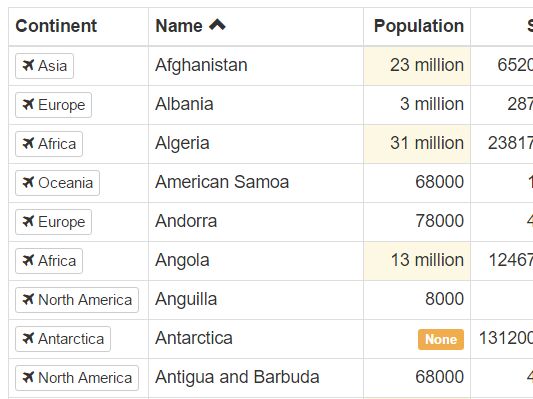
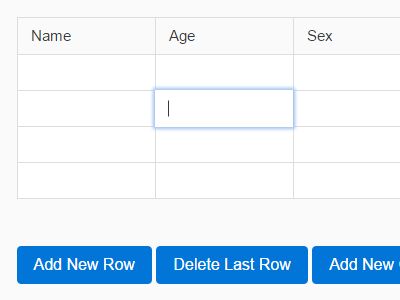
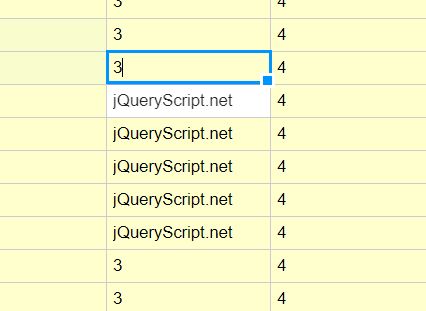
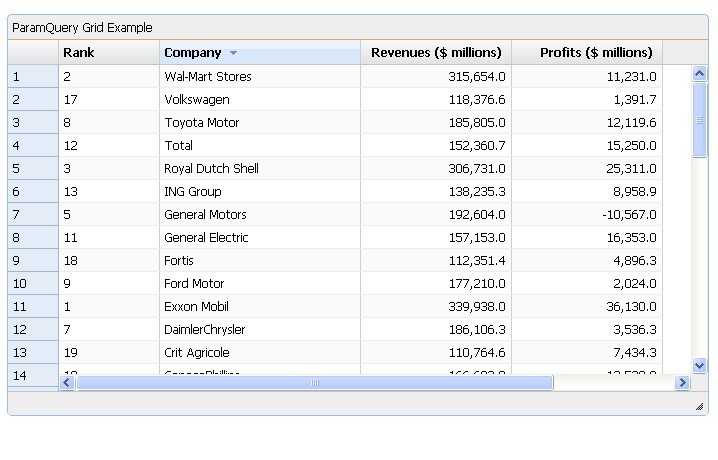
The Dynamic Table is a table that displays data in a similar way to a spreadsheet but allows the data to be loaded from your backend and control over what can be edited and how it is being saved.
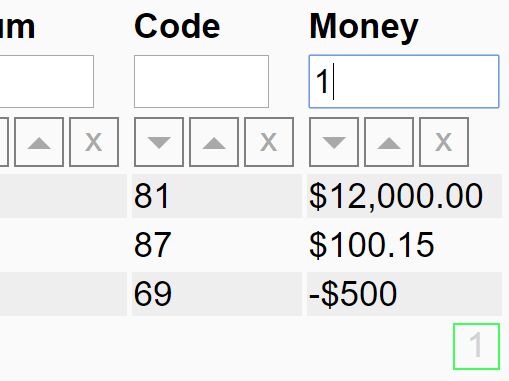
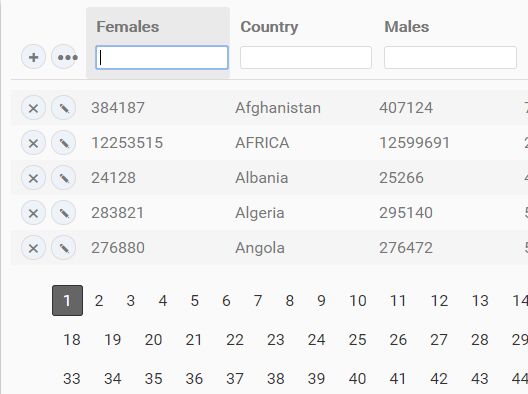
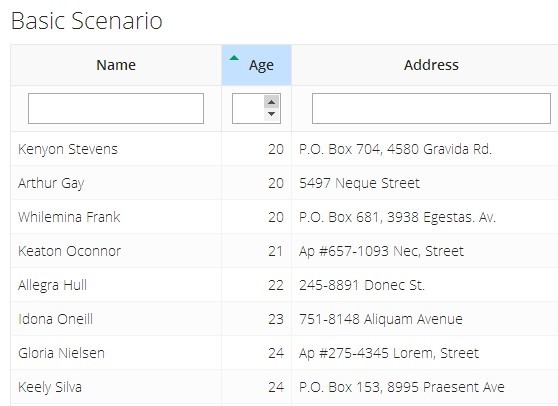
It allows advanced filtering and sorting as well as interaction with your application.
Features
- Spreadsheet feel
- Load data via AJAX
- Paged scrolling (handles easily tens of thousands of lines)
- Filters and Sorting
- Editable fields
- Events on select
- jQuery UI based
Prerequisites
- jQuery
- jQuery UI
- moment.js - This is optional, to allow nicer rendering of dates. However, you have to make sure it is available in the global scope.
If you are using Bootstrap the JQuery-Bootstrap project is recommended to make the components look more like Bootstrap.
Example
To see how the dynamic table works in production see this working sample that goes with the Getting Started section.
Getting Started
0) Import
First import the dynamic-table.jquery.js and any dependencies.
1) Initialize Plug-in
To initialize the component select an empty element, preferably a <div> and apply the jQuery plug-in:
$("#sample-grid").dynamicTable({ fillParent : false, showCounter: true });Available options are:
fillParent(default:true): Automatically keeps the grid the same size as the parent object this is usefull for any sort of full screen applications.showCounter(default:false): Displays a counter column as the first column, which gives the row number.showCheck(default:false): Displays a checkmark at the beginning of the row, that allows the selection of multiple rows. Only works when the counter column is also visible.changeColumns(default:false): If activates an icon shows at the end of the column headers, which allows the user to change the visibility of columns.rowHeight(default:35): The height of rows in pixels.settingsHandler(default:$.fn.dynamicTable.defaultSettingsHandler): The handler for persisting user updates to the table, such as column widths. See Saving User Settings
2) Define Columns
Next you define the columns as an array of column definitions
var myColumns = [{ name : "Name", type : "string", visible : true, filterType : "search", width : 200 }, [...] ]Available options are:
id: An unique identifier used when persisting user changes to the column such as column width.name: The name of the column.type(default:"string") : The datatype of the columns. Options are:string,date,numberandboolean.field: This is mostly for use when in the data passed in the rows are an object rather than an array, in which case this attribute is used to lookup which value to show in which cell.visible(default:false): Whether or not the column is visible or not. This allows for hiddend data columns, such as ID fields etc.filterType(default:list): The type of filter to display for the column. Options are:list,searchanddateRange.width(default:100): The width of the column in pixels.format: The format used for columns, such as date an number columns. The format is based on the moment.js format.editor: Instance of the editor used to allow this cell to be edited.cssClass: Specify a css class that is applied to this column. If a string is supplied the class is applied to all cells in that column. Alternatively a function can be supplied that returns the class dynamically. The function is of the following formatfunction(aColumn, aValue, aDisplayValue). TheaColumnparameter gets passed the column data, theaValueparameter gets passed the original value and theaDisplayValuegets passed the string which is to be rendered.
3) Getting the data
You can get the data using an AJAX call ($.getJSON()) or generate it in your JavaScript.
The table takes and array of rows. These rows can be either arrays or regular objects. In case objects are supplied the field attribute needs to be set on the columns, so the table knows which column to map which field to.
When the rows are arrays the table will map the field by index to the respective column.To hide items in the array, add invisible columns to the column list.
Sample data as array:
var myData = [ [10001, "Bill Smith", new Date(1956, 3, 12), "United States", "Texas", "English"], [10002, "Michael Jones", new Date(1975, 7, 23), "United States", "Florida", "English"], [10003, "Heinz Mayer", new Date(1972, 8, 2), "Germany", "Bayern", "German"], [10004, "Mary Miller", new Date(1981, 1, 6), "United States", "California", "English"], [10005, "Jose Gonzalez", new Date(1959, 1, 6), "Mexico", null, "Spanish"], ];Sample data as object:
var myData = [ {id : 10001, name : "Bill Smith", birthDate : new Date(1956, 3, 12).getTime(), country : "United States", state : "Texas", note : "Test", language : "English"}, {id : 10002, name : "Michael Jones", birthDate : new Date(1975, 7, 23).getTime(), country : "United States", state : "Florida", language : "English"}, {id : 10003, name : "Heinz Mayer", birthDate : new Date(1972, 8, 2), country : "Germany", state : "Bayern", language : "German"}, ]4) Putting it all together
Now that we have our element on the page, our columns and our data we just need to load it all into the table:
$("#sample-grid").dynamicTable("data", myData, myColumns); Methods
The following are the methods available. They all are called using the jQuery standard:
$("#sample-grid").dynamicTable("[name]", [parameters...]); data: Loads the data into the table. It takes two mandatory parameters:dataThe data to be displayed as described earliercolumnsThe column definitions as described earierkeepFilters(optional) Whether or not the filters should be kept or reset. Defaults tofalse.
clearAllFilters: Clears all filters that are currently set on the grid. This method takes no arguments.counts: Returns an object with basic counts of the data in the table. The following are the returned attributes:totalAll records loaded into the tablefilteredThe amount of records currently visible based on the selected filter
Interacting with the table
To allow your application to interact with the table, it dispatches two events:
rowSelect: Dispatched when the row gets selected either by keyboard interaction or single click.rowDoubleClick: Dispached when the row gets double-clicked.
The event parameter gets a row property attached, which contains the original data of the affected row.
$("#sample-grid").on("rowSelect", function(aEvent) { $("#selected-data").html("You selected <strong>" + aEvent.row[1] + "</strong>"); }); Editing content
So far we have only dealt with content loaded from the database that the user cannot interact with.
This is done by editors. These are not natively part of the plugin and come as separate plug-in: dynamic-table-editor.jquery.js
So first you have to import this file.
To instanciate an editor call the following:
var myEditor = $("<div/>").dynamicTableEditor({ type : "text", editHandler: function(aData) { // Save here: //$.post( // ... //); } });The following options are available:
type(default:text): The type of editor. Available types are:text: Simple text field.list: Select listdate: Datepicker
editHandler: The function that gets called when an edit is complete. This is the point where you save the data back to the server or wherever. This function gets called with two arguments:value: The value of the editorcontext: Object that contains data on the current column and row.
For list editors only:
values: A list of values to be rendered into the list.firstBlank(default:true): Whether to render the first item of the list as blank item.idProperty: If the values are a complex object, this defines which property is the ID that gets returned when selected.nameProperty: If the values are a complex object, this defines which property is the name that gets shown
Sample list editor:
var myEditor = $("<div/>").dynamicTableEditor({ type : "list", values : [{id : 1, name : "Option #1"}, {id : 2, name : "Option #2"}, {id : 3, name : "Option #3"}], idProperty : "id", nameProperty : "name", editHandler: function(aData) { // ... } });Saving User Settings
At times users make adjustments to the table which should be persisted between pageviews and even sessions. This persistence is handled by the SettingsHandlers, which get invoked whenever a user changes the state of a column to save the data and whenever the data gets reloaded to override the defaults with the last data from the user. The basic interface is:
{ // Called to persist the state of a column saveColumn : function (aColumn) { }, // Gets passed a column and is expected to make the neccesary updates // based on what was saved previously updateColumn : function (aColumn) { }, }To help you a couple of default implementations have been provided.
$.fn.dynamicTable.defaultSettingsHandler(aPrefix)This handler is activated by default. It persists user modifications to thelocalStorage. For this to work best add anidproperty to each column, whcih will be used to persist the data. The prefix can be set to prefix the key used in thelocalStorageto prevent potential conflicts.$.fn.dynamicTable.noopSettingsHandler()This handler does nothing and can be used when user changes should not be persisted.$.fn.dynamicTable.callbackSettingsHandler(aSaveColumn, aUpdateColumn)An implementation which allows you to register callback. Both callbacks get passed the column to be saved. It is recommended to only save and update column attributes the user can actually change.
The settings handler can be passed into the options as the settingsHandler property.
Example usage:
$("#sample-grid").dynamicTable({ fillParent : false, showCounter: true, settingsHandler : $.fn.dynamicTable.callbackSettingsHandler( function(aColumn) { // Save data here console.log(aColumn); }, function(aColumn) { // Update the column with saved data here aColumn.width = 500; }) });