
ScrollBetweenElements
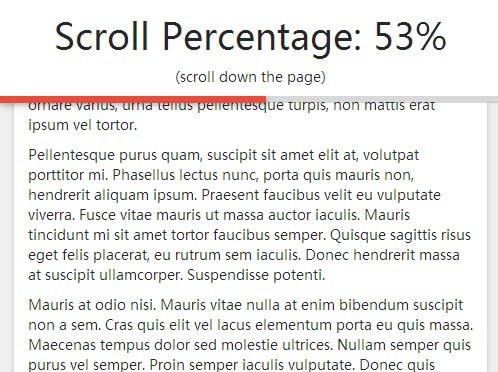
a jquery animate overlay that makes you scroll between HTML elements smoothly and without scrollbar, it allows you to translate elements into your div parents aswell.
Some things to know before using it
- As mentionned before, you need jQuery to use ScrollBetweenElemens, so don't forget to link jQuery before this plugin.
- If you need multi browser support for this plugin, i recommand you to use jquery-mousewheel which is awesome. Link it before ScrollBetweenElements aswell.
- For more awesomeness, i'm using jqueryUI for for its cool easing. So i recommand you to link it to be able to use more easing in ScrollBetweenElements(link it before ScrollBetweenElements of course)
How to use it
Prototype of the available functions
ScrollBetweenElements.init(Duration, Easing, IsScrollBarHidden, HeightCorrection);- Duration: Time between each scrolls (in millisecond)
- Easin: Name of the easing
- isScrollbarHidden: Do i hide the scrollbar for you or not ? (true or false)
- HeightCorrection: Correction in pixel of the height value of the scroll. For example if you have a navbar (an example is shown further)
ScrollBetweenElements.addElement(element, isVerticalScroll, callback);- element: jquery dom selector containing the id of your element (and only id for obvious reason)
- isVerticalScroll : parameter to determine if your element will scroll vertically or horizontally (set nothing or null for a vertical scroll, 1 for a right to left horizontal scroll and -1 for a left to right horizontal scroll)
- callBack: function which will be called once the scroll to the corresponding element will be triggered.
note: If you want to stay on the same element and just call the callback function with the scroll event, just set the element parameter to null.
ScrollBetweenElements.resetPosition();It will reset the position to the top of the page and it will trigger back all the functions just like you scrolled manually to the top.
ScrollBetweenElements.setPosition(position, func);- position: the position you wand to scroll to (the number of the element, for example, the number of the first element is 0, or simple the id, for example "my_id")
- func: the function will be triggered once the setPosition function will be called. This parameter is optionnal.
Basic example
<body> <div id="div1"> </div> <div id="div2"> </div> <div id="div3"> </div> <div id="div4"> </div> </body>$(document).ready(function(){ ScrollBetweenElements.init(400, "linear", true); ScrollBetweenElements.addElement($("#div1")); ScrollBetweenElements.addElement($("#div2")); ScrollBetweenElements.addElement($("#div3")); ScrollBetweenElements.addElement($("#div4")); });Example with small elements
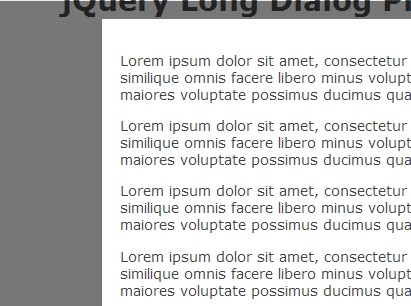
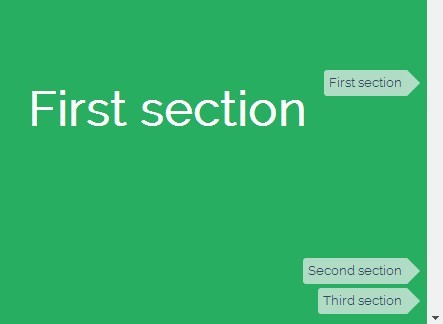
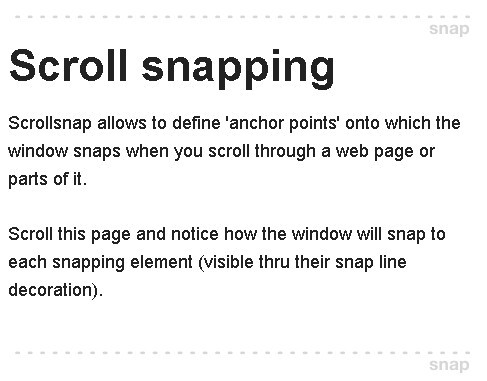
You don't need to have 100% height elements, you can set a custom size. it's the same html and javascript code, just the CSS code changed, check it out by looking at the source-code of the page, the css is displayed for every example inside the html file.
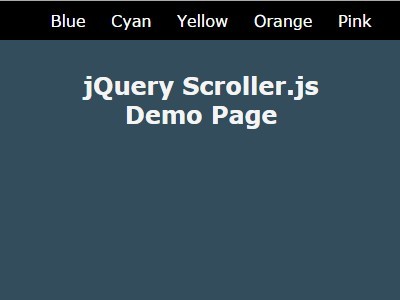
Easing example
You can change the easing of the scroll simply by changing the second parameter of the init method. Thanks to jqueryui for the easings
$(document).ready(function(){ ScrollBetweenElements.init(900, "easeOutBounce", true); ScrollBetweenElements.addElement($("#div1")); ScrollBetweenElements.addElement($("#div2")); ScrollBetweenElements.addElement($("#div3")); ScrollBetweenElements.addElement($("#div4")); });Height correction examples
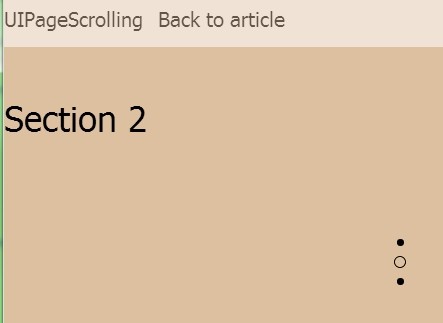
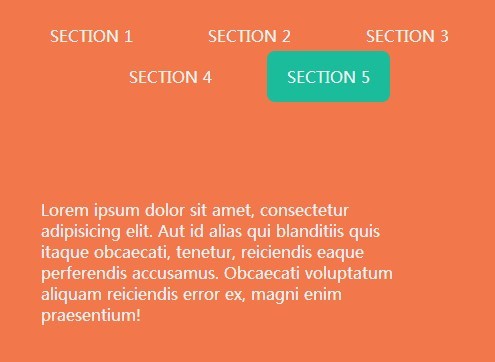
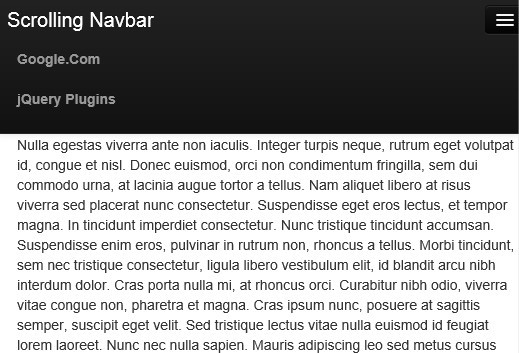
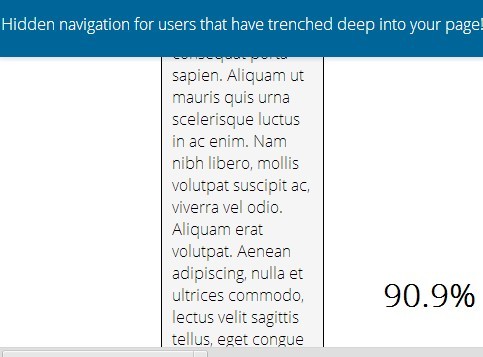
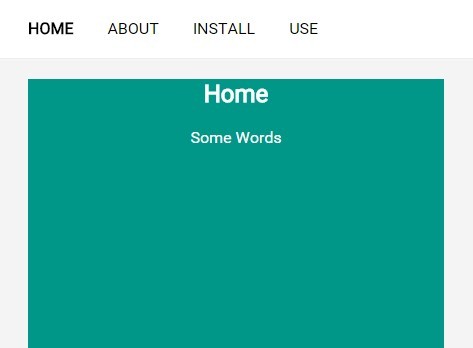
you could have a navbar for example in your website which would hide the top of your page. So juste set how much pixel you want to shift the top of your element with the third parameter of the init method. You might need to reduce the size of your elements aswell (with CSS), the is different technics for it, you're free the use the one you prefer.
In the example, the "navbar" is 90 pixels heigh so i shifted the top to 90 pixels.
<body> <div id="navbar"> HELLO, I'M NAVBAR! </div> <div id="div1"> </div> <div id="div2"> </div> <div id="div3"> </div> <div id="div4"> </div> </body>$(document).ready(function(){ ScrollBetweenElements.init(700, "easeInOutCubic", true, 90); ScrollBetweenElements.addElement($("#div1")); ScrollBetweenElements.addElement($("#div2")); ScrollBetweenElements.addElement($("#div3")); ScrollBetweenElements.addElement($("#div4")); });Horizontal scroll example
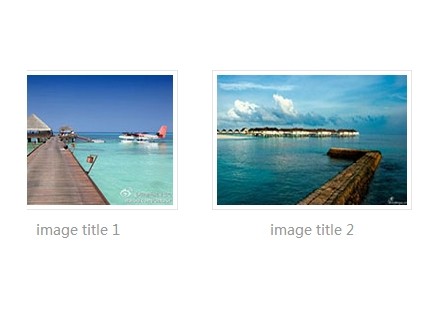
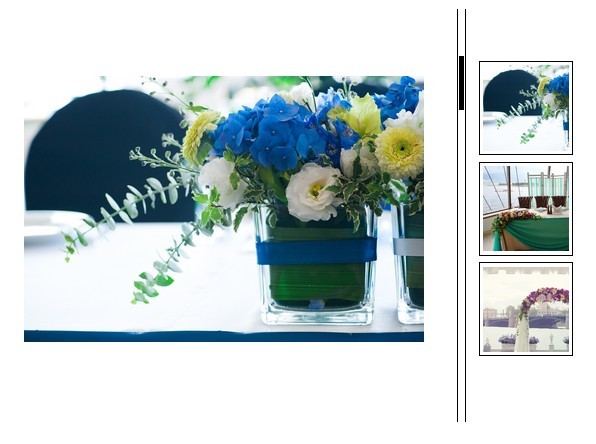
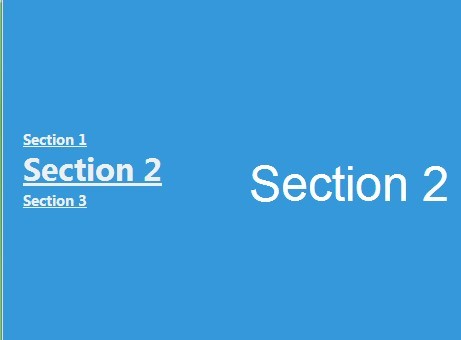
You can also choose to scroll to an element horizontally. For this you need to put those elements into a parent element. The parent element must be in relative position. and then add all your elements with the addElement method like in the example below.
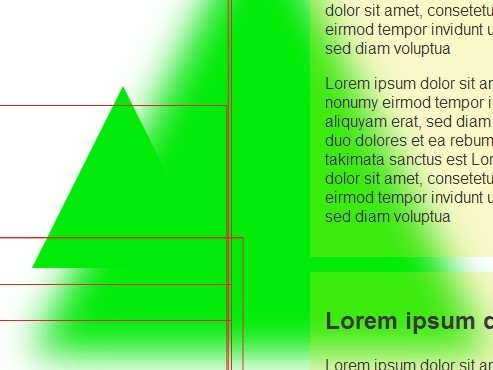
<body> <div id="div1"> </div> <div id="div2"><!-- PARENT ELEMENT --> <div id="div3"><!-- CHILD ELEMENT --> </div> <div id="div4"><!-- CHILD ELEMENT --> </div> </div> <div id="div5"><!-- PARENT ELEMENT --> <div id="div6"><!-- CHILD ELEMENT --> </div> <div id="div7"><!-- CHILD ELEMENT --> </div> </div> <div id="div8"> </div> </body>$(document).ready(function(){ $('body,html').animate({ scrollTop: 0 }, 500); ScrollBetweenElements.init(900, "easeOutBounce", true); ScrollBetweenElements.addElement($("#div1")); ScrollBetweenElements.addElement($("#div2")); ScrollBetweenElements.addElement($("#div3"), 1); /* From right to left */ ScrollBetweenElements.addElement($("#div4"), 1); /* From right to left */ ScrollBetweenElements.addElement($("#div5")); ScrollBetweenElements.addElement($("#div6"), -1);/* From right to left */ ScrollBetweenElements.addElement($("#div7"), -1);/* From right to left */ ScrollBetweenElements.addElement($("#div8")); });For the moment you are not able to add elements that scroll from the right and from the left in a row, because it doesn't make sense for me.(if it's not clear why it doesn't make sens, have a look the this awesome paint basic schema about how this plugin work at the bottom of this readme.)
to be clear you can't do the following
$(document).ready(function(){ ScrollBetweenElements.init(900, "easeOutBounce", true); ScrollBetweenElements.addElement($("#div1")); ScrollBetweenElements.addElement($("#div2", 1)); ScrollBetweenElements.addElement($("#div3"), -1); ScrollBetweenElements.addElement($("#div4"), 1); ScrollBetweenElements.addElement($("#div5"), -1); });Actually, you can, but the result is not quite well.
Function at the scroll event
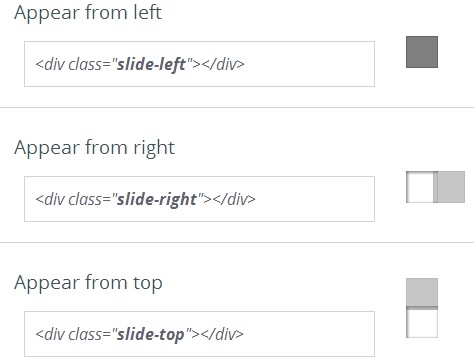
As i said before, you can trigger anonymous functions at the scroll event, for this, just put your function as the third parameter of the addElement method.
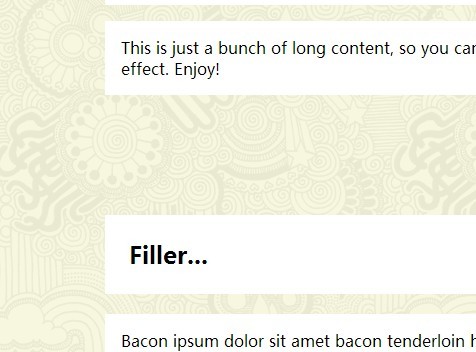
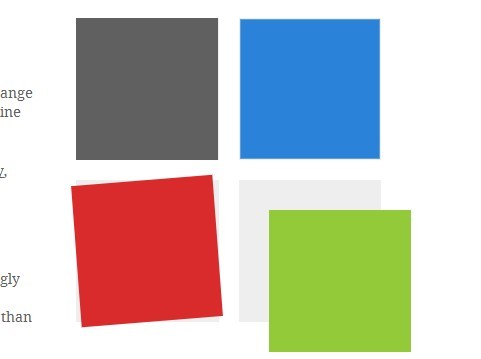
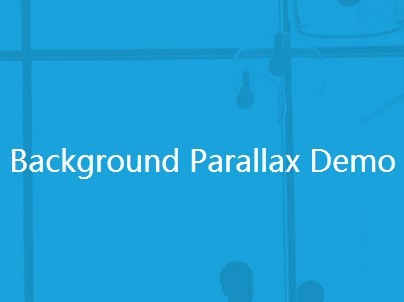
With this and a minimum of knowledge of CSS3 and jquery you can make some pretty good effects. If you are not aware of it, take a look at this and this
Also, don't hesitate to use transparent background colors in horizontally scrolls, it gaves good effects.
here is another example for this
<body> <div id="div1"> </div> <div class="scene-container"> <div id="div3"> <!-- This DIV is not added to ScrollBetweenElement, and it's normal it is just here as a background--> <br> <br> <br> I'M JUST HERE AS A BACKGROUND UNDER A TRANSPARENT SCENE WHICH WILL COME FROM HERE ---><br> I WON'T MOVE ! </div> <div id="div2"> <div class="container"> <div id="animation-1"> WOW </div> </div> <div class="container"> <div id="animation-2"> SUCH TRANSITION ! </div> </div> <div class="transparent" id="transparent"> <div class="container"> <div class="appear"> MY BACKGROUND COLOR IS TRANSPARENT </div> </div> </div> <div class="transparent" id="transparent-2"> <div class="container"> <div class="appear"> SUCH SLIDE ! </div> </div> </div> <div id="div4"> </div> </div> </div> <div id="div5"> </div> </body>$(document).ready(function(){ ScrollBetweenElements.init(900, "easeOutBounce", true); ScrollBetweenElements.addElement($("#div1")); ScrollBetweenElements.addElement($("#div2"), null, function(){ $("#animation-1").css({"opacity": 0}); }); ScrollBetweenElements.addElement(null, null, function(){ $("#animation-1").css({"opacity": 1}); $("#animation-2").css({"opacity": 0}); }); ScrollBetweenElements.addElement(null, null, function(){ $("#animation-1").css({"opacity": 0}); $("#animation-2").css({"opacity": 1}); }); ScrollBetweenElements.addElement($("#transparent"), 1); ScrollBetweenElements.addElement($("#transparent-2"), 1); ScrollBetweenElements.addElement($("#div4"), 1); ScrollBetweenElements.addElement($("#div5")); });setPosition and resetPosition methods
I will introduce both of these method at the same time.
resetPosition, is basically a method wich will scroll you back to the top of the page, triggering all the functions back exactly like you would have scrolled "manually" to the top, but faster.
and setPosition is pretty much the same except that you choose at which element you want to be. you can also trigger a function as the second parameter of setPosition, but it is optionnal.
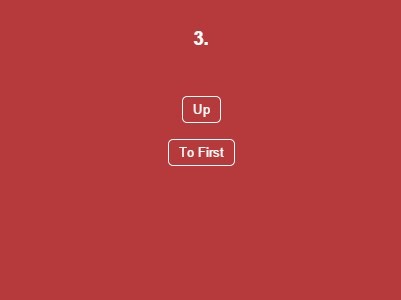
these methods are usefull with buttons with click event for example. Let's take back the previous example and add it two buttons with respectively setPosition and resetPosition.
<body> <div id="div1"> <button id="button-1"> Take me to the penultimate scene please </button> </div> <div class="scene-container"> <div id="div3"> <br> <br> <br> I'M JUST HERE AS A BACKGROUND UNDER A TRANSPARENT SCENE WHICH WILL COME FROM HERE ---><br> I WON'T MOVE ! </div> <div id="div2"> <div class="container"> <div id="animation-1"> WOW </div> </div> <div class="container"> <div id="animation-2"> SUCH TRANSITION ! </div> </div> <div class="transparent" id="transparent"> <div class="container"> <div class="appear"> MY BACKGROUND COLOR IS TRANSPARENT </div> </div> </div> <div class="transparent" id="transparent-2"> <div class="container"> <div class="appear"> SUCH SLIDE ! </div> </div> </div> <div id="div4"> </div> </div> </div> <div id="div5"> <button id="button-2"> Take me back to the top please </button> </div> <div id="div6"> </div> </body>$(document).ready(function(){ ScrollBetweenElements.init(900, "easeOutQuint", true); ScrollBetweenElements.addElement($("#div1")); ScrollBetweenElements.addElement($("#div2"), null, function(){ $("#animation-1").css({"opacity": 0}); }); ScrollBetweenElements.addElement(null, null, function(){ $("#animation-1").css({"opacity": 1}); $("#animation-2").css({"opacity": 0}); }); ScrollBetweenElements.addElement(null, null, function(){ $("#animation-1").css({"opacity": 0}); $("#animation-2").css({"opacity": 1}); }); ScrollBetweenElements.addElement($("#transparent"), 1); ScrollBetweenElements.addElement($("#transparent-2"), 1); ScrollBetweenElements.addElement($("#div4"), 1); ScrollBetweenElements.addElement($("#div5")); ScrollBetweenElements.addElement($("#div6")); $("#button-1").click(function(){ ScrollBetweenElements.setPosition("div5"); }); $("#button-2").click(function(){ ScrollBetweenElements.resetPosition(); }); });To finish
I hope it will be usefull for some people, if you didn't understand very well the mechanism of this plugin check this beautiful paint made schema
It's free to use, free to modify, free to critic.
if you have any feedback, improvement, question or anything you can contact me at [email protected]
PS: This is no the the final version, more features are coming. Make it work for mobiles devices is a very next feature.


