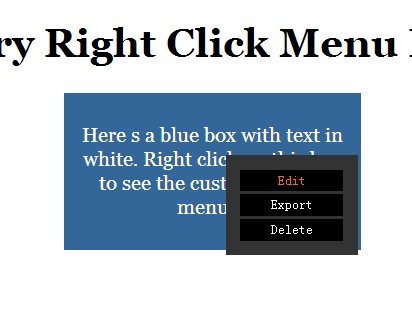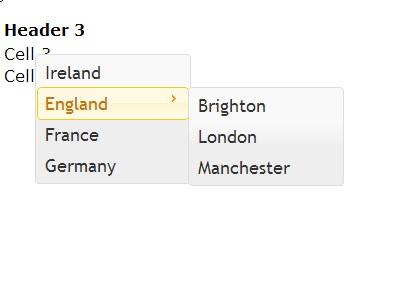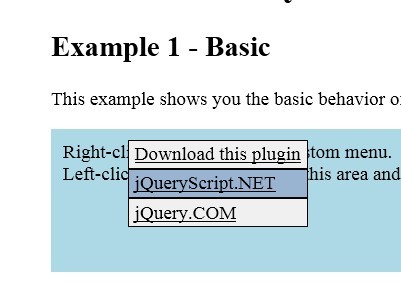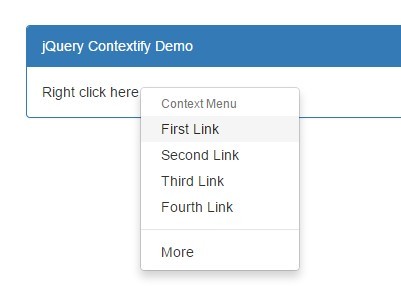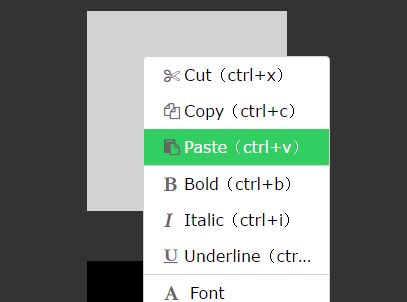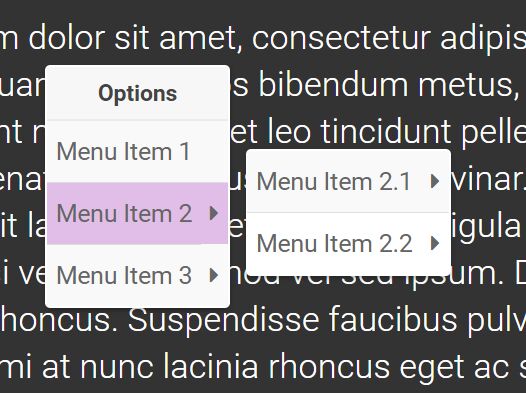
A simple jQuery plugin which provides a context menu control
Latest Version
1.0 BETA
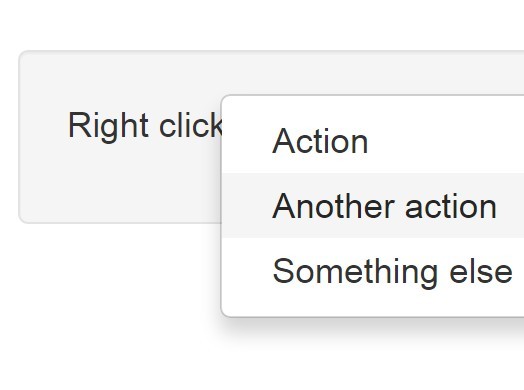
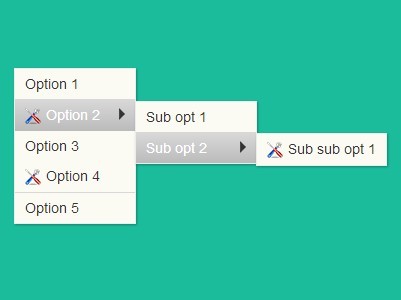
Example
Just a small example of the plugin
vae fooAction, barAction; fooAction = function() { // ... }; barAction = function() { // ... }; $("#my-selector").jqCtxMenu([{ name: "Option 1", action: fooAction }, { name: "Option 2", action: barAction }, { name: "Option 3", location: "https://github.com" }]);Adding the plugin to your project
#####1. Get the latest version of jQuery. You need to jQuery to your project in order to run the plugin. It is recommended to pick the latest version since the project is being developed on it.
- If you have already downloaded a complete pack from
Releasesproceed to point 4
#####2. Pick the desired version of the plugin from releases folder.
#####3. Pick a theme for the plugin from themes folder.
#####4. Add the plugin to your project. You should just add the two corresponding lines to your code:
<script type="text/javascript" src="path_to_lib/jqctxmenu.1.0.1.min.js"></script> <link rel="stylesheet" href="path_to_css/jqctxmenu.css" />Please note that the script should be added after the jQuery library.
Using the plugin
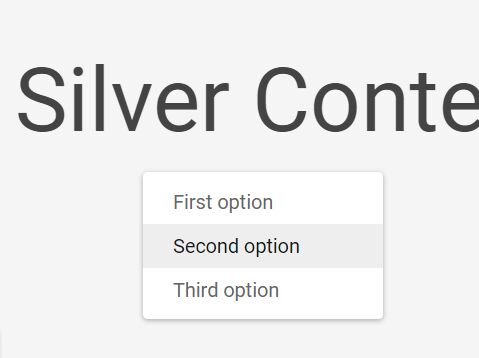
Pretty simple, just like every other jQuery plugin - pick a selector (the area where you want the context menu to be active) and then add the array of menu options.
var menuOptions = [...]; $("#ctx-area").jqCtxMenu(menuOptions);Functionality
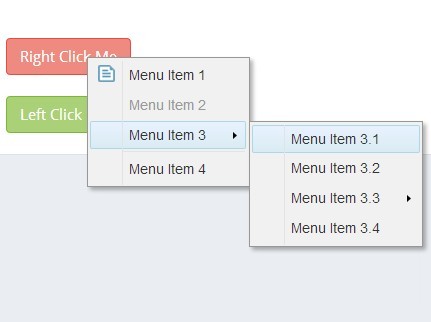
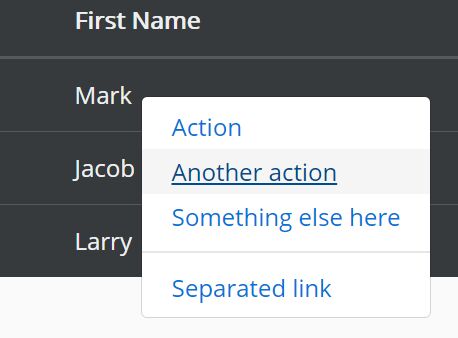
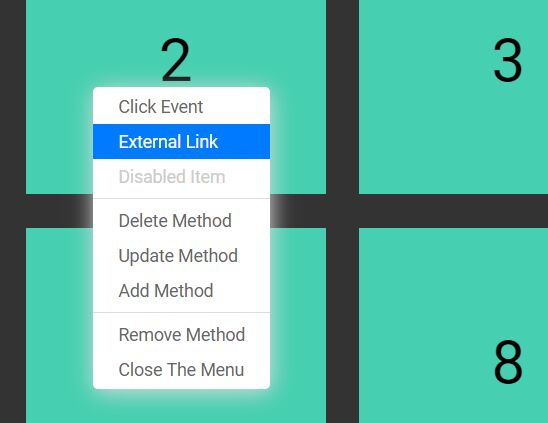
#####1. Options and their action types Every context menu is composed by an array of options where every option is represented by an object. Each option has a name and an action type (Note that the name is mandatory for visualization purposes). Here is a small example of how one option array looks like:
var options = [{ name: "Option 1", // action type }, { name: "Option 2", // action type }, { // ... }];The action type represents the onclick event of the respective option. There are three action types:
- Function (a.k.a.
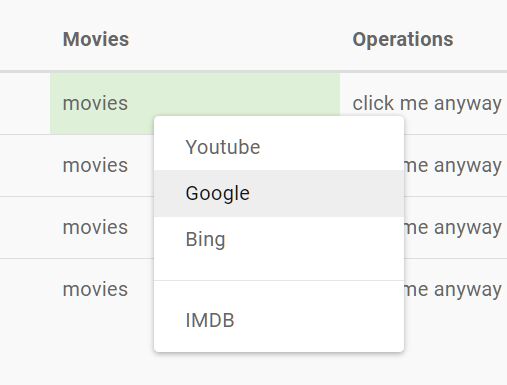
action) - Location (Redirects to the specified URL)
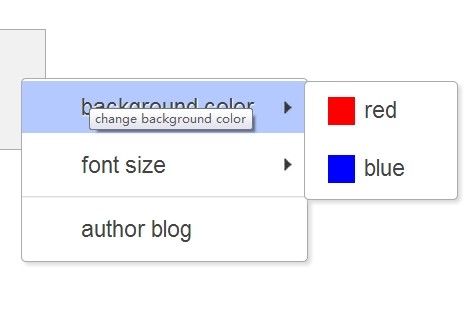
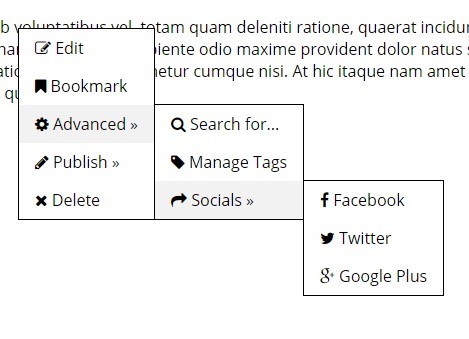
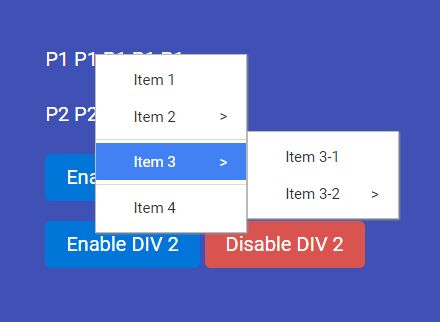
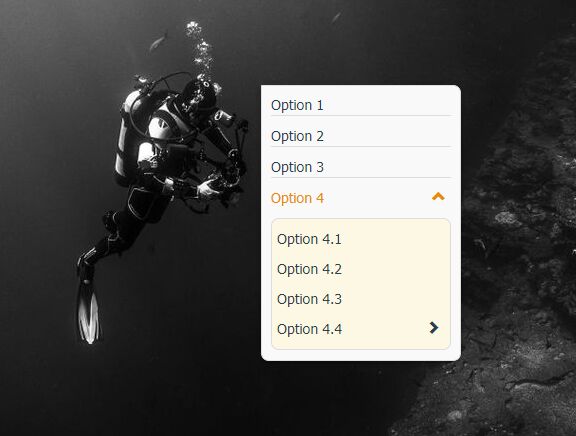
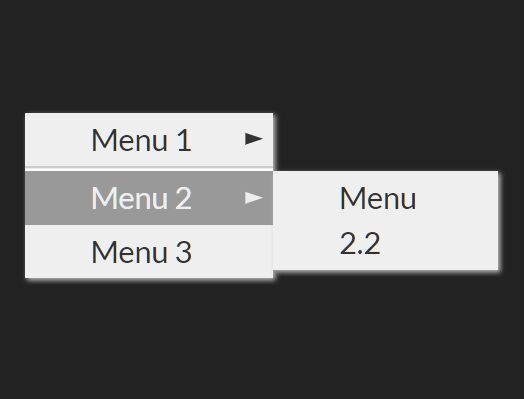
- Sub-menu - Sub-menus are basicaly an options array (menu) within an option object
Note: The action type priority is as displayed in the list above. So if you use more than one of them in your option object the latter will be overridden by the former.
var options = [{ name: "Print message", // Function or action action: function() { console.log("Hello world!"); } }, { name: "Go to profile", // Location location: "users/profile" }, { name: "Files", menu: [{ name: "Create new file", // ... }, { name: "Modify current file", // ... }] }];It is recommended to use variables for keeping the sub-menus in order to avoid christmas-tree-like structure of the code.
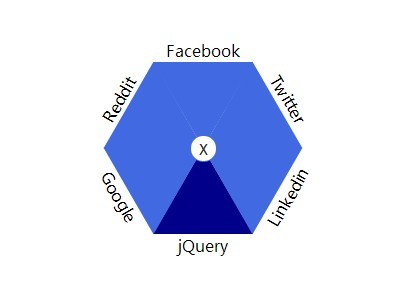
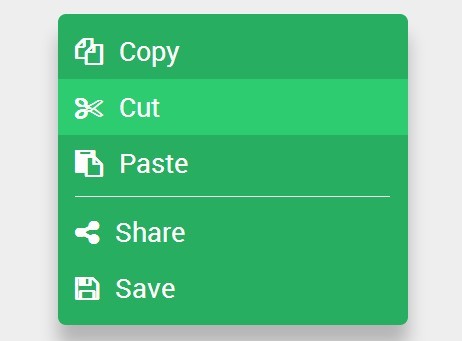
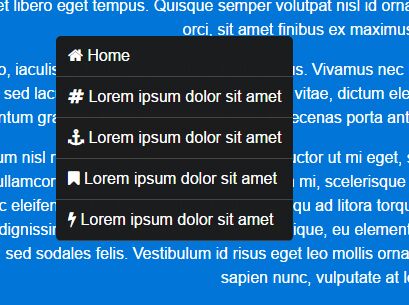
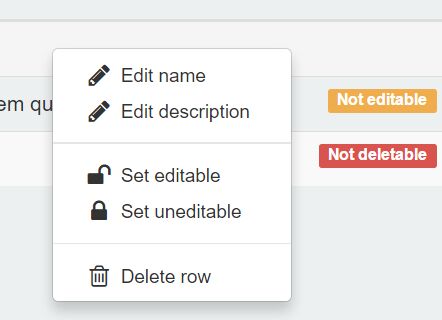
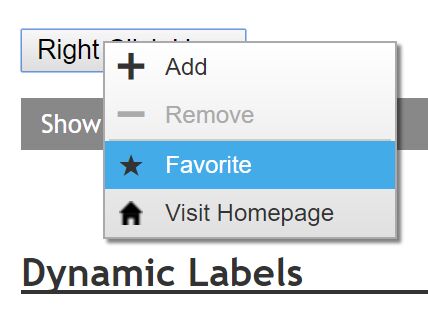
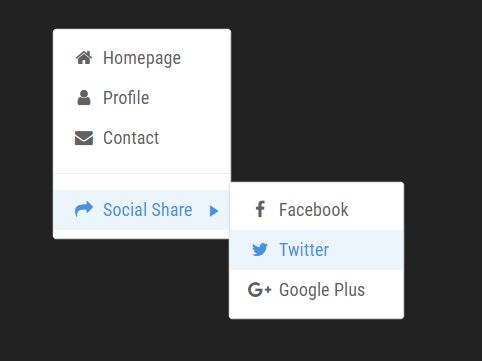
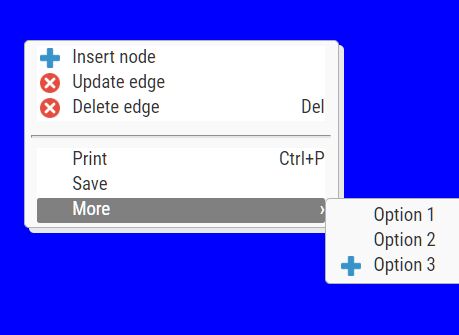
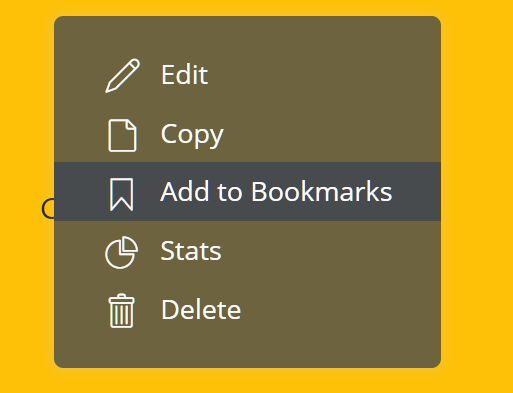
#####2. Visualization properties You can attach an icon to your option or group it logically with other options.
-
iconproperty - just add the URL to the image as a value:
var options = [{ name: "Send", icon: "img/send_16x16.png", // ... }]The recommended (max) size is 16 x 16
-
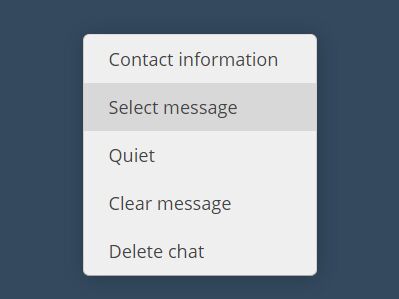
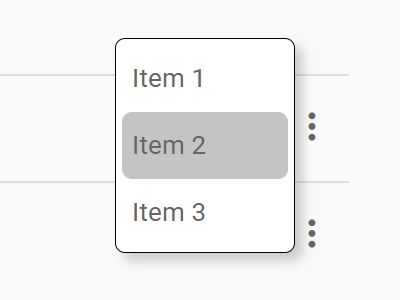
groupproperty
Provides logical grouping of the options by removing the default separator line between them:
var options = [{ name: "The following option ...", group: true, // ... }, { name: "... will be grouped with this one.", // ... }];License
MIT