Image Uploader
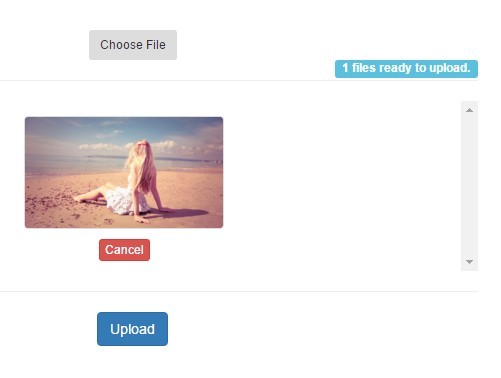
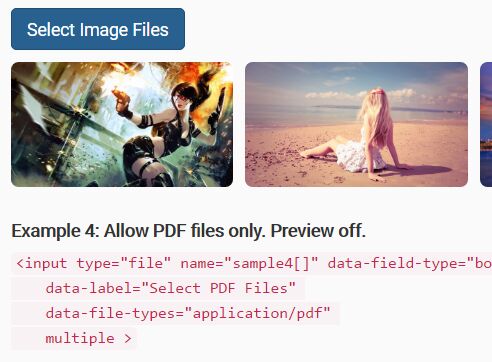
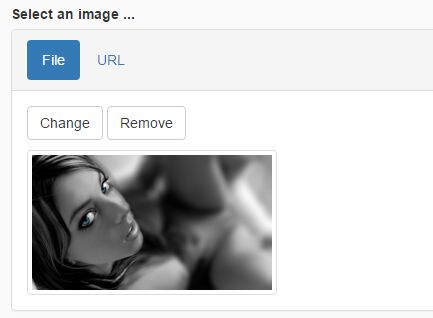
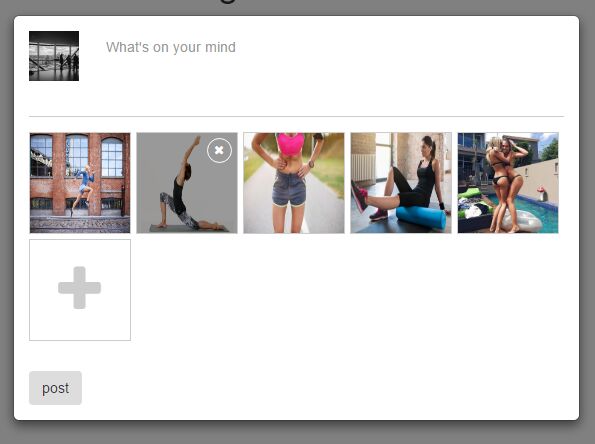
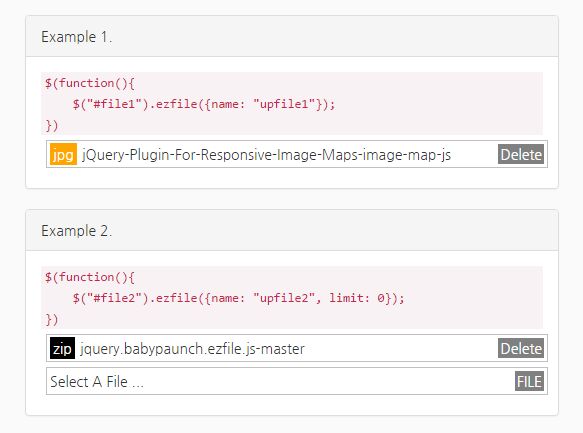
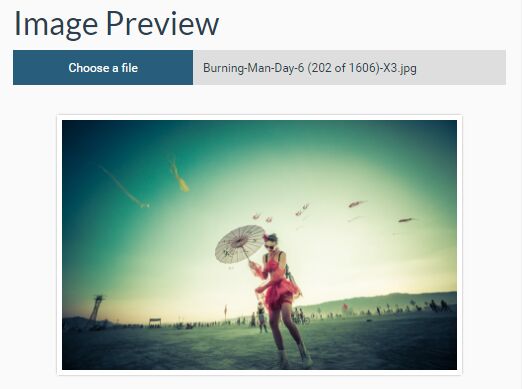
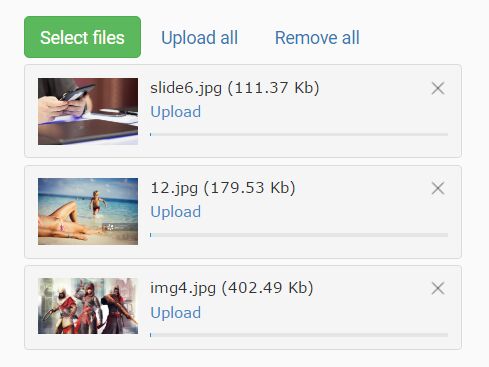
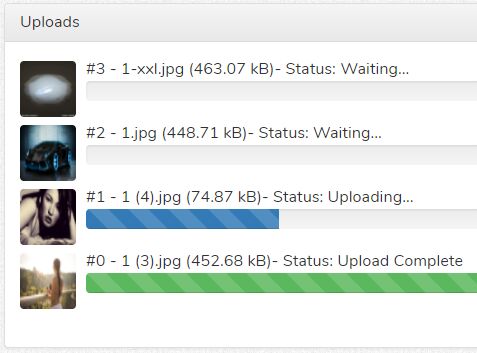
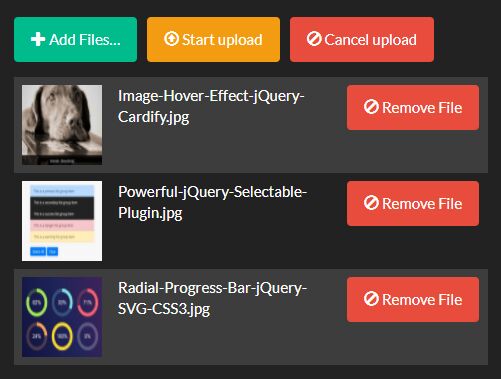
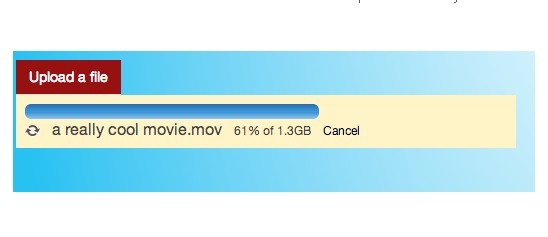
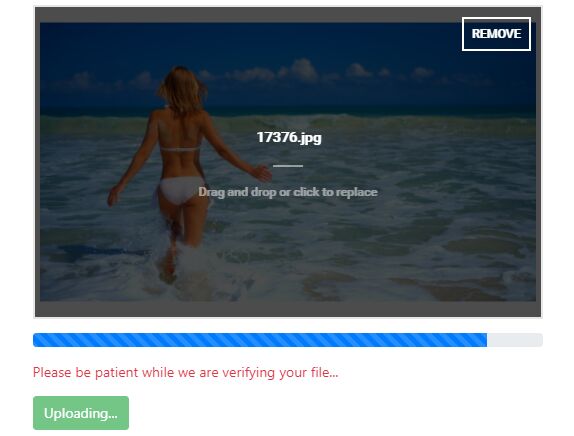
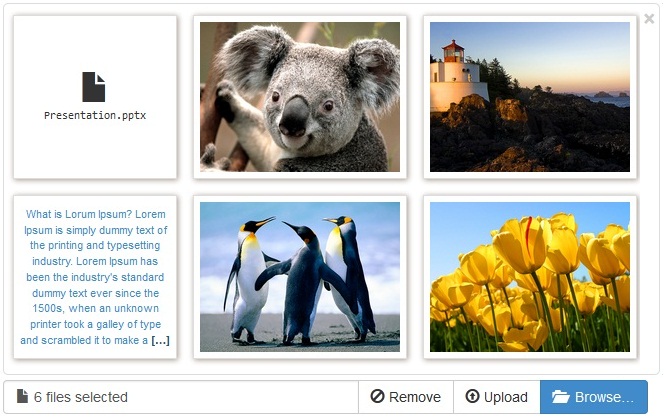
A little jquery plugin that creates (and optionally styles) a UI for uploading a set of files to the server. It includes rendering little thumbnails when it can, and letting the user add or remove files before sending them up.
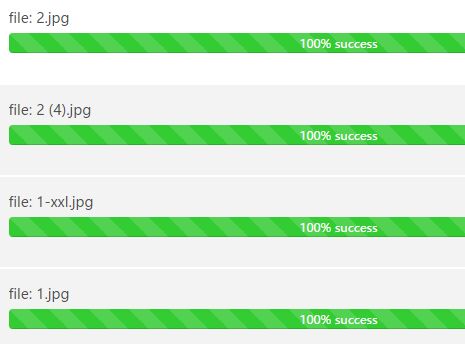
On submission, the plugin makes an ajax request containing the files as Formdata.

Getting Started
-
You'll need to include dist/jquery.imageuploader.js in your site's Javascript.
-
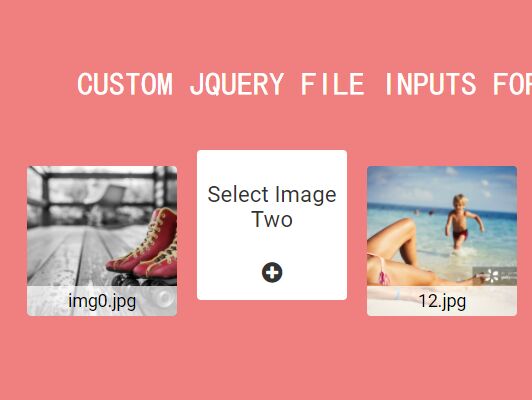
If you want to use my styling, include dist/styles.imageuploader.css in your site's Css.
-
You should have a section of your page that you want the uploader to take over. The uploader will work on a div or section, and will empty it before setting up. I suggest having a non-js solution in this section, so that when the uploader starts up, it can clear your non-js solution in favor of itself.
-
Start it up by calling the plugin on the section it's supposed to take over.
$('.upload-box').uploader(options); -
NOTE: The uploader will not start up if the browser doesn't support FormData (< IE10).
-
NOTE: The uploader will not draw thumbnails if the browser doesn't support FileReader (< IE10)
Options
You can set certain things in the options object, like this:
var options = { optionName: optionValue } Here are the options you can set:
| Option Name | Description | Default Value |
|---|---|---|
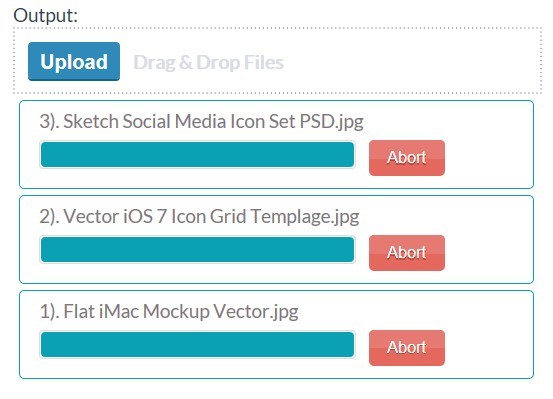
| submitButtonCopy | What you want the upload submit button to say | Upload Selected Files |
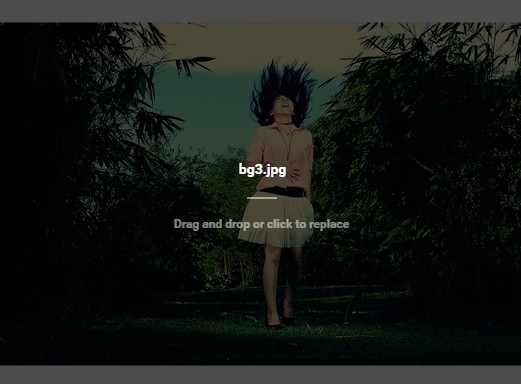
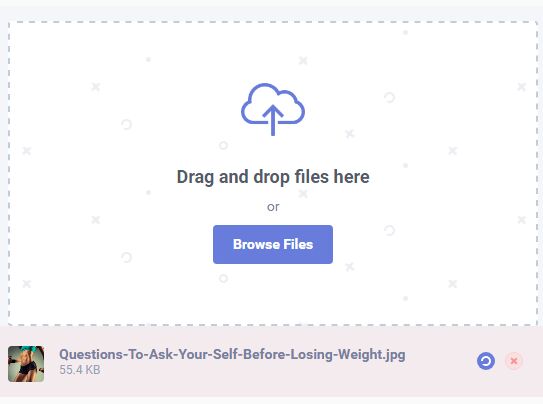
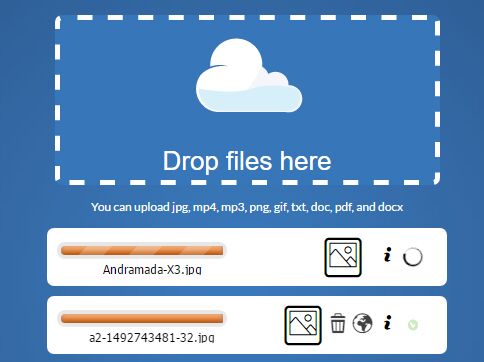
| instructionsCopy | What the first set of instructions say | Drag and Drop, or |
| furtherInstructionsCopy | What the second set of instructions say | You can also drop more files, or |
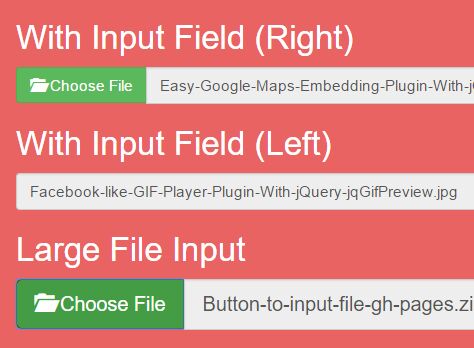
| selectButtonCopy | What the primary file select button says | Select Files |
| secondarySelectButtonCopy | What the secondary file select button says | Select More Files |
| dropZone | The jQuery element where the uploader should listen for drop events | $('body') |
| fileTypeWhiteList | The whitelist of file extensions to allow to be selected (case-insensitive) | ['jpg', 'png', 'jpeg', 'gif', 'pdf'] |
| badFileTypeMessage | What the error says when someone selects a file thats not allowed because of type | Sorry, we're unable to accept this type of file. |
| ajaxUrl | The url to send the file batch to when its submitted | /ajax/upload |
Styling the Uploader yourself
Here's the classes you'll need to style, take a look at the scss directory for what I did:
| Class | Description |
|---|---|
| .uploader__box | The container for almost all of the UI elements |
| .uploader__hide | The class that hides stuff when its not supposed to be seen |
| .uploader__icon | Any styling to add to the font-awesome icons, in addition to the default |
| .uploader__instructions | The text inside the box, the first set of instructions |
| .uploader__contents | A wrapper for the first set of instructions and the primary select file button |
| .uploader__file-label | The label part of the select buttons |
| .uploader__file-label--secondary | A modifier thats put on to the secondary file select button's label part |
| .uploader__file-input | The input part of the select buttons |
| .uploader__file-input--secondary | A modifier thats put on to the secondary file select button's input part |
| .uploader__submit-button | The submit button for the upload |
| .uploader__further-instructions | The second set of instructions, shows up after the box in the DOM |
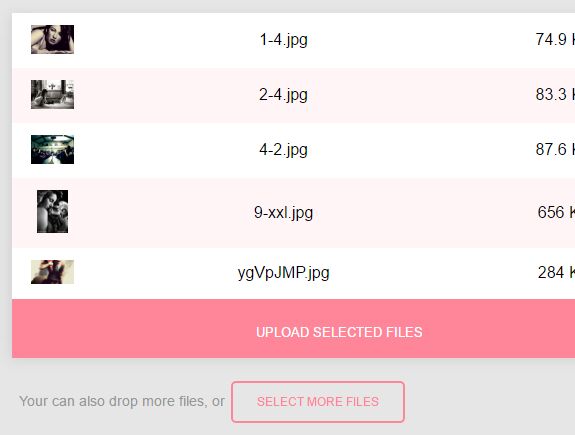
| .uploader__file-list | The container for the list of files (ul) |
| .uploader__file-list__item | The container for each file (li) |
| .uploader__file-list__text | The filename for each file row |
| .uploader__file-list__size | The filesize for each file row |
| .uploader__file-list__button | The remove button for each file row |
Is the uploader unit tested?
Kinda. I wrote tests for the public interface, but I'm not particularly good at writing unit tests, and they clearly don't cover everything. You can run what I have by:
npm run tests Contribution
I haven't thought this through yet. If you fork the project, you can build it by doing:
npm run build You can do other stuff too:
| Command | Description |
|---|---|
| npm run js | build just the javascript part |
| npm run js:watch | build and watch js files |
| npm run scss | build just the css part |
| npm run scss:watch | build and run scss files |
| npm start | run an instance of it with browser-sync (localhost:3000) |
| npm test | run the js unit tests |
Try to stick to the conventions I have going already and open a PR when you're done.
Enjoy!