Planit.js
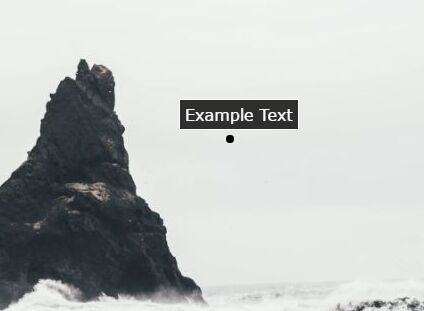
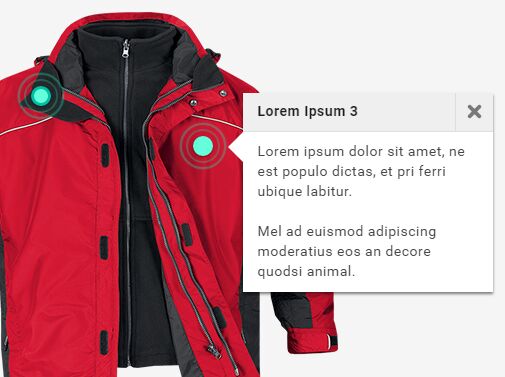
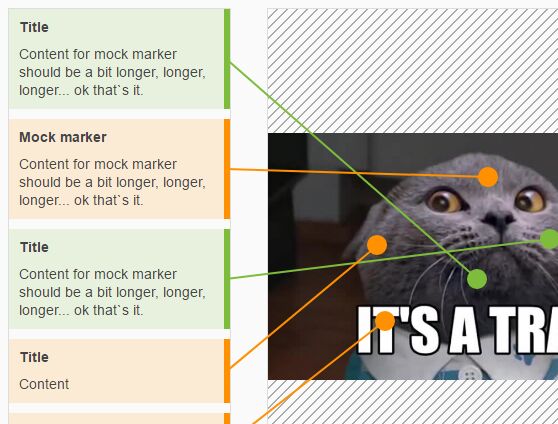
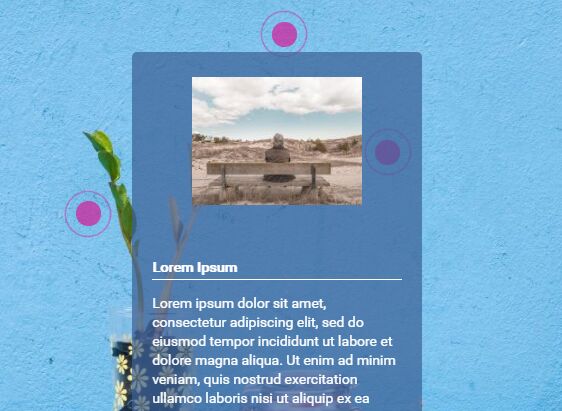
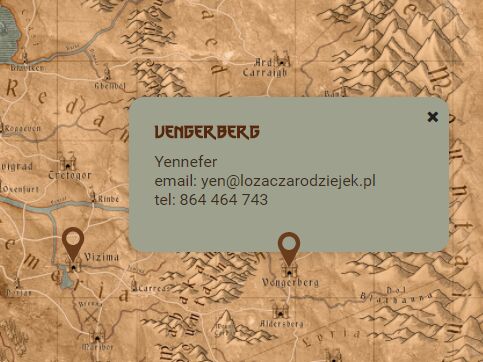
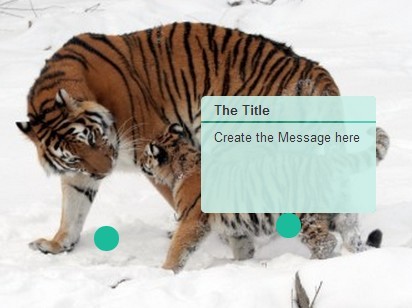
Planit is a javascript library, built on top of jQuery, that makes it nice and simple add interactive hotspots (markers) to a blank container or an image.
Documentation
The basics are documented here, but you can find API documentation and some examples at planit.seancdavis.me.
Installation
Make sure you load jQuery, then you're ready to add Planit.js. Best practice is to add your scripts to the bottom of your <body>. And don't forget the styles.
If you take this approach you'll need to ensure the script for your page is loaded after the Planit library is loaded. It's not a bad idea to take advantage of a JavaScript module loader to ensure they are loaded in the correct order. Checkout RequireJS for more information.
<link rel="stylesheet" href="//cdn.jsdelivr.net/jquery.planit/1.0.1/planit.min.css"> <script src="//cdn.jsdelivr.net/jquery/1.11.2/jquery.min.js"></script> <script src="//cdn.jsdelivr.net/jquery.planit/1.0.1/planit.min.js"></script>Downloads
You can download both of these items using the links below. v1.0 will come with hosted releases of the distribution.
There's also a zip of the two files together.
Usage
The Planit class is loaded into a global planit variable. Without options, this is simply:
planit.new()When you have no options, Planit looks for a container with an id of planit.
<div id="planit"></div>See the doc site for options and examples.
Questions, Bugs & Ideas
Please log all communication as an issue in this repo's issue tracker
Contributing
To get set up locally, you'll need npm and gulp installed.
$ git clone https://github.com/seancdavis/planit.git $ cd planit $ npm install $ gulp gulp will watch for changes, but will stop compiling CoffeeScript files after finding an error. Keep that log accessible or you may get tripped up.
Then, follow the typical GitHub workflow:
- Fork it ( https://github.com/[my-github-username]/githole/fork )
- Create your feature branch (
git checkout -b my-new-feature) - Commit your changes (
git commit -am 'Add some feature') - Push to the branch (
git push origin my-new-feature) - Create a new Pull Request

