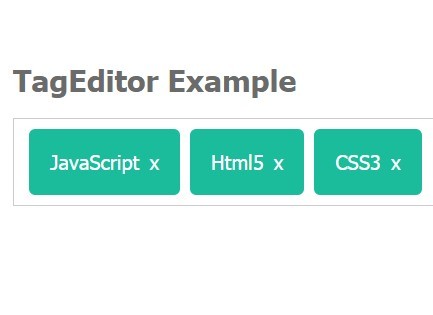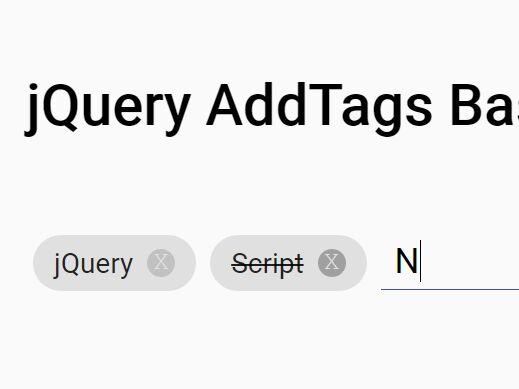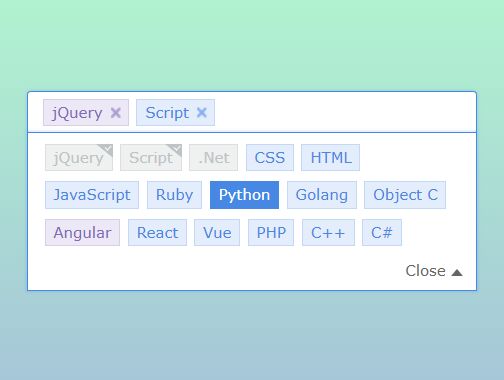
jQuery-Tag-This
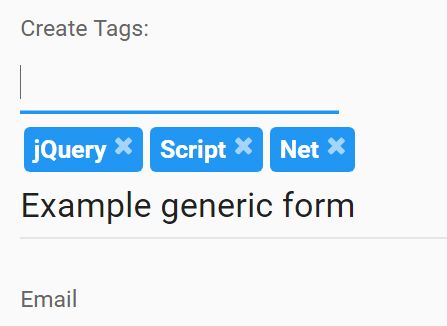
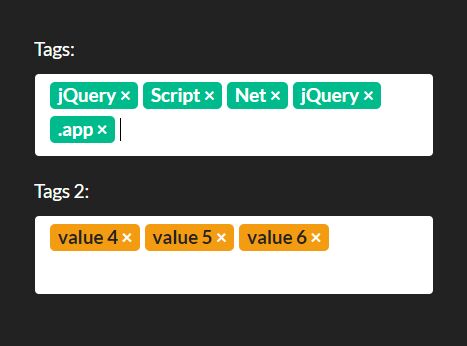
I'm a plugin to turn user input into tags!
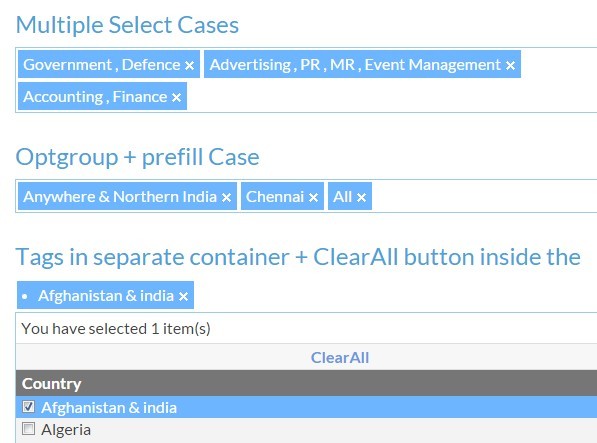
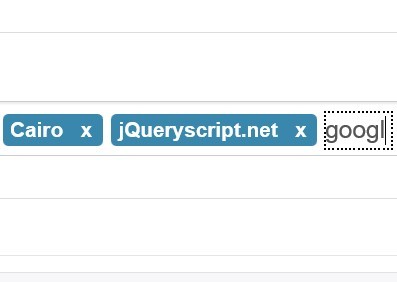
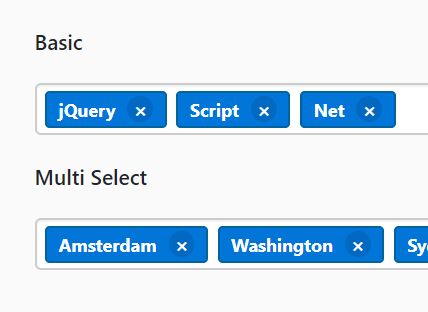
- I can make clickable tags from user input or create them programmatically.
- I can be customized with your own preferences.
- I can call your own functions when tags are created or modified.
- I can tell you about errors when a user tries to enter something you don't want them to.
How Tag-This Works
You can use Tag-This in two ways.
- Use it to allow a user to type input into a text field, which Tag-This will turn into a tag for them, or
- Use the API to programmatically create & remove tags
- If you choose this option, you can pass your own 'id' and 'text' values to create the tag with. If you pass 'id', this value gets attached to the tag you're creating with it! You might choose this option if you want to associate tags with ID's you already have. See the demo page for an example.
Demo
Visit here for a live demo of Tag-This
Installing
You can clone this Git repository:
git clone https://github.com/dangribbin/jQuery-Tag-This Or install via Bower:
bower install jQuery-Tag-This Usage
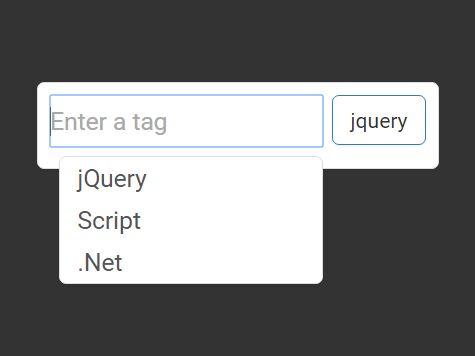
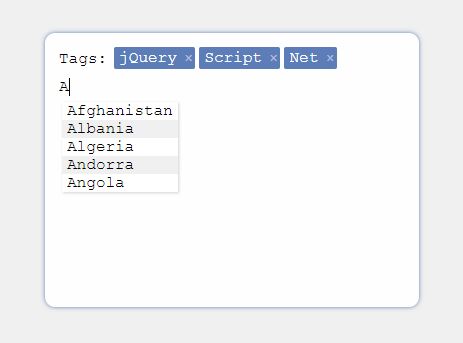
User-typed tags
To allow users to create tags based on their input, you just need to call tagThis once on an input element of your choosing.
Here's an example:
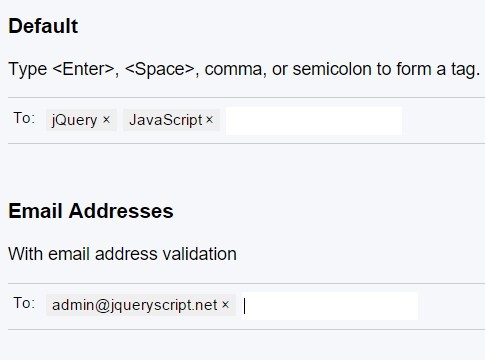
('#my-input').tagThis(); You can also pass a settings object with that, too. Here's an example of creating an input that takes only email addresses and won't allow duplicate entries:
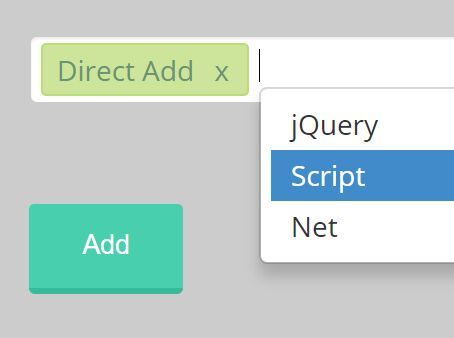
$('#my-input').tagThis({ noDuplicates: true, email : true }); Adding tags programmatically
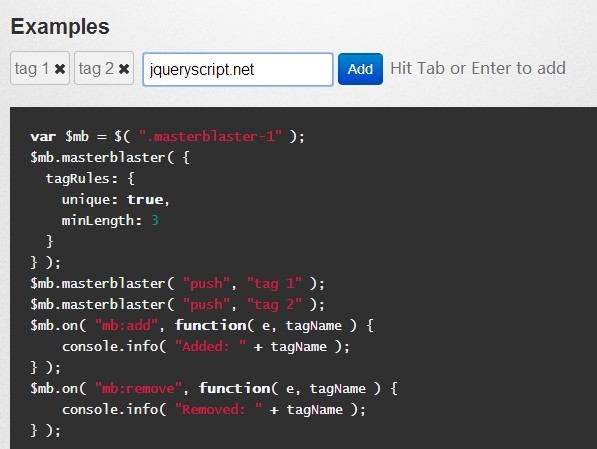
To programmatically create a tag, just call the addTag() method.
$('#my-input').addTag("[email protected]"); If you want to, you can also pass your own 'id' value.
$('#my-input').addTag({ id : anyInteger, text : "This gets put in the tag" }); That ID gets also attached to its tag, so you can read it later using jQuery's .data('id').
- Note
.addTag()works on interactive inputs too!
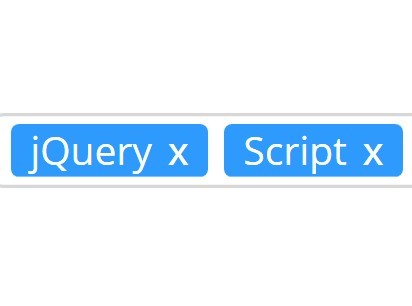
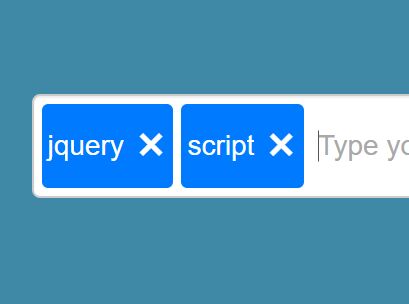
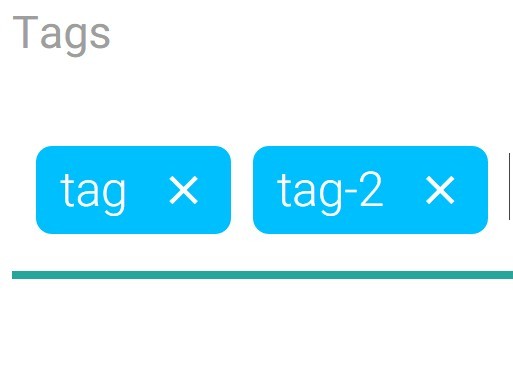
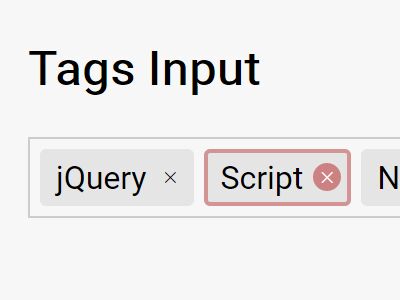
Removing tags
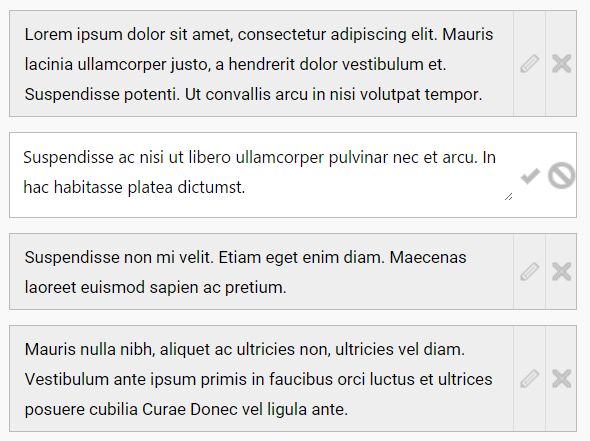
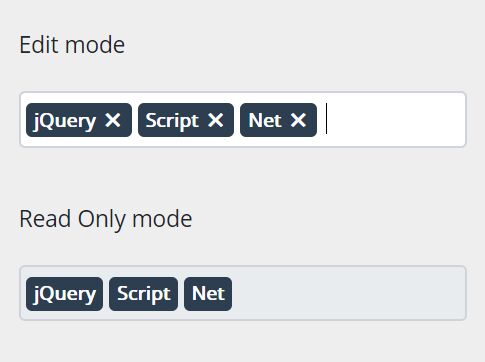
Tags are removable by clicking the 'x' inside a tag, or optionally by pressing backspace in interactive mode, which removes the last tag in the list.
Removing tags programmatically
To programmatically remove a tag, just call the removeTag() method.
$('#my-input').removeTag("[email protected]"); If your tags have ID's that you already know, you can pass that ID to remove that tag.
$('#my-input').removeTag({id: 1234}); Removing all tags in an input
You can clear every tag in an input, too. Just call this on your input:
$('#my-input).clearAllTags(); Destroying Tag-This
If you need to remove all tagging functionality and remove related elements, call:
$.tagThisDestroyAll(); Or, you can destroy just one field with:
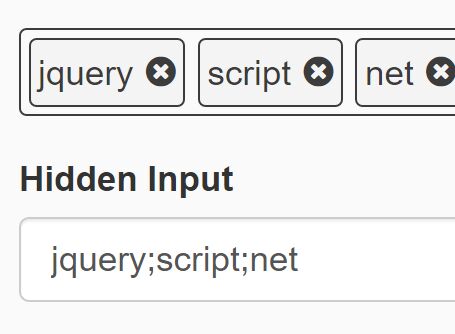
$('#my-input).destroy(); Accessing tags
You'll inevitably want to do something with those tags in the field once a user is finished entering them. In most cases, you'll probably want to send them to your server via an AJAX call. Luckily, Tag-This keeps an updated record of all of the tags in a given field via the 'tags' array!
The 'tags' array is an array of objects- each object contains the 'id' and 'text' of a tag.
To grab that array, just do this:
var tags = $('#my-input').data('tags'); You'll get an array that looks like this:
[ { id : 123, text : "John Doe" }, { id : 1234, text : "Jane Doe" }, { id : 12345, text : "Dan Doe" }, { id : 123456, text : "Danielle Doe" }, { id : 1234567, text : "Mike Doe" }, { id : 12345678, text : "Leah Doe" } ] Options
jQuery.tagThis has many options you can set.
Below you can see what they are and what the default is.
option : example value
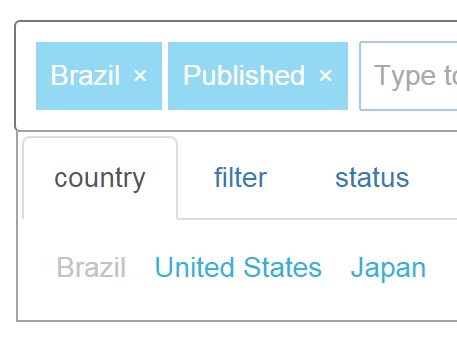
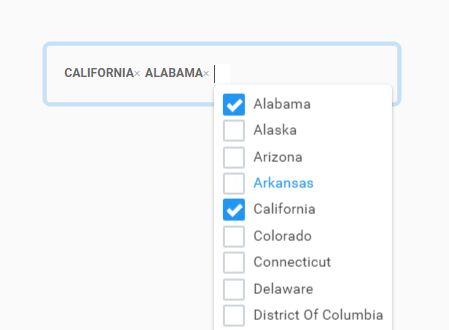
autocompleteSource : someListOrUrl
url or variable - the source for jQuery UI's autocomplete functionality More Autocomplete Info
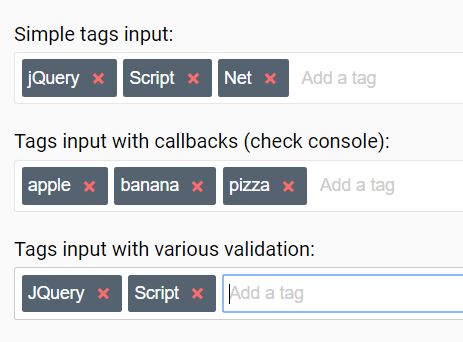
interactive : true
boolean - Allow the user to type to create tags. Default is true
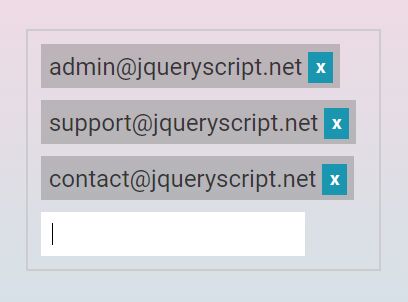
email : true
boolean - Validate tags as email addresses (and disallow invalid email addresses). Default is false
regex : /^#[0-9a-f]{3,6}$/i
pattern - Validate tags against a custom regex pattern. Default is '' (empty string). (fun fact- use the above regex to validate hex colors!)
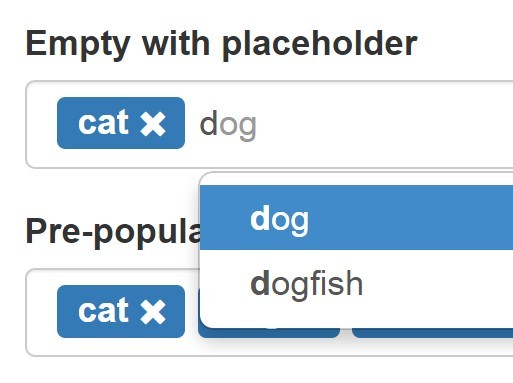
defaultText : 'enter some text'
string - The placeholder text that will show up in an interactive text input box. Default is 'enter a tag'
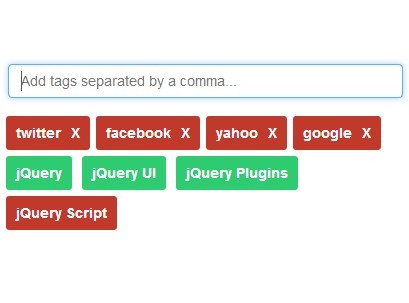
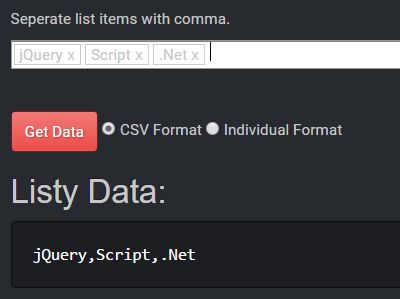
createTagWith : ','
string - An extra delimiter that you can use to trigger the creation of a tag. Default is ','
noDuplicates : 'false'
boolean - Prevent duplicate tags from being entered. Default is false
removeWithBackspace : 'true'
boolean - Remove the last tag in an interactive input with the backspace key. Default is true
maxChars : '0'
string/integer - Only create a tag if the number of characters entered in an interactive input is less than or equal to this number. Default is 0, which will allow any number of characters.
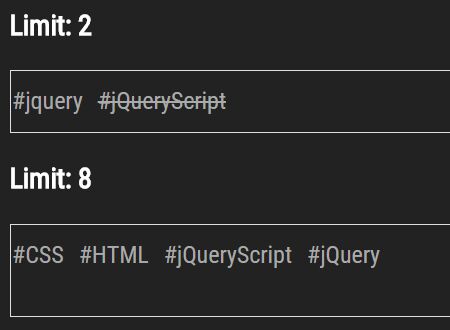
maxTags : '0'
string/integer - Only create a tag if the number of tags in a given Tag-This field is less than or equal to this number. Default is 0, which will allow any number of tags.
width : '320px'
string - The width of the container the tags go into. Default is '320px'
height : '100px'
string - The width of the container the tags go into. Default is '100px'
hideOriginal : true
boolean - Hide the element you called tagThis() on (since tagThis creates its own) Default is true
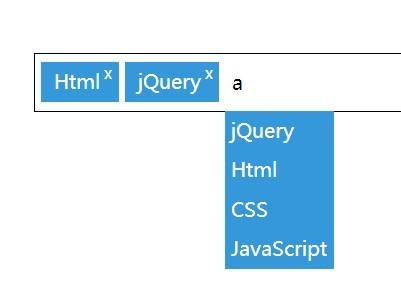
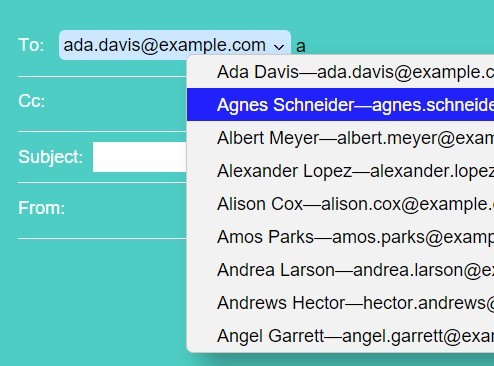
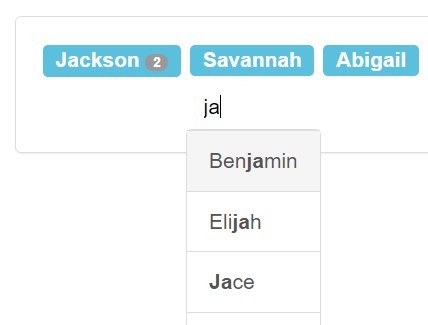
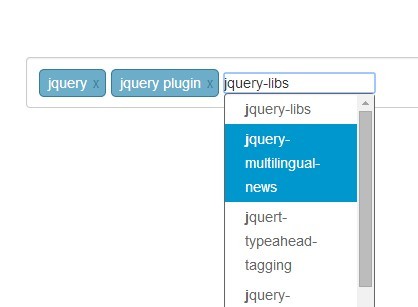
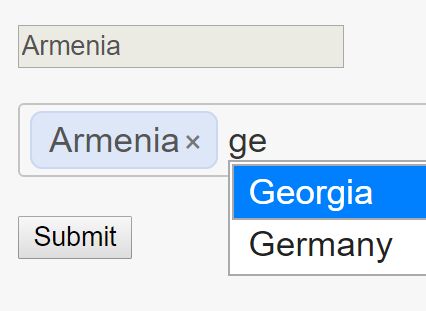
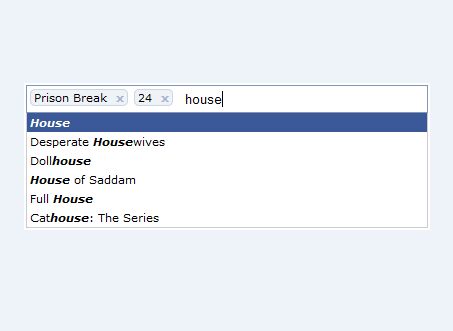
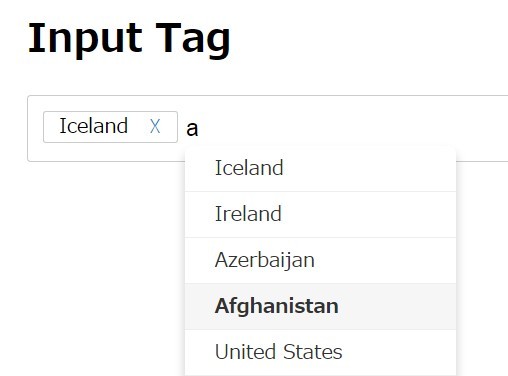
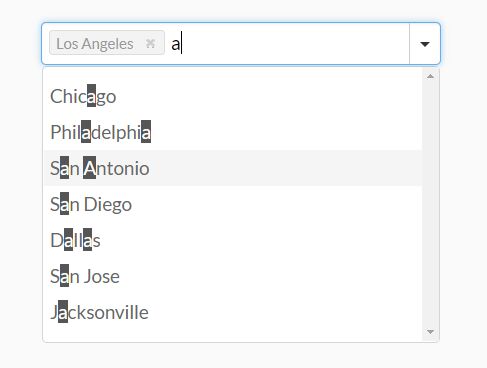
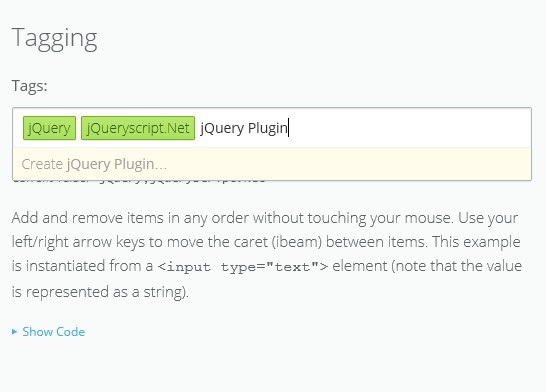
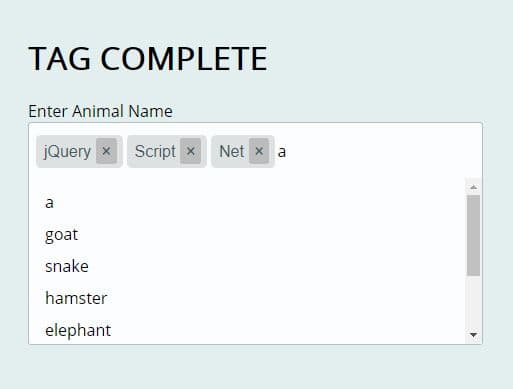
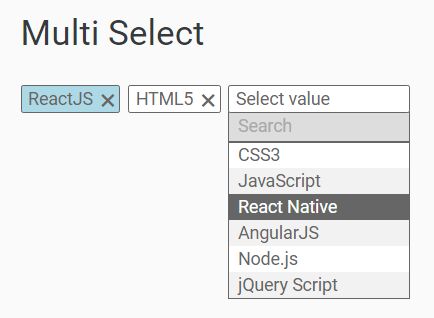
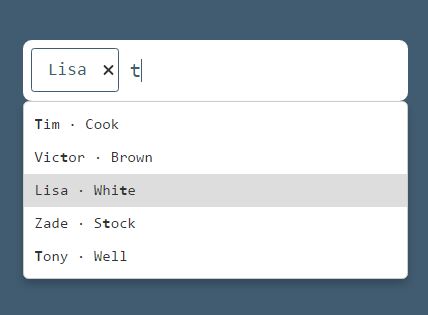
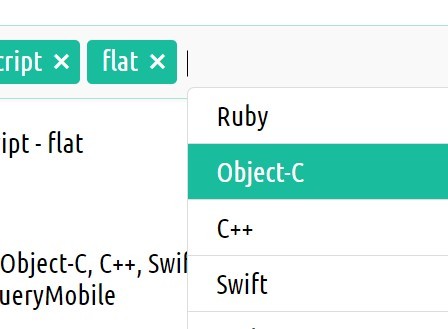
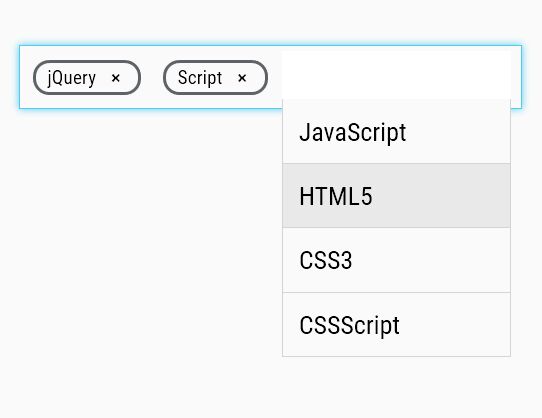
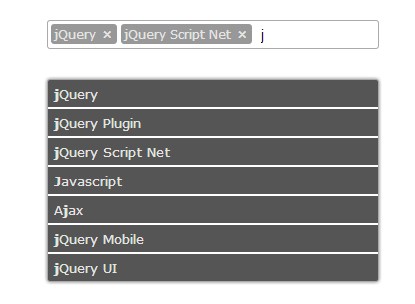
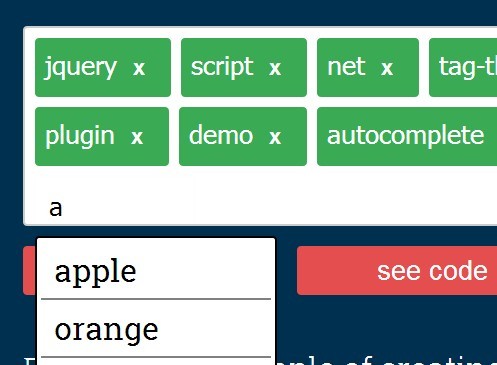
Autocomplete
Tag-This can utilize jQuery UI's Autocomplete functionality. You can implement it quite easily. You'll just need to provide CSS styling for the list.
To get autocomplete working, simply set the autocompleteSource option, and you're good to go. For example:
$('#fruit-input').tagThis({ autocompleteSource : fruitList }); See the demo page for a live example!
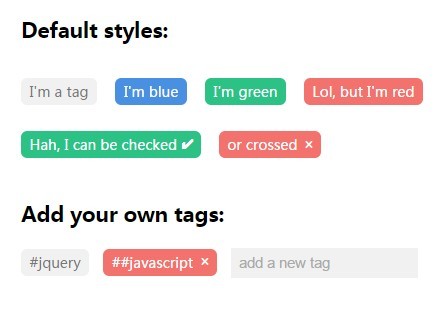
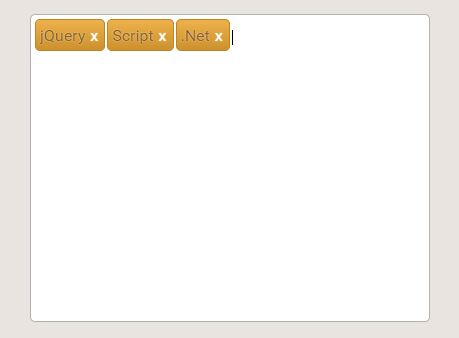
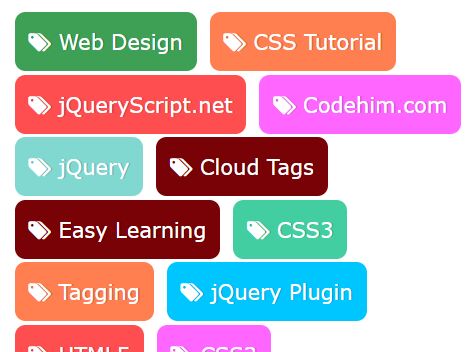
Styling
Tag-This won't do much CSS work for you, aside from the provided width and height options that set the dimensions of the container. I've included some default styles in tagthis.css, located in the plugin folder- tweak those styles as you need them.
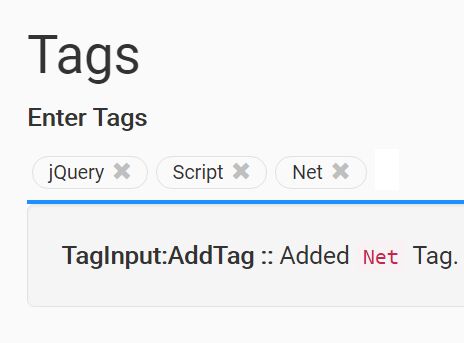
Callbacks
Tag-This will accept callbacks for certain events, as seen below, where functionName is the name of your callback function:
callbacks: { beforeAddTag : functionName, afterAddTag : functionName, beforeRemoveTag : functionName, afterRemoveTag : functionName, onChange : functionName, errors : functionName } beforeAddTag will be called before the creation of a tag, regardless of whether it's valid or not.
afterAddTag is called after the successful creation of a tag.
beforeRemoveTag is called before a tag is going to be removed.
afterRemoveTag is called after the successful removal of a tag.
onChange will be called after a tag is either added or removed
errors is a function that will be called when an error occurs. Usually this is when an attempt to add a tag is made and determined to be invalid. See below for a full list.
Note: These are all optional. If they're not specified, no callbacks will happen, and in the case of interactive mode, errors fail with default method of the tag-this--invalid class being applied to the input.
Errors that Tag-This can tell you about:
Tag-This can alert you through the errors callback (that you can specify) when certain things happen. It can tell you about things like:
- When an entered tag is a duplicate of another tag
- When a user tried to type an invalid email
- When a user tried to create a tag with a character count greater than the maxChars setting
- When a user tried to create a tag which would make the total number of tags greater than the maxTags setting
When one more errors happens, your callback is called with all the data about the error you need to know, as well as information about which input the error happened in, the tag that was attempted to be added, and the existing tags and settings objects on the input.
You'll get an object passed to your callback that looks like this:
id: "my-input", attemptedToTag: "lorem ipsum", errors: { emailIsInvalid: false, failedCustomRegex: false, isDuplicate: false, maxTagsReached: false, maxCharsReached: false }, settings: {...} tags : {...}