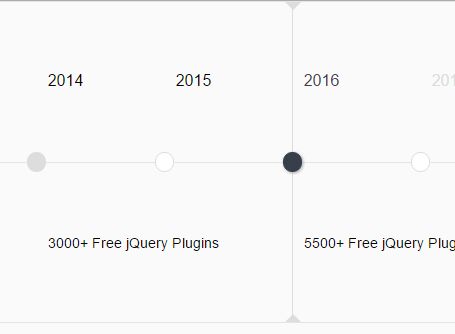
Timeliny
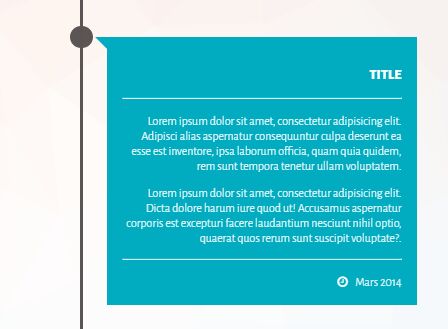
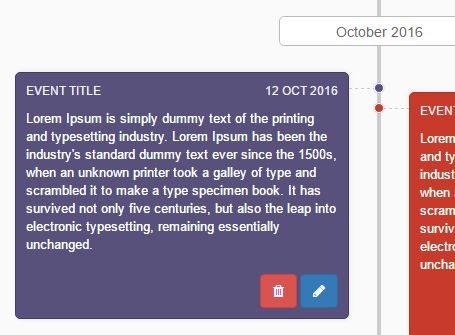
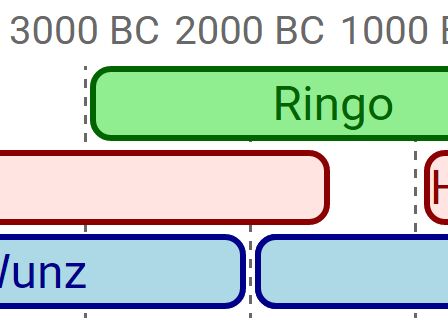
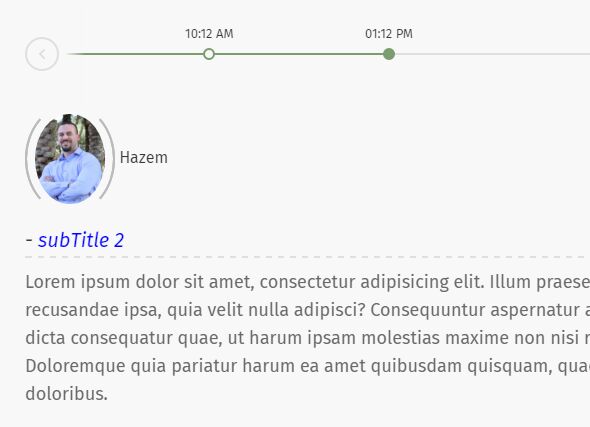
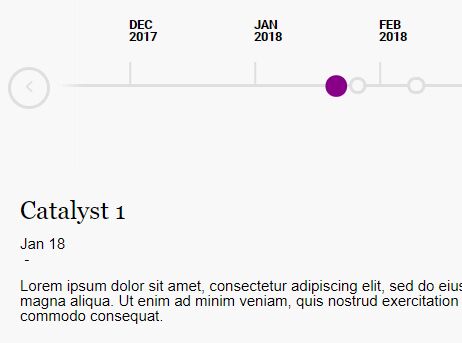
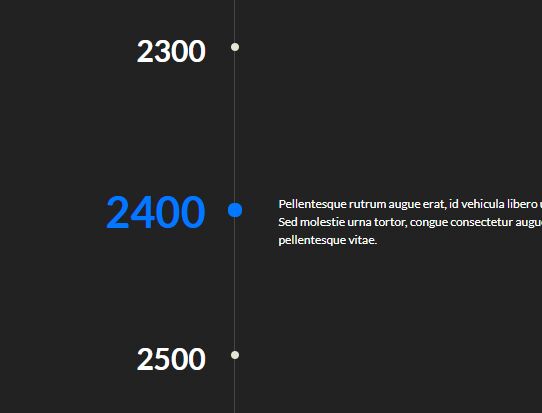
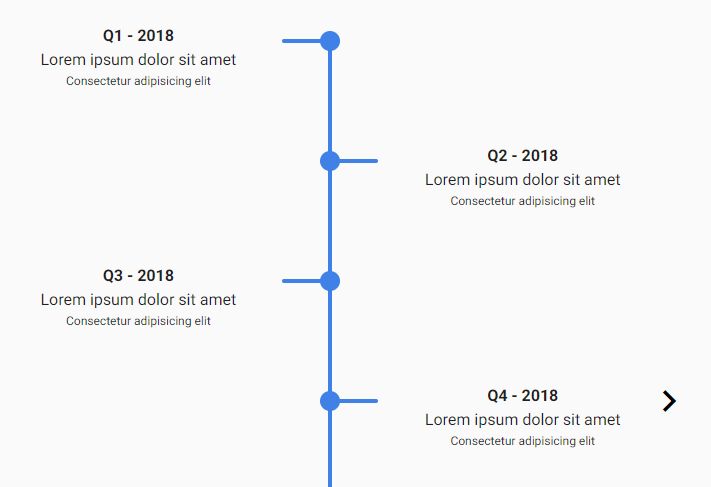
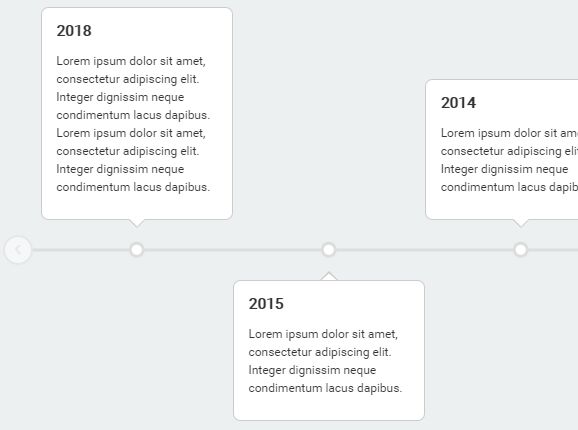
Timeliny is a responsive jQuery plugin for creating year-based interactive timelines.
What you are looking for is in the /dist/ folder.
Demo
Dependencies
It expects jQuery 2.x to work: https://github.com/jquery/jquery
Compatibility
Recent browsers such as : IE 10+, Opera, Safari, Firefox & Chrome.
Installation
jsDelivr CDN:
<!-- Before closing your <head> tag --> <link rel="stylesheet" href="https://cdn.jsdelivr.net/npm/[email protected]/dist/jquery.timeliny.min.css" /> <!-- Before closing your <body> tag --> <script src="https://cdn.jsdelivr.net/npm/[email protected]/dist/jquery.timeliny.min.js"></script>Using NPM:
$ npm install jquery.timelinyIncluding files:
The following example includes files located into the dist folder. Using the minified files is recommended.
<!-- Before closing your <head> tag --> <link rel="stylesheet" href="jquery.timeliny.min.css" /> <!-- Before closing your <body> tag --> <script src="jquery.timeliny.min.js"></script>Usage
Create the basic html structure required. Don't forget data-year and to set an active element:
<div id="example1"> <div data-year="2014" class="active">Short text here</div> <div data-year="2011">Short text here</div> <div data-year="2010">Short text here</div> </div>Then, all you need to do is call the plugin inside a $(document).ready function:
$(function() { $('#example1').timeliny(); });A more complex initialization with all options set could look like this:
$(function() { $('#example1').timeliny({ order: 'asc', className: 'timeliny', wrapper: '<div class="timeliny-wrapper"></div>', boundaries: 2, animationSpeed: 250, hideBlankYears: false, onInit: function() {}, onDestroy: function() {}, afterLoad: function(currYear) {}, onLeave: function(currYear, nextYear) {}, afterChange: function(currYear) {}, afterResize: function() {} }); });Documentation
Options
| Name | Default | Description |
|---|---|---|
| order | asc | Specifies that the results should be returned in ascending order. For returning the results in a descending order, set the option to desc. |
| className | timeliny | Specifies the CSS class name to use for the instanciated element. If you change this option, you will also need to change the default class name in the Css. |
| wrapper | <div class="timeliny-wrapper"></div> | Specifies the structure of the main wrapper element. Useful if you use a grid system. Example with Foundation grid: <div class="row"><div class="small-12 columns"></div></div>. |
| boundaries | 2 | Specifies the amount of 'ghost' dots/years to add on both sides of your timeline. For example, if your timeline contain years from 2002 to 2005 and boundaries is set to 2, timeliny will transform your timeline from 2000 to 2007. |
| animationSpeed | 250 | Specifies the animation speed for transition from one date to another one. |
| hideBlankYears | false | If set to true, it will only show years that have a data-year attribute. |
Callbacks
onInit ()
Callback fired once, during the plugin initialization.
onInit: function() { // Your code here. },afterLoad (currYear)
Callback fired once, after the plugin has been fully loaded. Parameters:
- currYear: Current active year.
afterLoad: function(currYear) { // Your code here. },onLeave (currYear, nextYear)
Callback fired before the user leaves a particular time to go to another. Parameters:
- currYear: Current active year.
- nextYear: Year of the destination.
onLeave: function(currYear, nextYear) { // Your code here. },afterChange (currYear)
Callback fired after the user changed from a particular time to another. Parameters:
- currYear: New current active year.
afterChange: function(currYear) { // Your code here. },afterResize ()
Callback fired when the user resize its browser.
afterResize: function() { // Your code here. },onDestroy ()
Callback fired once, during the plugin destruction.
onDestroy: function() { // Your code here. },Methods
goToYear (year)
Change the current active year to the year given as first parameter.
$('#example1').timeliny('goToYear', '2010');destroy ()
Destroy the plugin instance and remove the element from the DOM.
$('#example1').timeliny('destroy');Sass Settings
If you want to use Sass, simply import the file from src/jquery.timeliny.scss in your project. You can quickly customize the plugin by editing the settings at the top of the file.
$timeliny_classname: 'timeliny'; $timeliny_base-color: #ddd; $timeliny_active-color: #37404A; $timeliny_text-color: #000; $timeliny_dots-radius: 0.6rem; $timeliny_global-width: 100%; $timeliny_global-margin: 0 auto 4rem; $timeliny_max-inner-width: 1024px; $timeliny_font: normal normal 400 1rem/1 Arial, sans-serif; $timeliny_spacings: 5rem; $timeliny_transition-time: 0.35s; $timeliny_vertical-line-pos: 32%; $timeliny_small-breakdown: 768px;Contributing
Feel free to contribute by forking then making a pull request.
Edit files in the /src/ folder, run gulp to copy/minify into the /dist/ folder and to watch for changes.
License
Code released under the MIT license.
Copyright (c) 2017 Sylvain Simao