jQuery Elevator
Version 1.0.6
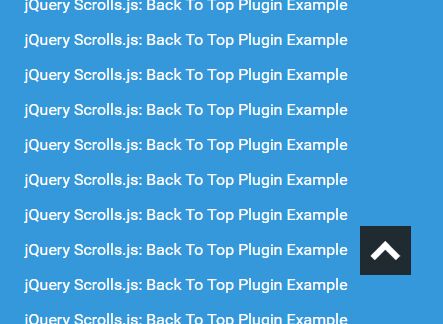
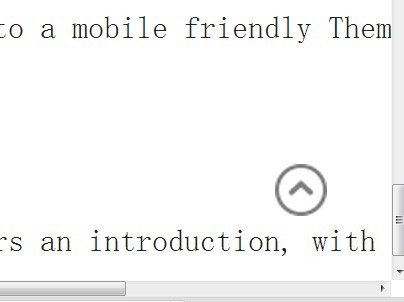
An enhanced "back to top" and more, plugin for jQuery. With support for: top, bottom, sections, callbacks, smooth movement, mobile touch and fully customizable.
Basic usage
Begin by call the elevator core:
$(document).ready(function(){ $.elevator(); });Defining position
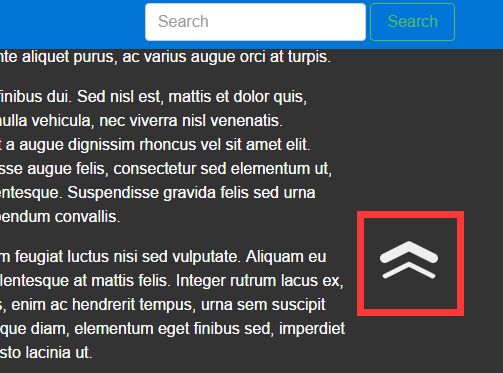
You can customize where the elevator buttons panel should appear by using align argument:
$(document).ready(function(){ $.elevator({ align: 'bottom right' // default }); });Defining shape
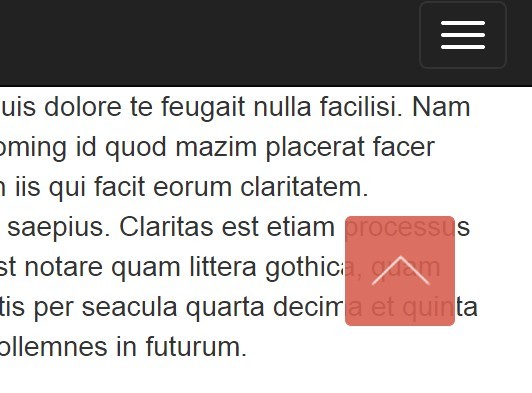
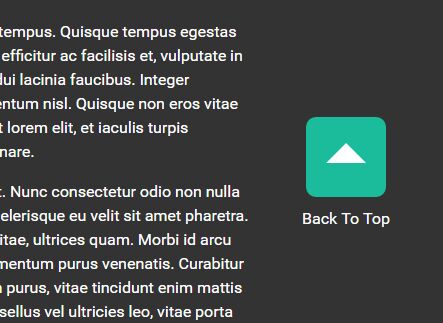
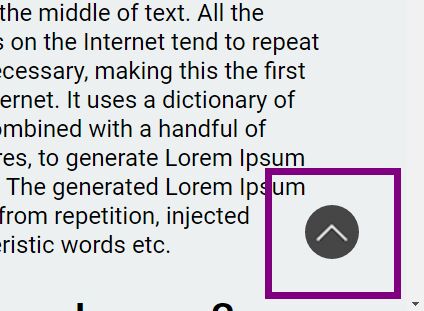
You can customize how the elevator buttons panel should look by using shape argument:
$(document).ready(function(){ $.elevator({ shape: 'circle' // default }); });Defining speed
You can customize when the elevator should arrive by using speed argument:
$(document).ready(function(){ $.elevator({ speed: '1000' // default }); });Those arguments: align, shape and speed are totally optional and their default values are: bottom right, circle and 1000 respectively.
Basic options
$(document).ready(function(){ $.elevator({ align: 'top left' // (string) Align to Top and Left of the page align: 'top right' // (string) Align to Top and Right of the page align: 'bottom left' // (string) Align to Bottom and Left of the page align: 'bottom right' // (string) Align to Bottom and Right of the page shape: 'circle' // (string) Circle shape for elevator buttons panel shape: 'rounded' // (string) Rounded shape for elevator buttons panel shape: 'square' // (string) Square shape for elevator buttons panel speed: 1000 // (integer) Speed of animation in milliseconds ( 1s ) }); });Custom options
jQuery Elevator allow custom arguments to activate or set some functionalities on elevator element
Defining transparency
You can activate the transparency of elevator should using glass argument:
$(document).ready(function(){ $.elevator({ glass: true // default (false) }); });Defining auto-hide elements
You can activate the auto-hide functionality for elements of elevator should using auto_hide argument:
$(document).ready(function(){ $.elevator({ auto_hide: true // default (false) }); });Defining new TOP and BOTTOM using elements
You can define an element of DOM which act as top or bottom for elevator using the arguments ìtem_top and ìtem_bottom, setting a jQuery Object for this purpose:
$(document).ready(function(){ $.elevator({ item_top: $('#element-as-top') item_bottom: $('#element-as-bottom') }); });Show or Hide the TOP and BOTTOM buttons
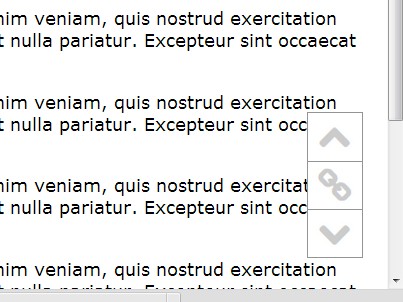
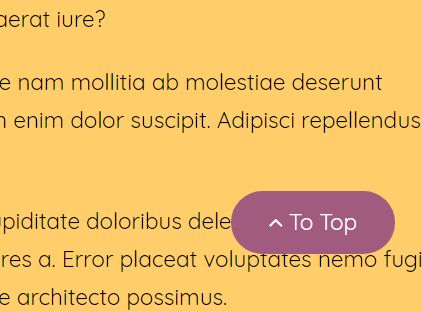
You can show or hide the TOP and BOTTOM buttons at elevator buttons panel, using the arguments show_top and show_bottom. Those buttons are default enabled:
$(document).ready(function(){ $.elevator({ show_top: true // default show_bottom: true // default }); });Defining a margin zone on TOP and BOTTOM
You can extended the TOP or BOTTOM zone with an extra margin, using the argument margin. While you are moving inside or outside the zone the elevator objects modify its appearance to make more intuitive.
$(document).ready(function(){ $.elevator({ margin: 100 // (integer) default - extra margin in pixels }); });Defining the sections list
You can use a jQuery Object or an array of jQuery Objects to define a section list which the elevator will turn into buttons panel using the argument navigation:
$(document).ready(function(){ $.elevator({ navigation: $('h2') // (object) section list based on H2 elements navigation: [ // (array) section list based on different elements $('h1'), $('h2.section_1'), $('h2.section_2'), $('h3') ] }); });Those new section buttons can show a title if you define a data-title attribute in the right HTML element corresponding to the jQuery Object:
<html> <body> <h1 data-title="Important Stuff">Lorem ipsum dolor sit amet<h1> </body> </html>Activating text on section buttons
You can also show as content on section buttons at elevator buttons panel, the text defined in the HTML attribute data-title setting to true the attribute navigation_text:
$(document).ready(function(){ $.elevator({ navigation_text: true // default: false }); });Activating tooltips on buttons
You can also show tooltips at elevator buttons panel, setting to true the attribute tooltips:
$(document).ready(function(){ $.elevator({ tooltips: true // default: false }); });Callbacks
You can also use your own functions and code based on what happened while elevator is working using the callback functions provided:
$(document).ready(function(){ $.elevator({ onBeforeMove: function(){} // Execute Order: 0 onBeforeGoTop: function(){} // Execute Order: 1 onAfterGoTop: function(){} // Execute Order: 2 onBeforeGoBottom: function(){} // Execute Order: 1 onAfterGoBottom: function(){} // Execute Order: 2 onBeforeGoSection: function(){} // Execute Order: 1 onAfterGoSection: function(){} // Execute Order: 2 onAfterMove: function(){} // Execute Order: 3 }); });Options Summary
This is the full options list able for jQuery-elevator:
$(document).ready(function(){ $.elevator({ align: 'bottom right', // options: (string) 'top left' | 'top right' // 'bottom left' | 'bottom right' shape: 'circle', // options: (string) 'circle' (default) | 'rounded' | 'square' speed: 1000, // options: (integer) 1000 (default | milliseconds) speed: 1000, // options: (integer) 1000 (default | milliseconds) glass: false // options: (boolean) true | false (default) auto_hide: false // options: (boolean) true | false (default) item_top: $('#item-as-top'), // options: (object) null (default) item_bottom: $('#item-as-bottom'), // options: (object) null (default) show_top: true, // options: (boolean) true (default) | false show_bottom: true, // options: (boolean) true (default) | false margin: 100, // options: (integer) 100 (default) navigation: $('h2'), // options: (object) | array[(object)] navigation_text: false, // options: (boolean) true | false (default) tooltips: false // options: (boolean) true | false (default) onBeforeMove: function(){}, // Execute Order: 0 onBeforeGoTop: function(){}, // Execute Order: 1 onAfterGoTop: function(){}, // Execute Order: 2 onBeforeGoBottom: function(){}, // Execute Order: 1 onAfterGoBottom: function(){}, // Execute Order: 2 onBeforeGoSection: function(){}, // Execute Order: 1 onAfterGoSection: function(){}, // Execute Order: 2 onAfterMove: function(){} // Execute Order: 3 }); });<html> <body> <h2 data-title="Title for Section">Lorem ipsum dolor sit amet<h2> </body> </html>Controls
You can use the external functions to control and manage some aspects from the elevator element, setting the elevator to a object variable:
$(document).ready(function(){ $.elevator({ var elevator = $.elevator(); elevator.reset_align(string); elevator.reset_shape(string); elevator.reset_speed(integer); elevator.reset_glass(boolean); elevator.auto_hide(boolean); elevator.move_to( string | integer ); // move_to :: string: top | bottom // move_to :: integer: section number ( should be higher than 0 ) }); });$(document).ready(function(){ $.elevator({ var elevator = $.elevator(); var elevator_settings = elevator.get_settings(); // get_settings :: return an asociative array elevator.destroy(); }); });Auto-Move
You can use the html data-elevator tag to create an standalone element which interacts with the elevator item:
<html> <body> <!-- Elevator :: Auto-Move to Top --> <a href="#" data-elevator="top">Lorem ipsum dolor sit amet</a> <!-- Elevator :: Auto-Move to section number --> <a href="#" data-elevator="1">Lorem ipsum dolor sit amet</a> <a href="#" data-elevator="2">Lorem ipsum dolor sit amet</a> <a href="#" data-elevator="3">Lorem ipsum dolor sit amet</a> <!-- Elevator :: Auto-Move to Bottom --> <a href="#" data-elevator="bottom">Lorem ipsum dolor sit amet</a> </body> </html>Contributors
- Salvador Saldaña
- Pablo Rosales