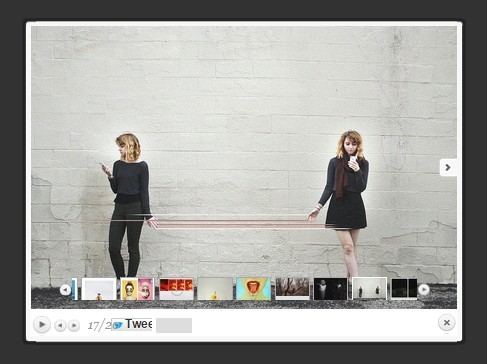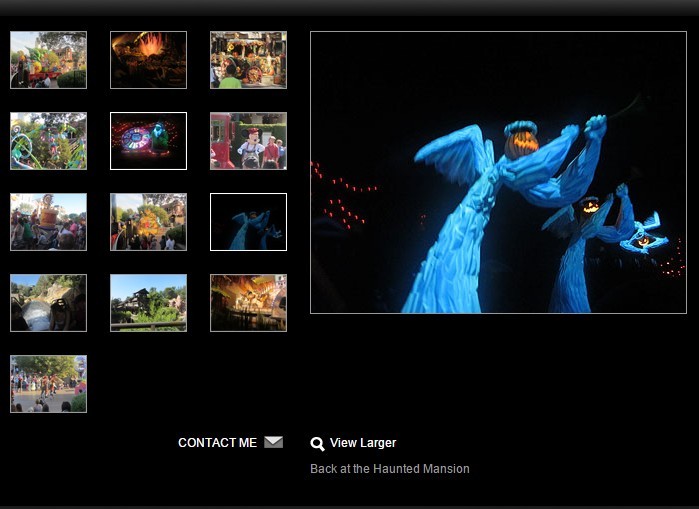
#Flipping Gallery by Pete R. Create a simple but beautiful 3D flipping gallery with on JS call Created by Pete R., Founder of BucketListly

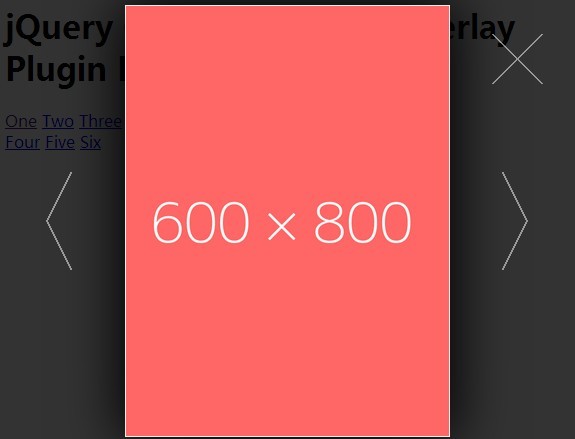
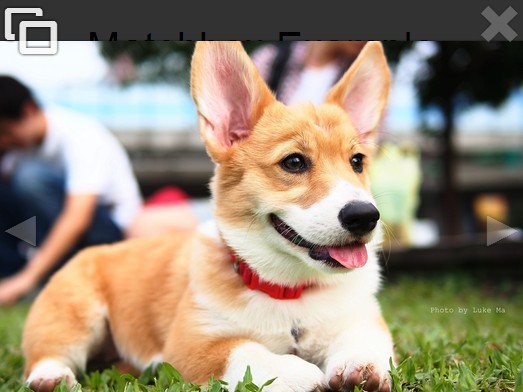
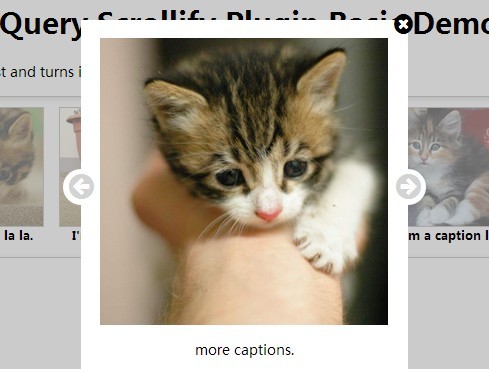
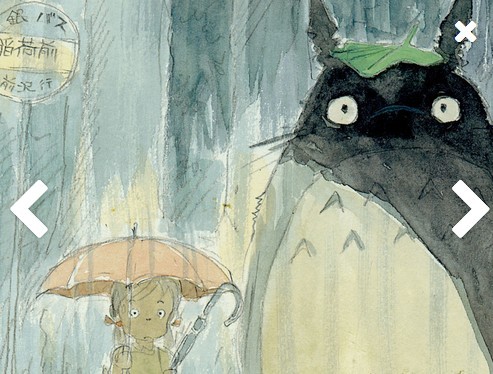
Demo
Compatibility
Modern browsers such as Chrome, Firefox, and Safari on both desktop and smartphones have been tested. I have not tested this on IE.
Basic Usage
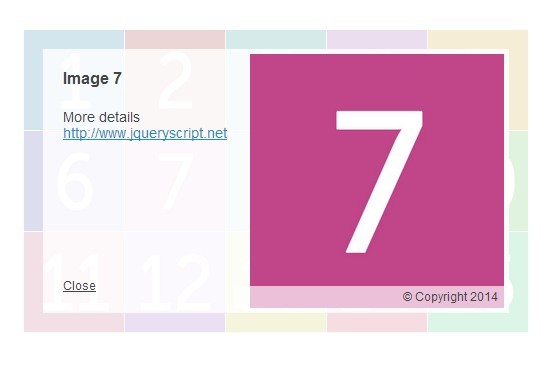
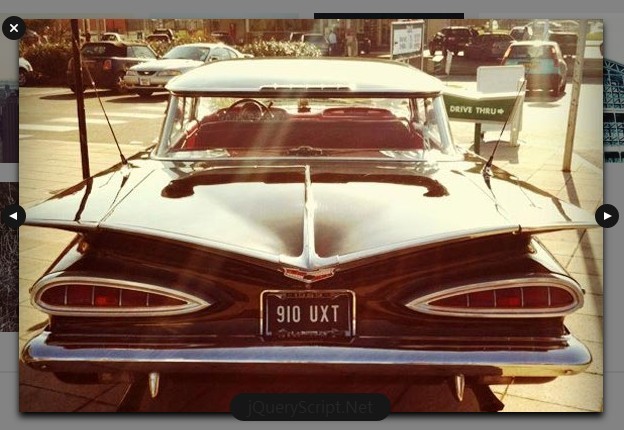
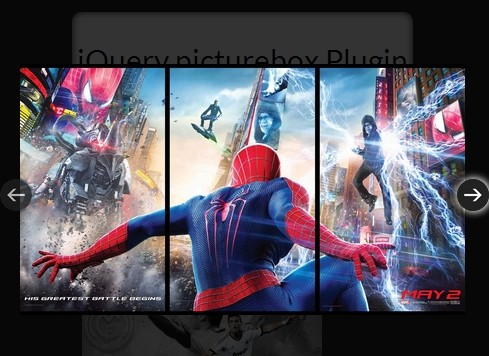
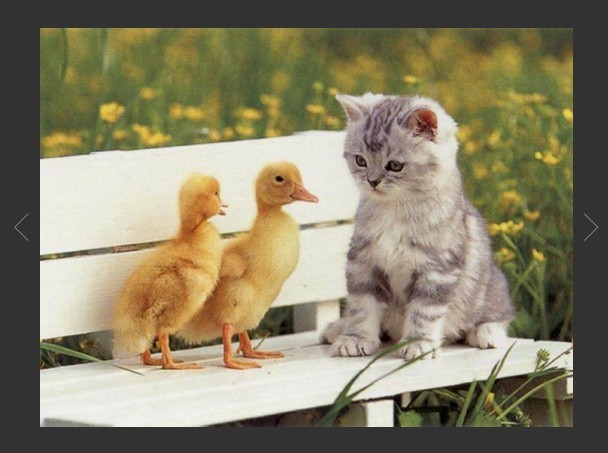
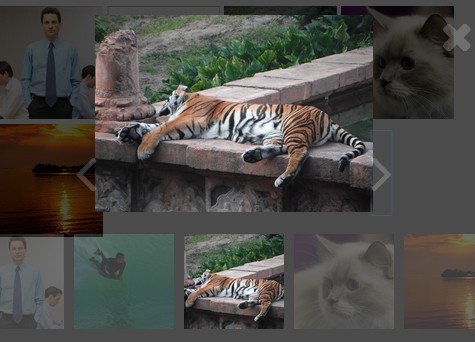
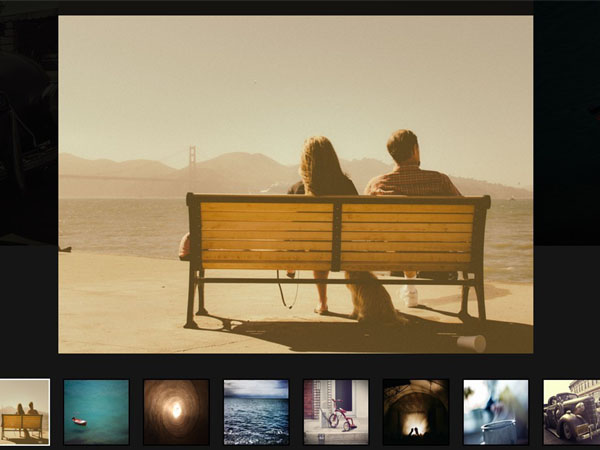
Flipping Gallery let you create a simple but beautiful 3D flipping gallery using minimal HTML markups and one JS call.
To add this to your website, make sure you've included the latest jQuery library together with jquery.flipping_gallery.js and flipping_gallery.css into your document's <head>, and make sure your HTML markup are as follows:
<body> .. <div class="gallery"> <a href="#"><img src="..."></a> <a href="#"><img src="..."></a> <a href="#"><img src="..."></a> <a href="#"><img src="..."></a> <a href="#"><img src="..."></a> ... </ul> .. </body>And call the JS like this:
$(".gallery").flipping_gallery({ direction: "forward", // This is will set the flipping direction when the gallery is clicked. Options available are "forward", or "backward". The default value is forward. selector: "> a", // This will let you change the default selector which by default, will look for <a> tag and generate the gallery from it. This option accepts normal CSS selectors. spacing: 10, // You can set the spacing between each photo in the gallery here. The number represents the pixels between each photos. The default value is 10. showMaximum: 15, // This will let you limit the number of photos that will be in the viewport. In case you have a gazillion photos, this is perfect to hide all those photos and limit only a few in the viewport. enableScroll: true, // Set this to false if you don't want the plugin to override your scrolling behavior. The default value is true. flipDirection: "bottom", // You can now set which direction the picture will flip to. Available options are "left", "right", "top", and "bottom". The default value is bottom. autoplay: false // You can set the gallery to autoplay by defining the interval here. This option accepts value in milliseconds. The default value is false. });Adding Caption
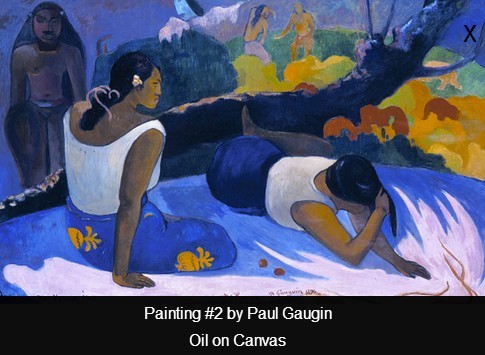
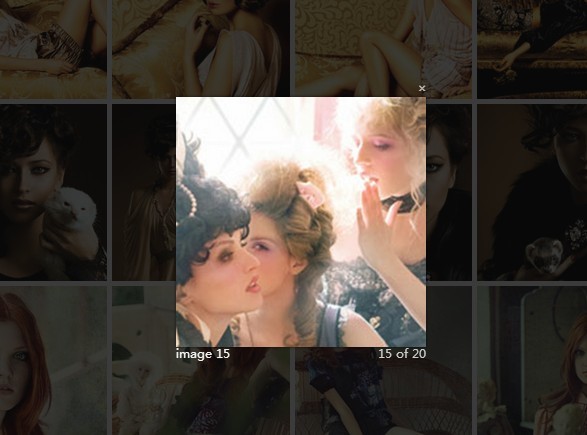
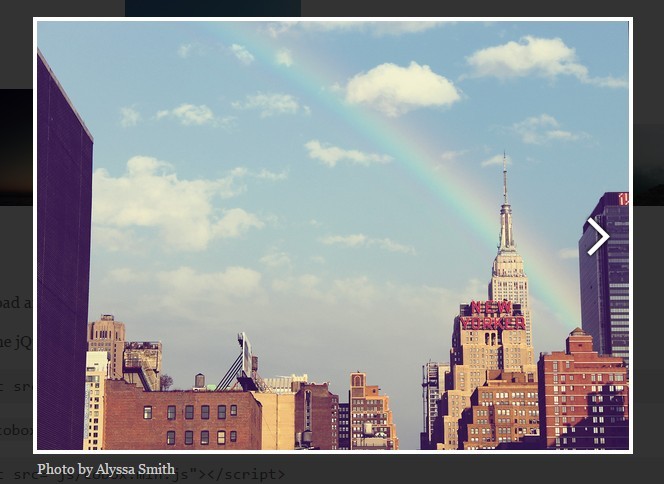
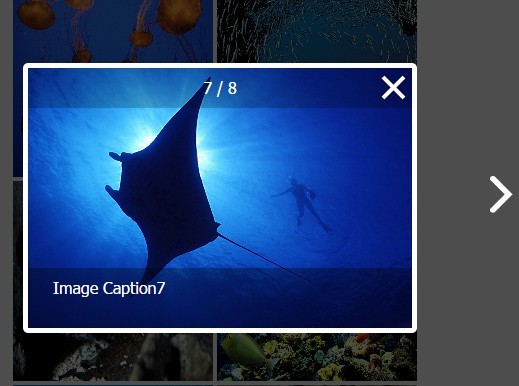
To add captions, all you have to do is add a data-caption attribute to your markup like this:
<body> .. <div class="gallery"> <a href="#"><img data-caption="..." src="..."></a> <a href="#"><img data-caption="..." src="..."></a> <a href="#"><img data-caption="..." src="..."></a> <a href="#"><img data-caption="..." src="..."></a> <a href="#"><img data-caption="..." src="..."></a> ... </ul> .. </body>Once that is done, call the function normally and your caption will appear below the image as you scroll through the gallery.
Public Method
$.fn.flipForward()
You can manually trigger the gallery to flip forward to the next photo by calling the method like this:
$(".gallery").flipForward();$.fn.flipBackward()
You can manually trigger the gallery to flip backward to the next photo by calling the method like this:
$(".gallery").flipBackward();Now your website will be equipped with a flipping awesome gallery unlike others. Stay tuned for more updates.
If you want to see more of my plugins, visit The Pete Design, or follow me on Twitter and Github.