#photoWall.js
A lightweight Google-esque jQuery plugin for displaying photos
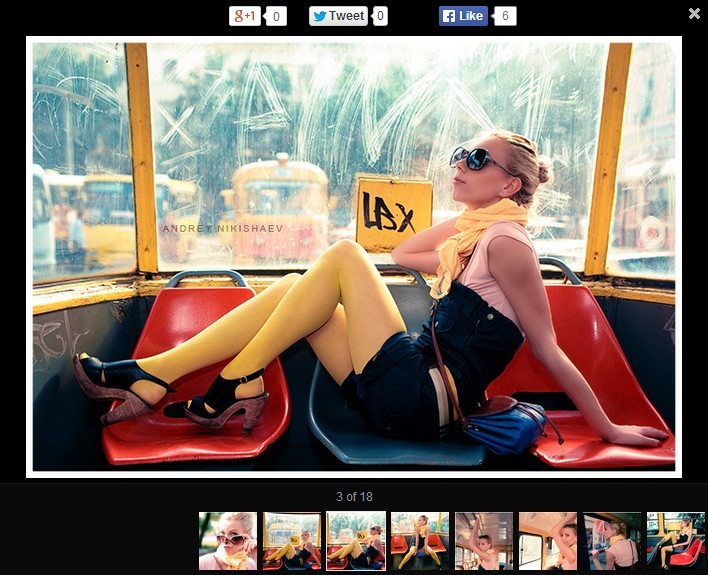
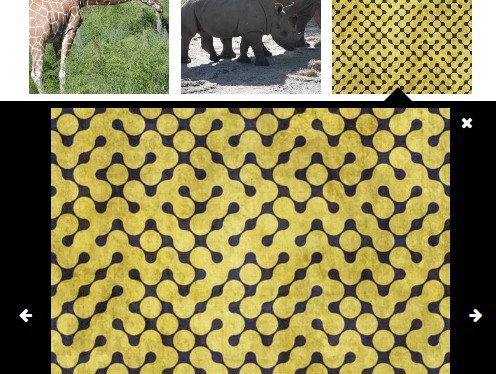
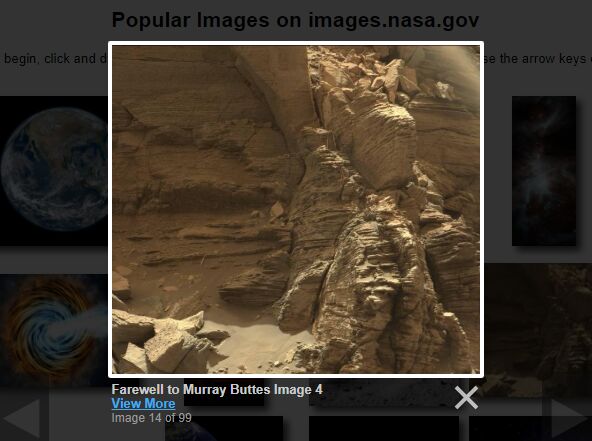
Current version: 2.0.0 - (Demo)
##Changes
- Version 2.0.0 - Complete rewrite of the entire code to get inline with best practice and to fix a few bugs.
- Version 1.0.0 - First major version - Complete restructure of the code; more efficient initialisations, no need for the user to use specific class names, ability to have multiple PhotoWalls on a page and now fully responsive.
- Version 0.1.0 - Creation point.
##Basic Usage
- Upload the PhotoWall folder to your server and link the required files into your page (usually in the head section). For best results use the minified version of the javascript as it is faster for browsers to load.
<!-- basic stylesheet --> <link rel="stylesheet" href="photowall/jquery.photoWall.css"> <!-- Plugin requires jQuery 1.9+ --> <!-- Ensure jQuery appears only once on your page for performance. --> <script src="photowall/jquery-1.11.3.min.js"></script> <!-- Main PhotoWall JS script file --> <!-- Use the minified version for better performance. --> <script src="photowall/jquery.photoWall.min.js"></script>- Add the photo wall HTML code to the body section. Please use the recommended setup below; using the same tag types. Otherwise the plugin will break, without any manual code adjustments.
<div class="photowall"> <div> <img src="images/image-filename.jpg" /> <div> <!-- Any HTML content can go in here. --> <!-- Be inventive. Be cool. --> </div> </div> <!-- ... add more children in here - it's awefully lonely ... --> </div>- Initialize the wall (usually at the end of the body section). For optional settings, callbacks and calls to the PhotoWall API check out the advanced sections below.
<script> jQuery(document).ready(function($) { jQuery(".photowall").photoWall(); }); </script>So there you have it, all in three easy steps. You may want to edit the supplied stylesheet to get the wall to display as desired on your site, it has been designed to be a fixed width (in the same way that it's inspiration is at a fixed width). This is first and foremost a photo display plugin for the average screen size, it is not intended to be responsive (yet!).
##Options
If you want to customise your experience you can change some of the default options. Where possible the defaults are set to the jQuery defaults. Since this is a new plugin there aren't many (just the one actually) but if you want a feature added just let me know...or write the code and share it with me ;)
###speed Default: 500
The speed of all animations within the plugin. For example, the speed of the image previewer while it shows and hides.
$( ".photowall" ).photoWall({ speed: 500 });##Events
In order to extend the functionality of the photo wall's API you can use the following callback functions.
###beforeInit()
Triggered when the photo wall construct is called.
####Code examples:
Initialize the photo wall with the beforeInit callback specified:
$( ".photowall" ).photoWall({ beforeInit: function(){} });###afterInit()
Triggered after the photo wall construct is called.
####Code examples:
Initialize the photo wall with the afterInit callback specified:
$( ".photowall" ).photoWall({ afterInit: function(){} });###beforeNextPrev()
Triggered before either next/previous photo slide is displayed.
####Code examples:
Initialize the photo wall with the beforeNextPrev callback specified:
$( ".photowall" ).photoWall({ beforeNextPrev: function(){} });###afterNextPrev()
Triggered after either next/previous photo slide is displayed.
####Code examples:
Initialize the photo wall with the afterNextPrev callback specified:
$( ".photowall" ).photoWall({ afterNextPrev: function(){} });###beforeNext()
Triggered before next photo slide is displayed.
####Code examples:
Initialize the photo wall with the beforeNext callback specified:
$( ".photowall" ).photoWall({ beforeNext: function(){} });###afterNext()
Triggered after next photo slide is displayed.
####Code examples:
Initialize the photo wall with the afterNext callback specified:
$( ".photowall" ).photoWall({ afterNext: function(){} });###beforePrev()
Triggered before previous photo slide is displayed.
####Code examples:
Initialize the photo wall with the beforePrev callback specified:
$( ".photowall" ).photoWall({ beforePrev: function(){} });###afterPrev()
Triggered after previous photo slide is displayed.
####Code examples:
Initialize the photo wall with the afterPrev callback specified:
$( ".photowall" ).photoWall({ afterPrev: function(){} });###beforeClose()
Triggered before the photo slide display is closed.
####Code examples:
Initialize the photo wall with the beforeClose callback specified:
$( ".photowall" ).photoWall({ beforeClose: function(){} });###afterClose()
Triggered after the photo slide display is closed.
####Code examples:
Initialize the photo wall with the afterClose callback specified:
$( ".photowall" ).photoWall({ afterClose: function(){} });###onDestroy()
Triggered when the photo wall is destroyed.
####Code examples:
Initialize the photo wall with the onDestroy callback specified:
$( ".photowall" ).photoWall({ onDestroy: function(){} });##API
Sometimes you may want to manually call the photo wall methods within your code. This can be useful for changing the options of the photo wall or for linking slides to other slides within the image display content.
###option(key, value)
Gets (returns the type of the respective option) or sets the photo wall options.
####Code examples:
Get the value of the speed option:
$(".photowall").photoWall().option("speed");Set the value of the speed option:
$(".photowall").photoWall().option("speed", 800);###select(value)
Displays the image display for the photo index given, as if the user had clicked on that image. The value is a 0 based index.
####Code examples:
Select the second image for display:
$(".photowall").photoWall().select(1);Select the second image for display after initializing the photo wall:
$(".photowall").photoWall({ afterInit: function() { $(".photowall").photoWall().select(1); } });###selectById()
If you have a large selection of photos in your wall you may want to link to one without having to work out it's index and use the above select function. For this reason there is a select by ID function, allowing you to reference the ID of the pw-slide element that you want to select.
####Code examples:
Set the image slide an ID of "test" for reference later:
<div id="test"> <img src="images/test.jpg" /> <div> <h1>Testing selectById</h1> <p> The ID of the pw-slide has been set to test. See how to use this for selection below. </p> </div> </div>Select the image slide with ID "test" for display:
$(".photowall").photoWall().selectById("test");###selectFirst()
Displays the image display for the first photo, as if the user had clicked on that image. The equivalent of $(".photowall").photoWall().select(0);.
####Code examples:
Select the first image for display:
$(".photowall").photoWall().selectFirst();###selectLast()
Displays the image display for the last photo, as if the user had clicked on that image. The equivalent of $(".photowall").photoWall().select($(this).children(":last").index());.
####Code examples:
Select the first image for display:
$(".photowall").photoWall().selectLast();###close()
Closes the image display. Is also attached to the ESC button press event.
####Code examples:
Close the image display:
$(".photowall").photoWall().close();###next()
Bring the next image into the image display. Is also attached to the left arrow button press event.
####Code examples:
Bring the next image into the image display:
$(".photowall").photoWall().next();###prev()
Bring the previous image into the image display. Is also attached to the right arrow button press event.
####Code examples:
Bring the previous image into the image display:
$(".photowall").photoWall().prev();###destroy()
Destroy the photo wall instance.
####Code examples:
Destroy the photo wall instance:
$(".photowall").photoWall().destroy();