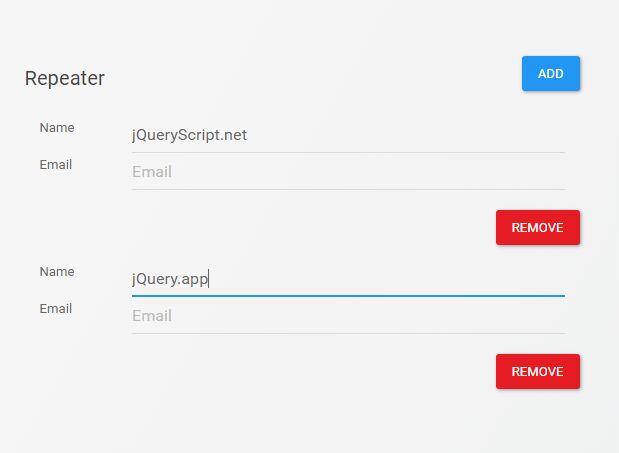
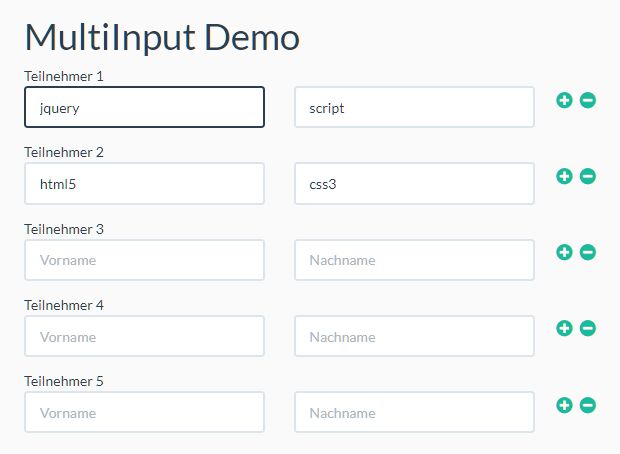
addField is a jQuery plugin that adds multiple fields in a form
Facing the problem of adding multiple fields dinamically in a form for those who have to enter multiple informations, I have created this plugin.
In this repo you can find 3 examples: the first one is the very simple solution that uses only jQuery; the second one is only to show how Mustache.js could help; the third one is the solution that uses the plugin I have developed with and without using Mustache.js.
See the examples in action
First example
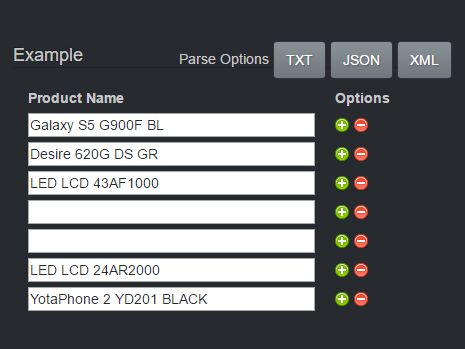
In the first example (this file addFields-using-only-jquery.html) I used only jQuery when the document is ready.
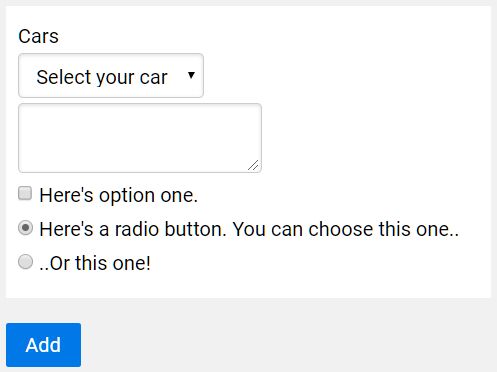
The event click is catched on the "Add field" link then a remove one is created that removes just this field (or this row of fields).
This is the very simple solution for those who do not want to spend too many time facing this problem (the js file that has to be imported is "addField.js").
Second example
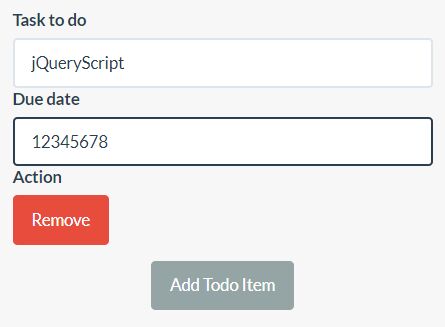
In the second example (file addFields-using-Mustache-lib.html), that imports js file "addField-Mustache.js") I just show how to use Mustache.js to solve the problem of adding multiple fields in a form dinamically.
Once you have modified the JS with your own classes, you won't have to touch it anymore. If something is changed on the layout, the only things to change will be in the template that is inside the HTML file.
Third example
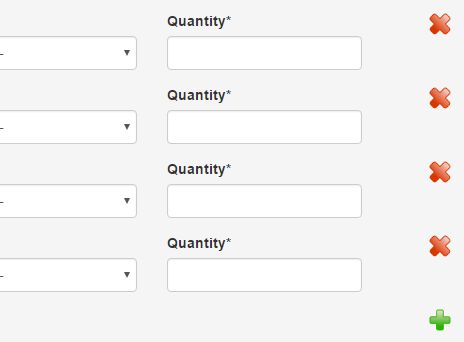
In the third example there is the plugin jquery.addField.js in action (addFields-using-plugin-jquery.addField-and-Mustache-lib.html).
To work with it, simply apply the plugin to the form where there is the multiple fields and create a container for the "Add field" link (or button).
$('#addFieldForm').addField(); Inside the plugin you can find both the solutions seen before (with or without using Mustache.js):
-
If you want to use Mustache.js and the plugin, simply leave it how is it now (you can delete the commented part on the js plugin file)
-
If you want to use only the plugin without the Mustache.js library, you have to delete the Mustache instructions in the js file, uncomment all the template that is in the jquery append function applied to the
$wrapper
$wrapper.append({ ... }); and delete the script with the Mustache template in the HTML file
<script id="addFieldTemplate" type="x-tmpl-mustache"> ... </script> You can also pass your own classes to the plugin but remember to call it appropriately like in the example shown in this repository:
$('#addFieldForm').addField({ addFieldContainerClass: 'addFieldContainer', addFieldClass: 'addField', generalMultipleFieldsContainerParentsClass: 'energyFieldsContainer', firstMultipleFieldsContainerParentsClass: 'elec-usage-amount', firstWrapperClass: 'electricityMeter', firstPrefix: 'elec', secondMultipleFieldsContainerParentsClass: 'gas-usage-amount', secondWrapperClass: 'gasMeter', secondPrefix: 'gas', mustacheTemplateId: 'addFieldTemplate' }); -
addFieldClass: the class for the element that adds a field (usually a link or a button, the default isaddField) -
addFieldContainerClass: the class for the element that contains the element above (usually adivelement, the default isaddFieldContainerClass) -
generalMultipleFieldsContainerParentsClass: (woah, very long name! :) ) this is the class that contains the multiple fields instances and also the add field link for each instance (it is anulelement in mine example, the default isgeneralMultipleFieldsContainer) -
firstMultipleFieldsContainerParentsClass/.../sixthMultipleFieldsContainerParentsClass: these are the classes that specify exactly which container have to be considered (the default defines only one instance withfirstMultipleFieldsContainer) -
firstWrapperClass/.../sixthWrapperClass: these are the classes that wrap the first field (or row of fields) of each instance and when added all the other fields of that instance (the default defines only the first onefirstWrapper) -
firstPrefix/.../sixthPrefix: these are the prefixes that can be used to identify every single instance (the default defines only the first onefirstPrefix) -
mustacheTemplateId: if you are using Mustache.js, this is the template ID (the default isaddFieldTemplate) -
maxFieldsNumber: this is the maximum fields number that can be added in every single istance (the default is10)
VERY IMPORTANT NOTES
The Remove button
The "Remove button" is placed inside the templates in every examples shown before because for each new field (or row of fields) that is created, an unique event is also associated to each new remove button (or link, as you wish).
To make it works properly, the Remove button container must have the data-*prefix*-field-remove (in the template that is in the HTML) that is something like this using Mustache.js:
<a class="removeField link" data-{{prefix}}-field-remove="{{counter}}"> ... </a> or something like this, if you are using only jQuery (remember that, in this case, the template is inside the append function applied to the $wrapper):
<a class="removeField link" data-' + prefix + '-field-remove="' + counter + '">\ ... </a>\ The Wrapper
The template has to include also another data attribute for the wrapper that must have the data-*prefix*-field-count that defines the exact portion of code that has to be removed when the Remove button is clicked
About Mustache.js
Mustache.js is a very useful library that implements the mustache template system in JavaScript. Follow the official GitHub link for further details