pi-slider
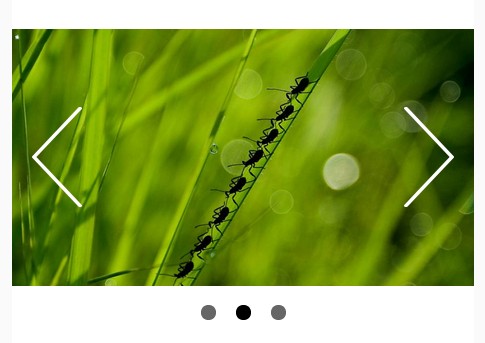
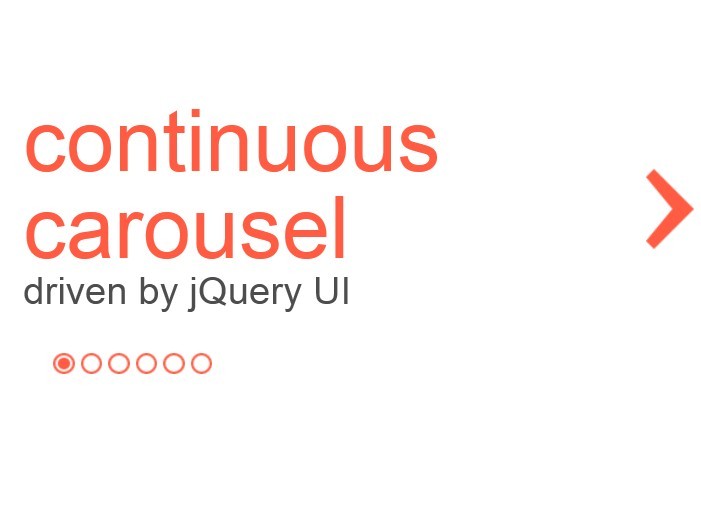
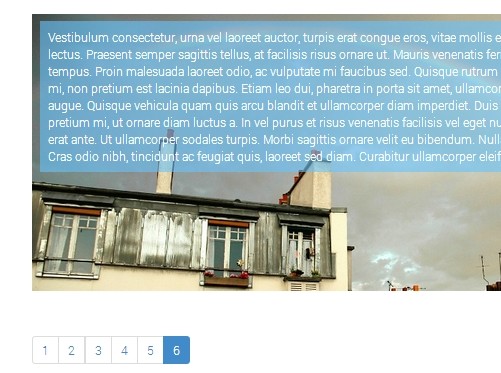
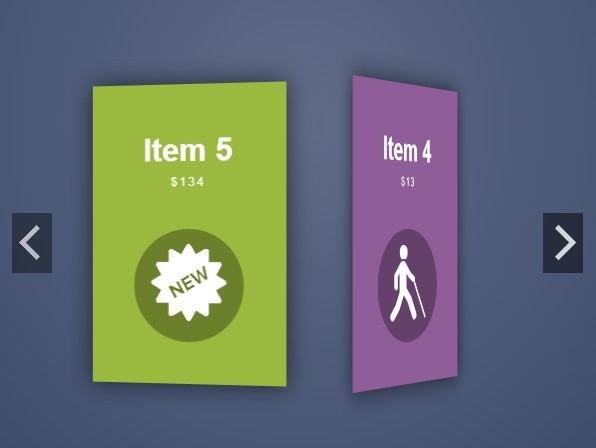
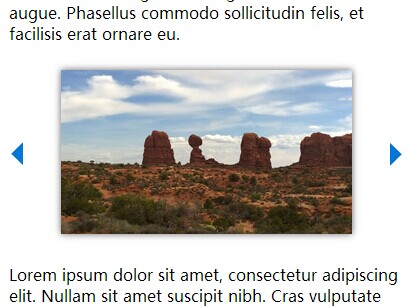
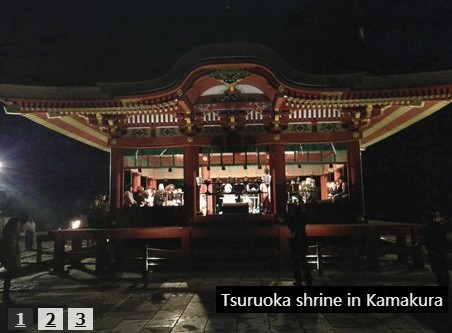
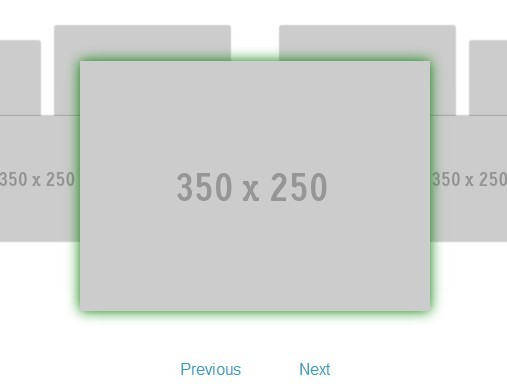
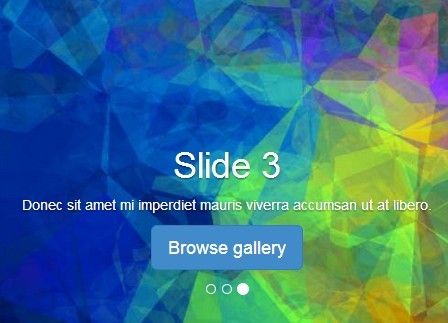
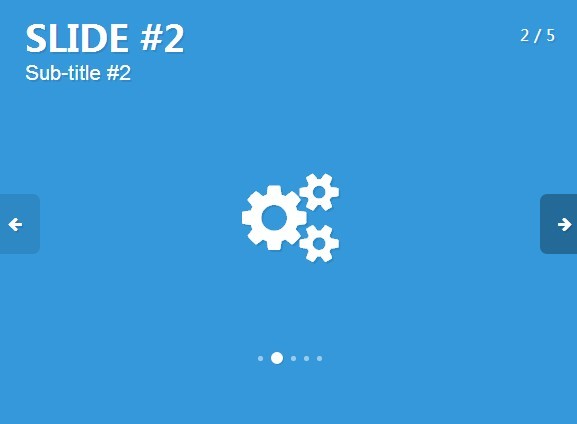
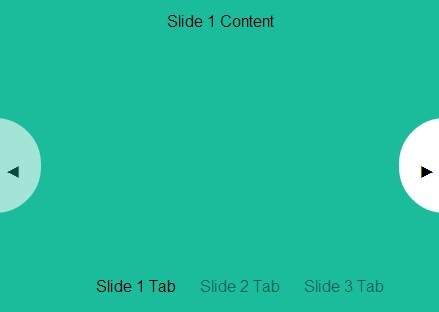
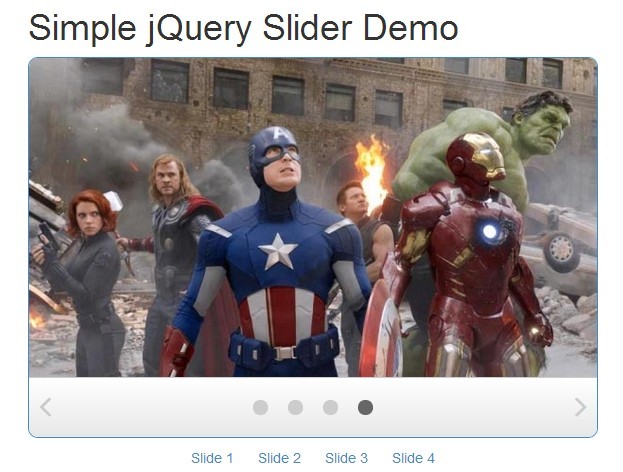
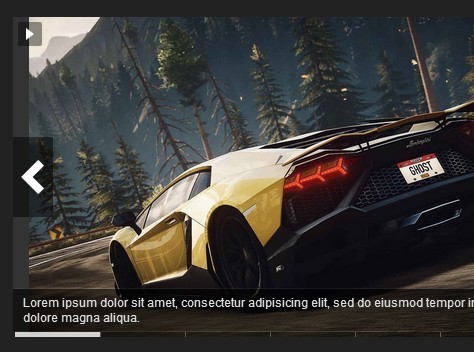
The pi-slider is a very simple image slider built with jQuery. See the steps below for the installation. There are also several options to customize the slider. See also my Demo of the slider.
Installation
jQuery version:
-
Download and unzip the latest version of the plugin
-
Include the latest version of jQuery (see Google Developers for cdn-version)
-
Include the CSS-Stylesheet file and the JavaScript file of the pi-slider in the header of your HTML-file:
<link rel="stylesheet" type="text/css" href="pi-slider/pi-slider.min.css"> <script type="text/javascript" src="pi-slider/pi-slider.min.js"></script>- Prepare a simple HTML element (such as a
divtag) with an id#slider:
<div id="slider"> <img src="image1.png" title="Caption here (optional)" data-href="Link here (optional)" /> <img src="image2.png" title="Caption here (optional)" data-href="Link here (optional)" /> <img src="image3.png" title="Caption here (optional)" data-href="Link here (optional)" /> </div>The pi-slider includes itself in the prepared
divelement. Other types of HTML tags such assection,header, etc are also possible. You can style this element with your own css.
- Include the following Javascript and replace #slider with the id of the element you've prepared in the previous step. (This calls the main function of the slider)
$(document).ready(function() { var slider = $("#slider").piSlider({ progressColor: '#f0f0f0' }); });Don't forget the
<script>tag around the Javascript code! ;)
I recommend to include this Javascript code at the bottom of the file just before the closing body tag because of performance reasons.
If you're not sure, look at my Demo.
WordPress plugin:
The WordPress plugin is just in work. I'm sorry...
Configuration
The pi-slider has several options to change its appearance and behaviour. These options are listed below with a short description. Between the {braces} are the possible values for the options.
// displays a loading graphic before the slider fades in {true, false} loader: true, // start image {number_of_image} startImage: 1, // autoplay or manual slides with arrows {true, false} autoplay: true, // continuous play of slides {true, false} loop: true, // play direction {true, false} backwards: false, // which effect to blend content {fade, slide} effect: 'fade', // duration of each slide {time_in_ms} duration: '8000', // enables keystrokes for controlling the slider (left arrow, right arrow & space) {true, false} keyControlling: true, // pause on hover {true, false} pauseOnHover: false, // displays a shadow below the slider {true, false} shadow: true, // enables/disables fullsize view of the slider {true, false} fullsize: false, // sets progressbar color {color_word, hex_code} progressColor: 'grey', // shows/hides the progressbar {true, false} progressBar: true, // sets the position of the progressbar {top, bottom} progressPosition: 'bottom', // shows/hides control arrows {true, false} arrows: true, // shows/hides captions {true, false} captions: true, // shows/hides pagination items pagination: true, // defines start image startImage: 1, // defines slider width width: '100%', // defines slider height height: '300px'You have to write (or copy) the options into the JavaScript code from the last step of the Installation. For every option write a new line and don't forget the comma at the end of each line (except the last line).
... var slider = $("#slider").piSlider({ option_name: value, option_name: value, option_name: value, ... }); ...Usage
You can call the following functions to control the plugin. (e.g. starting the slider through a click on a button if the autopay setting is disabled)
- start the slider:
slider.start(); - stop the slider:
slider.stop(); - pause the sliders animation:
slider.pause(); - resume the sliders animation:
slider.resume(); - go to next image:
slider.next(); - go to previous image:
slider.prev(); - go to specific image:
slider.goto(2);
Contact
If you have questions, suggestions or feature requests you can write a pull request to this repo or you can contact me with this Email: [email protected].
License
This jQuery plugin is made with lots of love and its free of charge so you can use it on your website. Please fork this repo for your own changes. In general I would like to see my name in the credits. Thank you!